
In brief: You can effectively remove lawn thatch by scarifying regularly in spring or autumn. This process scores the soil surface to pull out the thatched layer of dead grass and moss. Afterwards, overseeding and fertilising are essential for recovery. Proper lawn care afterwards prevents thatch from quickly building up again.
Remove Lawn Thatch Effectively: For a Healthy Lawn
A dense, green lawn is the pride of every garden owner. But an invisible enemy can form beneath the surface: lawn thatch. This layer suffocates your lawn and creates the perfect conditions for moss and weeds. The good news is that you can control lawn thatch. With the right method and timely action, you can restore the air and nutrients your grass needs.
What is lawn thatch and why is it harmful?
Lawn thatch is not a living plant. It is a matted layer of dead grass, roots, runners and organic material. This layer lies between the green grass blades and the surface of the soil.
In moderation, a thin layer can even be useful. It protects the soil from drying out and temperature fluctuations. It becomes a problem when the layer grows thicker than one centimetre. It then acts like an impermeable barrier.
Important note
Never scarify a wet lawn. The blades will pull the grass roots out of the soil instead of simply cutting into the thatch. The result is bare patches and a lengthy recovery period. Wait for dry weather and mow the lawn beforehand to around 3-4 cm.
Water and nutrients from fertiliser or rain can no longer reach the roots. The lawn becomes vulnerable to drought stress, even after a rain shower. At the same time, the damp, oxygen-poor thatch provides the perfect breeding ground for moss and lawn diseases.
How can I identify lawn thatch in my garden?
You do not have to dig to identify thatch. There are clear signs above ground. Push a knife or spade into the turf and lift a small corner.
Can you see a light brown, spongy layer between the green blades and the brown soil? That is lawn thatch. Pull it gently. If a continuous mat can be pulled out like a thin carpet, the layer is already too thick.
“A healthy lawn breaks down organic material by itself. Thatch forms when the balance between growth and decomposition is disrupted. Incorrect care, compacted soil or unsuitable grass varieties are often the cause.”
Other signs include a spongy, yielding surface underfoot. The lawn feels soft but no longer springs back properly. After mowing, the surface looks ragged and uneven despite sharp blades. Moss spreads even in sunny areas because it finds ideal conditions in the thatch.
The simple finger test
Push your index finger between the grass blades down to the soil. Do you feel resistance from a soft but dense layer? That is a clear sign. In a healthy lawn, your fingers quickly reach the firmer soil.
How do I remove lawn thatch? The methods compared
The most effective way to control thatch is scarifying. A scarifier scores the soil surface a few millimetres deep with vertically rotating blades. It cuts through the thatched layer and pulls it upwards.
You can choose between powered machines, hand scarifiers and special rakes. For large areas, it is worth buying or hiring an electric or petrol scarifier. Look for adjustable working depths.
Expert tip
Scarify your lawn in lengthwise and crosswise passes. This creates a chequerboard pattern and ensures that no strips of thatch are left behind. Work steadily and let the machine do its job. Do not pull it across the lawn too quickly.
For smaller areas or spot treatment, a hand scarifying rake is sufficient. It has sickle-shaped tines that comb out the thatch. The physical effort is considerably greater, but you have better control over the depth.
Aerating the lawn as a complementary measure
Scarifying alone is often not enough, especially in compacted soil. This is where aerating comes in. Using special tools or a garden fork, make deep holes (approx. 10 cm) in the soil.
These holes aerate the root zone and improve drainage. You can then fill the holes with lawn sand. The sand prevents the holes from closing again and loosens the soil structure sustainably.
The best time for lawn care
Timing is crucial. The best time to scarify is spring, as soon as the lawn starts growing (usually April/May). The soil should no longer be frozen, but it should not be wet either. Ideally, temperatures should remain consistently above 10 degrees.
This gives the lawn the whole season to recover. A second, optional time can be early autumn (September). Never scarify in midsummer during hot, dry weather or in late autumn. The lawn will not have enough strength to recover.
“Many garden owners scarify too deeply and aggressively. The blades should only lightly scratch the soil, not plough it up. The aim is to loosen the thatch, not damage healthy roots. Less is often more here.”
After scarifying: The right aftercare
After scarifying, the removed thatch lies on the lawn as brown material. Rake it off thoroughly and dispose of it. You can now see the true condition of the area: bare patches, gaps and possibly a lot of exposed soil.
This is the critical and most important step. Now overseed the lawn. Use special lawn seed for overseeding. These varieties germinate quickly and reliably fill gaps. Spread the seed evenly and lightly work it into the soil with a rake.
Additional advice
Mix lawn seed for overseeding with a little sand. This makes it easier to distribute evenly and makes the sown areas more visible. This helps prevent you from sowing some areas twice and missing others completely.
Fertilising is then essential. The lawn now needs energy for germination and growth. A starter lawn fertiliser or an organic fertiliser with a high phosphorus content supports root development. Our
(moss killer lawn fertiliser) not only supplies the lawn with nutrients but also controls any remaining moss in the thatch.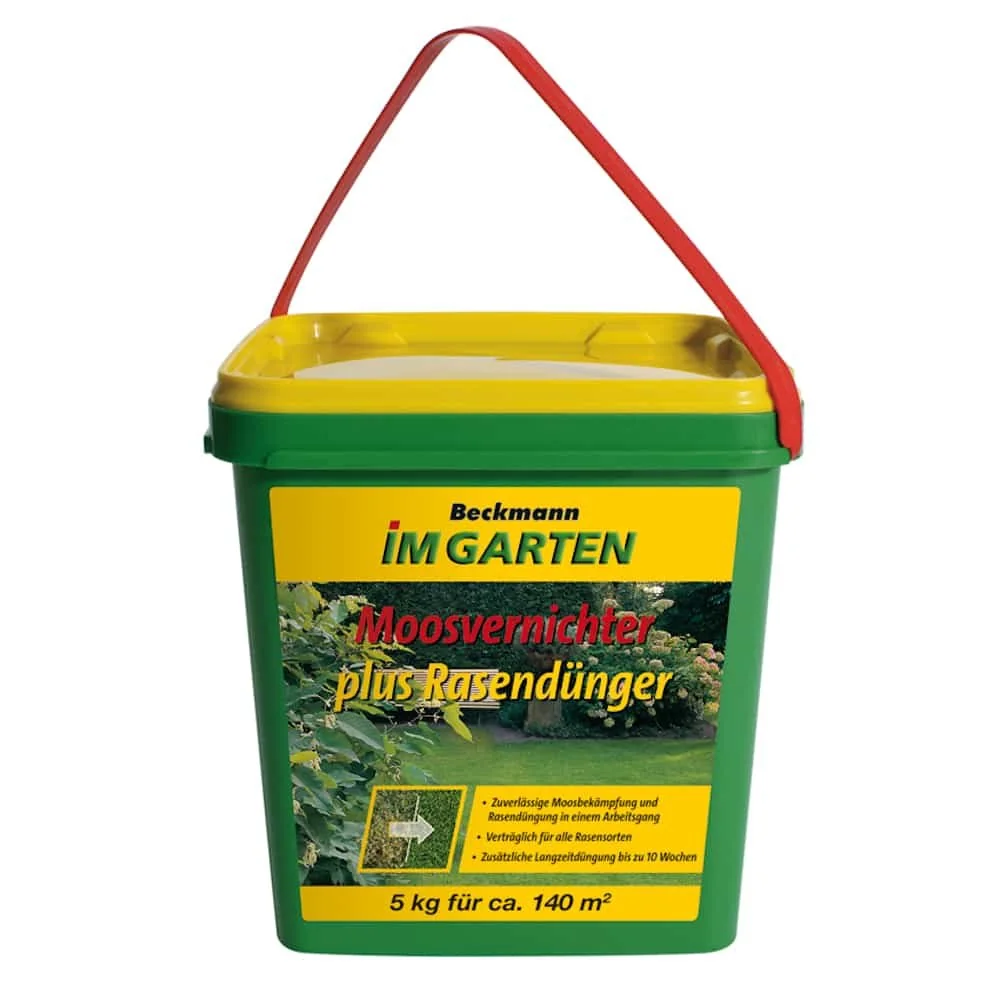
Keep the area consistently moist for the next three weeks. Water lightly but regularly on dry days. Avoid walking on the freshly treated areas as much as possible.
How to prevent lawn thatch permanently: Prevention is key
Scarifying is a short-term solution. To prevent thatch from quickly returning, change your basic lawn care routine. Mow regularly, but do not cut the grass too short. Do not leave grass clippings lying around unless you have a mulching mower that produces finely chopped clippings.
Fertilise according to your lawn's needs. Too much nitrogen leads to soft, rapid growth, which in turn provides plenty of organic material for new thatch. An organic lawn fertiliser releases nutrients more slowly and evenly.
Water less frequently but thoroughly. This encourages deep roots and makes the lawn more resilient. In compacted soils, an annual application of lawn lime can optimise the pH value and improve soil structure.
Products for a healthy, thatch-free lawn
Alongside the right tools, special products support your lawn care. Our
(ground anchors for lawn edging) help create clean edges. This makes mowing easier and prevents grass from spreading into flower beds and dying there – another source of thatch.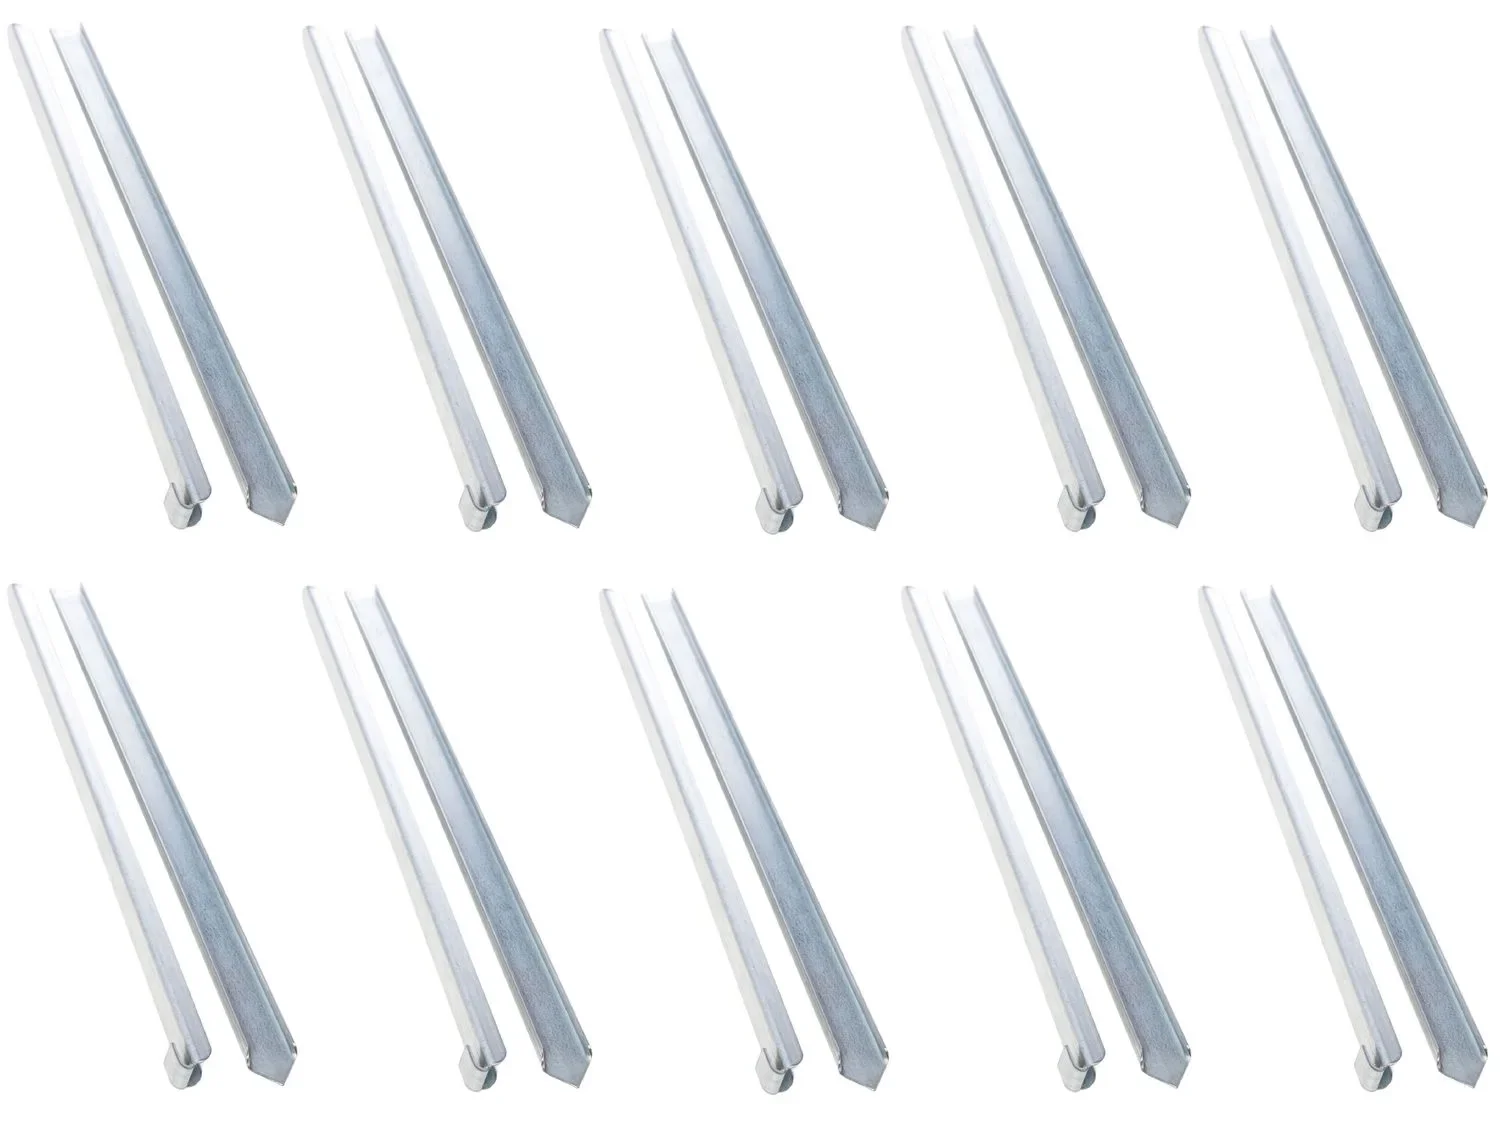
Pests can put additional stress on a weakened lawn. An
(UV insect trap) keeps annoying insects away without using chemicals, including those that like to stay in damp, thatch-covered areas of the lawn.
When is professional help worthwhile?
For extremely heavily thatched, moss-covered or large areas, consider hiring a professional landscaping company. Professionals have powerful machines such as deep aerators or sand slitters that can improve the soil over the long term.
This is also worthwhile if the ground is heavily compacted or you have drainage problems. A professional can often identify the cause of the thatch more quickly and offer a comprehensive solution.
With consistent care and the right technique, you can defeat lawn thatch. Your reward is a dense, hard-wearing and deep-green lawn that not only looks beautiful but is healthy too. Get started this season and give your garden soil room to breathe.
Frequently asked questions
- What is lawn thatch and how does it develop?
- Lawn thatch is a dense layer of dead grass blades, root remnants and often moss directly above the soil. It develops when the natural decomposition of these organic materials is slower than their regrowth. Mowing too frequently with a mulching mower, using too much fertiliser or compacted soil can accelerate thatch formation.
- How often should I scarify my lawn?
- Scarify your lawn no more than once or twice a year. The ideal time is spring (April/May) in dry weather and after the first mowing. A second treatment can follow in early autumn (September). Scarifying too often or too deeply damages the turf and weakens the lawn.
- Can I remove lawn thatch without a scarifier?
- Yes, a hand scarifying rake or metal rake is suitable for smaller areas. Pull it firmly through the lawn to bring the thatch to the surface. For aeration, use a garden fork to make deep holes at intervals of 10-15 cm. These methods are labour-intensive but effective.
- What should I do with the lawn thatch I have raked out?
- Do not put raked-out thatch on the compost heap, as it often contains seeds and spores. Put it in the food waste bin or general waste. You can use thin layers as mulch in flower beds, but only if they are completely free of weeds and moss.
- What mistakes should I avoid after scarifying?
- Avoid putting heavy stress on the lawn immediately afterwards. Water regularly in the following weeks, but do not overwater. The most important step is overseeding with high-quality lawn seed for varieties that fill gaps, along with adjusted fertilisation to support growth.
You may also be interested in
- Scarifying your lawn: A guide to a healthy lawn
- Lawn care: How to achieve a green, dense and healthy lawn
- Top-dressing your lawn with sand: When and how to improve your lawn
- How to control weeds in your lawn: Effective methods for a healthy lawn
- How to identify and effectively control lawn diseases
- Creeping weeds in your lawn: Effective control methods