
Briefly explained: Renovate your staircase by first removing the old flooring completely. Then sand the wooden steps thoroughly to create a clean surface. Finally, seal the wood with a durable varnish or oil. Success depends on careful preparation and choosing the right materials.
Contents
- The foundation: How to prepare your staircase perfectly
- How do I remove old flooring and varnish?
- What tools do I need for sanding?
- The final protection: Varnish or oil for your staircase?
- When DIY becomes too much: Professional alternatives
The foundation: How to prepare your staircase perfectly
A successful renovation starts long before the first brushstroke. The condition of your staircase determines the amount of work required. Check every step for loose parts, protruding nails or deep scratches. Make sure the wood is dry and stable.
Clear the area completely. Generously cover adjoining walls and floors with painter's plastic. Sanding dust spreads widely. Ensure good ventilation, but still wear a dust mask.
Get all the materials in advance. Nothing disrupts your workflow more than having to drive to the DIY store in the middle of the job. Allow enough time, especially for the drying periods between coats of varnish.
Pre-start checklist
You need a stable base. Secure loose wooden steps or replace them. Fill smaller cracks with wood filler. For more extensive damage, the entire tread may need to be replaced.
Remove all metal parts, such as stair rods or carpet grippers. They get in the way when sanding and would need to be masked off later anyway. Use the right tools to loosen screws and nails.
Important note
Before starting, check whether old varnish layers could contain lead. This is possible in houses renovated before the 1970s. If in doubt, carry out a test or consult a professional. Sanding lead-based varnish releases harmful dust.
How do I remove old flooring and varnish?
The type of old flooring determines your approach. Remove carpet with a utility knife and a firm pull. Under the carpet, you will often find adhesive residue that can be removed with a scraper and a specialist adhesive remover.
For firmly attached flooring such as linoleum or PVC, heat is often helpful. Carefully warm the flooring with a heat gun until the adhesive softens. Then lift the corner and slowly peel the material away. Work systematically, one step at a time.
Old varnish or a stained surface must be sanded down. A chemical paint stripper is an alternative for hard-to-reach corners or profiled step edges. Always follow the manufacturer's safety instructions.
Thorough surface preparation determines 80 percent of the result. Even the smallest spot of old adhesive or an uneven sanding transition will be visible after varnishing. Take the necessary time for this.
The right technique for stubborn residue
For stubborn contact adhesive, use a citrus-based solvent or a specialist carpet adhesive remover. Apply it, leave it to work and scrape off the softened residue with a scraper. Repeat the process if necessary.
When sanding old varnish layers, start with a coarse grit. A belt or random orbital sander speeds up work on the large tread surfaces. Treat the edges and corners with a multi-tool or by hand.
Additional advice
Dispose of the resulting rubble and old flooring properly. Carpet remnants and chemical paint strippers do not belong in household waste. Ask your local authority about disposal options for construction waste and hazardous waste.
What tools do I need for sanding?
The most important tool is a random orbital sander. It combines circular and oscillating movements and leaves an even surface without sanding marks. A belt sander is also efficient for large, flat areas. Choosing the right tool saves hours.
Special edge sanders or a multi-tool with a sanding attachment are essential for the step edges and handrail. Do not hesitate to invest in good tools. It pays off in the quality of the result and makes the work more enjoyable.
: A stable work ladder such as this aluminium stair ladder gives you secure footing when working on the handrail or ceiling above the stairs.
Start with a coarse grit (40-60) to remove material. Then switch to a medium grit (80-120) and finish with fine sandpaper (150-180). Always work in the direction of the wood grain.
Pro tip
Sand "in stages". First, work on all steps with the coarse grit. Only then switch to the medium and later the fine grit for the entire staircase. This means you do not have to change the sandpaper constantly and ensures consistent material removal across all steps.
Keeping dust under control
Sanding dust is the enemy of a clean varnish finish. It settles in the smallest pores and prevents perfect adhesion. Vacuum the entire staircase thoroughly after each sanding stage.
Use a vacuum cleaner with a fine-dust filter. Then wipe the steps with a slightly damp microfibre cloth. This removes even the last layer of dust. Allow the wood to dry completely before continuing.
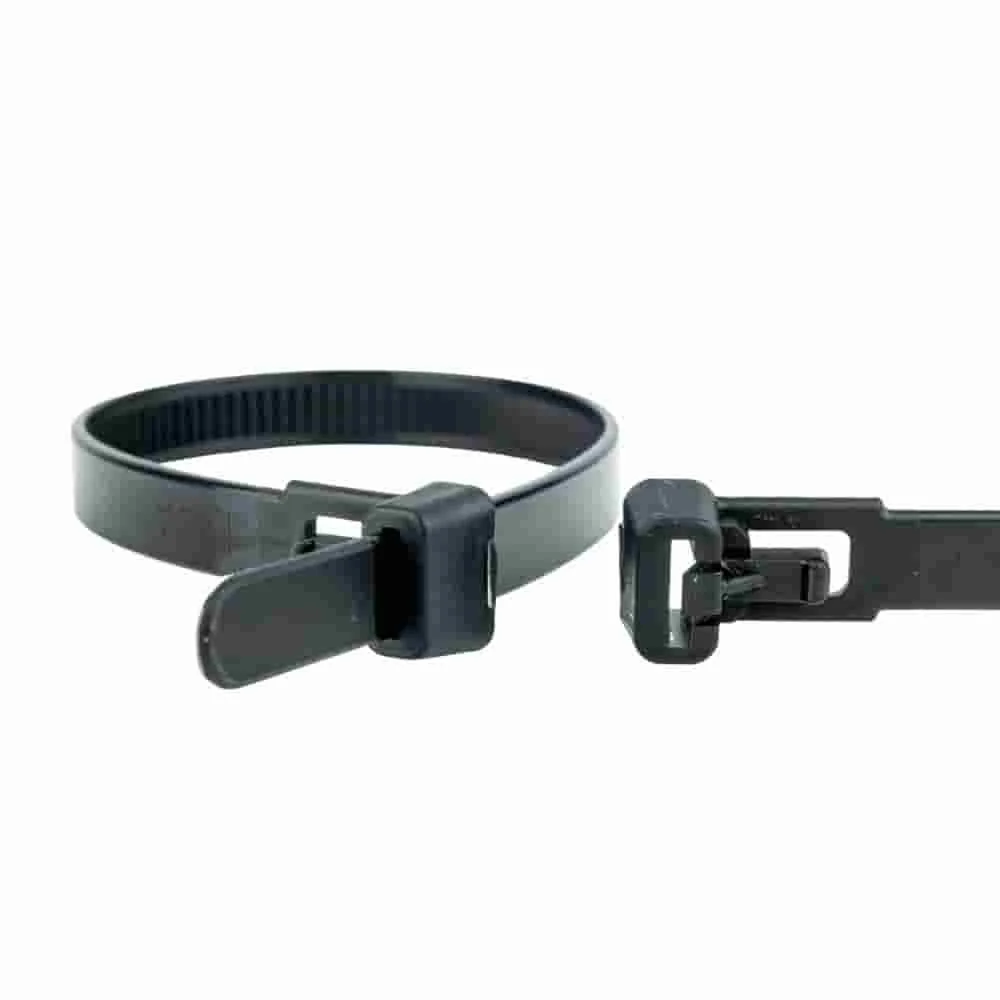
and : Organise the cables from your sander and vacuum cleaner for your own safety. These reusable cable ties keep cables bundled and prevent trip hazards on the worksite.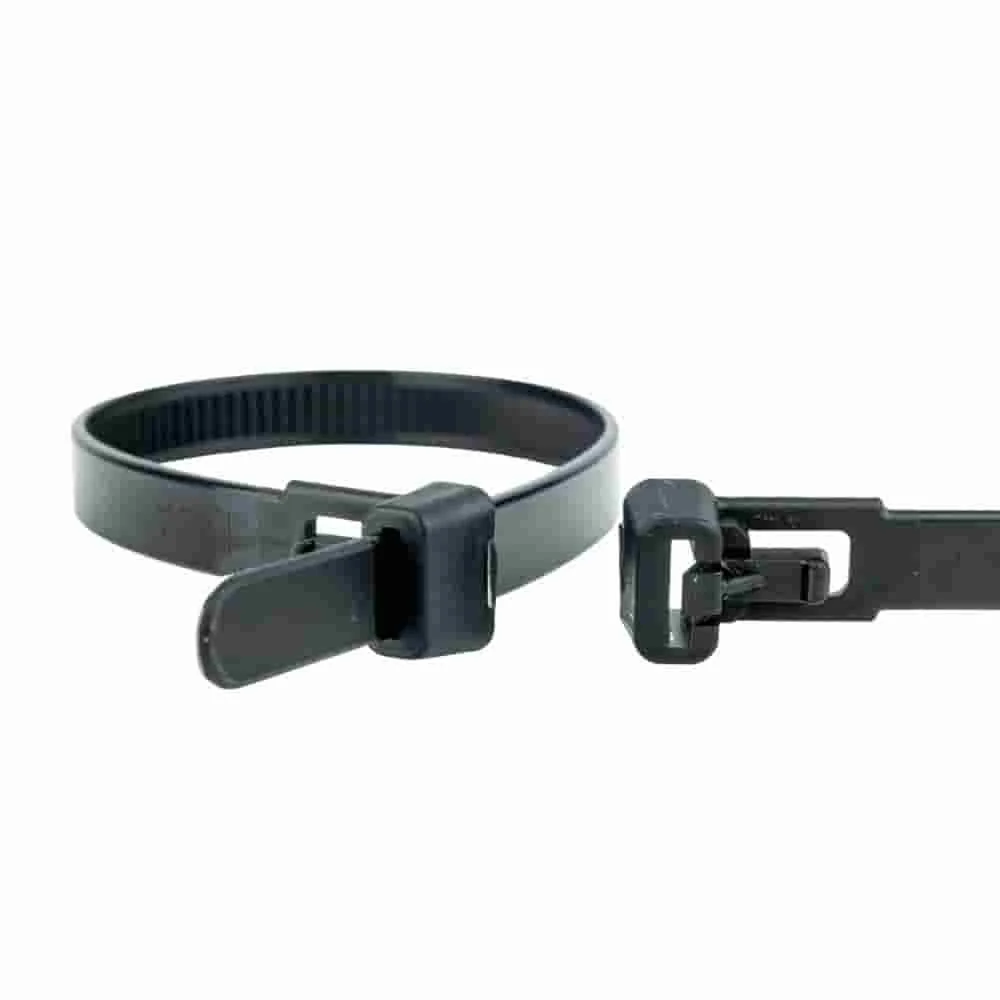
The final protection: varnish or oil for your staircase?
The choice between varnish and oil affects the appearance and maintenance of your staircase for years to come. Clear varnish forms a hard, sealed layer on the wood. It is highly resistant to wear and moisture, but can flake under heavy use. Water-based acrylic varnishes dry quickly and have little odour.
Wood oil penetrates deep into the fibres and protects the wood from within. It leaves an open-pored, natural surface that can easily be reoiled. However, the surface is more susceptible to stains and requires regular care. Hardwax oils combine the advantages of both finishes.
Always apply primer, varnish or oil thinly and evenly. When applying varnish, work from top to bottom to avoid drips on freshly treated steps. Use a high-quality brush for smooth edges and a roller for large areas.
For a heavily used staircase in a house or cellar, I recommend a specialist stair varnish or a hard flooring oil. These products are designed to provide high abrasion resistance. Ordinary furniture varnish will not withstand the daily test of wear for long.
Allow sufficient drying time
The manufacturer's stated times are minimum values. Allow sufficient extra time between coats and before putting the staircase under load. Using the stairs too soon can irreparably damage the freshly applied coating.
Room temperature and humidity have a major effect on drying. Heat the room moderately and ensure gentle air circulation, but avoid draughts. They could blow dust onto the damp surface.
: Before moving furniture onto your renovated staircase again, a stair climbing trolley can make the job much easier. Transporting heavy loads carefully helps protect your newly renovated staircase from premature damage.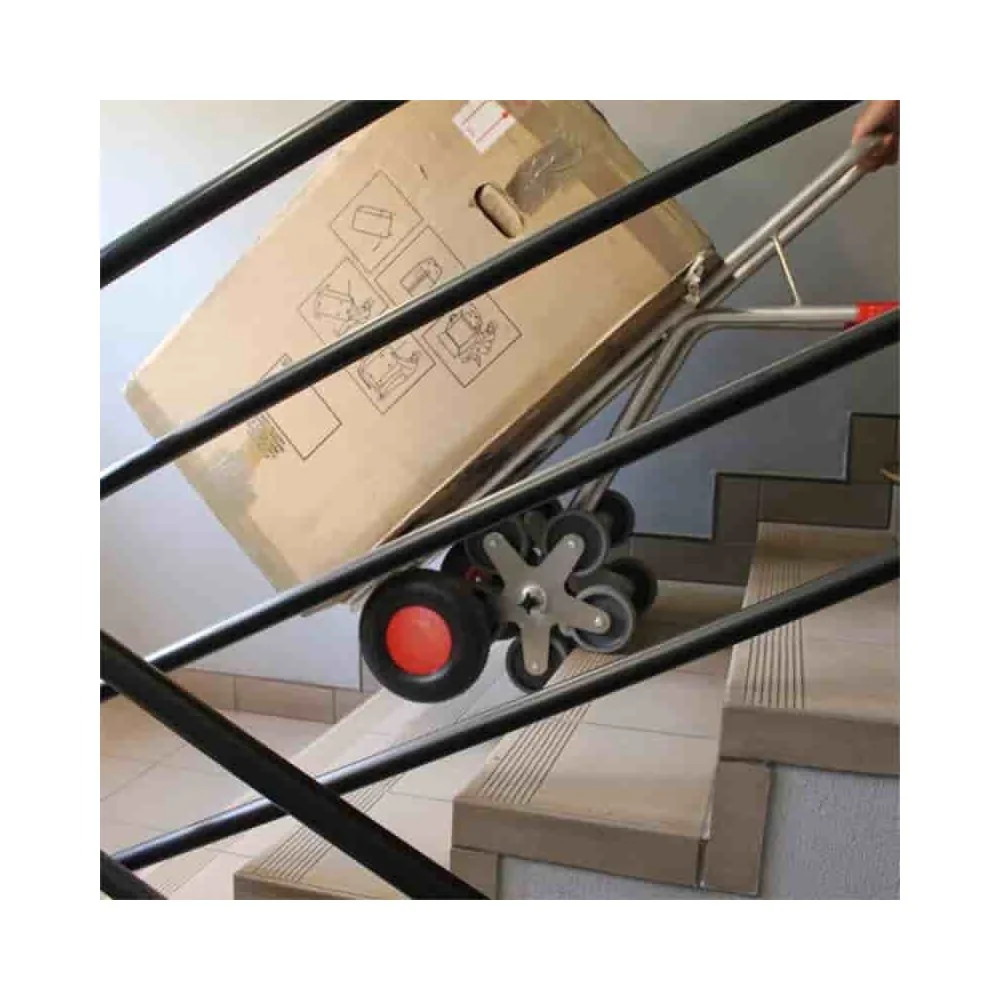
When DIY becomes too much: professional alternatives
Sometimes the scope of the work exceeds your own capabilities. Very high or winding staircases, major damage or the desire for a completely new material such as stone or metal are examples of when it is worth hiring a specialist company.
A professional has more powerful tools, such as industrial sanders and dust extraction systems. They can complete the work in less time and often achieve an even smoother result. Obtain several quotes and check references.
Another advantage is the warranty. If there are defects in the workmanship, the contractor is liable. This provides peace of mind for an investment that should last for many years.
Make your own work count
You can still handle smaller tasks or preparation work yourself. This saves money. Discuss with the contractor which preparatory work would be useful. You can often remove the old covering or sand the staircase yourself.

Whether DIY or professional work, the result is what matters in the end. A renovated staircase enhances the appearance of the entire house and makes it safer and more pleasant to use. You are investing in the value of your property and in your everyday quality of life.
Also consider useful household accessories, such as hose holders to keep the entrance area tidy, or suitable fat ball holders for the wildlife-friendly garden you may be able to see from the stairwell.
Frequently asked questions
- Can I renovate a carpeted staircase myself?
- Yes. First, thoroughly remove the old carpet and all adhesive residue from the wooden steps. Then sand the steps to create an even surface. Finally, apply a hard-wearing stair varnish or hard oil. Make sure there is adequate ventilation while working.
- What sandpaper do I need for wooden steps?
- Start with a coarse grit (e.g. 40-60) to remove old layers of varnish. Then work through medium grits (80-120) to fine sandpaper (150-180). For the best results, always sand in the direction of the wood grain and remove all dust after each step.
- How long does a newly varnished staircase need to dry?
- Drying time depends on the product and room conditions. Water-based varnish can be walked on after 2-4 hours, but is not fully resistant to load until after 24-48 hours. Solvent-based varnish or oil may take several days to dry completely. Be sure to plan in pauses when the staircase cannot be used.
- Which is better for stair treads: varnish or oil?
- Varnish provides a hard, easy-care and water-repellent surface, making it ideal for heavily used staircases. Oil penetrates deep into the wood, enhances its natural appearance and can be touched up locally, but requires more care. The choice depends on the desired appearance and the amount of maintenance you are prepared to do.
- Is it cheaper to renovate a staircase yourself?
- Yes, the material costs for abrasives, primer and sealant are considerably lower than the cost of hiring a professional. You mainly save on labour. Allow for the cost of tools such as a sander. However, with professional workmanship, the result and durability are comparable.
You may also be interested in
- Renovate a wooden floor: How to renew the floor in your home
- Build your own staircase shelf: DIY furniture for the kitchen or bathroom
- Renovating your home: The complete guide from planning to completion
- Second-hand furniture: Furnish sustainably and add value
- Renovate your garden shed: A fresh look for your garden retreat
- Renovating walls: The complete guide for your home