
In brief: You can effectively waterproof a basement floor and concrete slab by first identifying the cause of the damp. If moisture is rising from below, a retrofitted horizontal barrier or a capillary-breaking layer may be suitable. For lateral water pressure, vertical waterproofing with bitumen or plastic membranes is effective. The right method depends on the building's age, the type of moisture and your budget.
Seal a Basement Floor and Concrete Slab: Effective Protection
Moisture in the basement damages the building's structure and creates an unhealthy indoor climate. Intact waterproofing of the concrete slab and walls is the foundation of any dry basement. This guide shows you practical ways to renovate your basement.
Expert tip
Before starting any work, check the groundwater level and the drainage around your house. Blocked or missing drainage is often the main cause of water pressure against the structure.
Why does moisture enter the basement?
The physics is clear: water always seeks the path of least resistance. Your basement is under constant pressure. Capillary forces draw moisture from the soil upwards through the masonry. During heavy rain or when the groundwater level is high, hydrostatic pressure builds up against the walls and concrete slab.
Older buildings often have no waterproofing or only a simple bitumen membrane. Over the years, this becomes brittle. Modern concrete can allow water to pass through cracks, porous areas or poorly compacted joints. The correct diagnosis is the first step towards a solution.
The most common cause of damp basements is not a single leak, but the failure of the entire waterproofing system. The capillary-breaking layer beneath the concrete slab is often missing.
How can I find the source of the moisture?
Distinguish between three main types: rising moisture, lateral moisture and moisture entering from above. The so-called plastic sheet test provides clarity. Thoroughly dry an area of the basement floor.
Securely tape down a large piece of sturdy plastic sheet so that it is airtight. Check it after 48 hours. Condensation on the underside indicates rising damp. Condensation on top of the sheet points to high humidity in the room.
Look for efflorescence on the walls. These white, powdery salt crystals are a clear sign of rising moisture. They form when the water evaporates and leaves behind the salts it carried.
Tools for measuring moisture
Your hand alone is not enough. Get a professional moisture meter. A resistance meter indicates the moisture content of the material. Professionals use the CM method for testing moisture at greater depth.
Record your readings over several weeks. This will show whether the moisture fluctuates seasonally or remains consistently high. This data is invaluable to a tradesperson or surveyor.
Important note
Take care with black mould growth. It can be hazardous to your health. If the affected area is larger than 0,5 m², consult a specialist in mould remediation. Always wear respiratory protection when inspecting it.
What methods are available for waterproofing a concrete slab?
The choice of method depends on the damage and your budget. In principle, you can waterproof from the inside or outside. External waterproofing is always the more sustainable solution, but it is also the most complex.
1. The capillary-breaking layer (from inside)
This method interrupts moisture transport from below. You remove the old screed and the upper part of the floor by milling or chiselling. Apply a layer of coarse gravel or chippings to the cleaned concrete slab.
Lay a special drainage mat over it. This directs any seepage water that accumulates to a sump pump. Only then should you install a new vapour barrier and the new screed. This solution is suitable for light to moderate rising moisture.
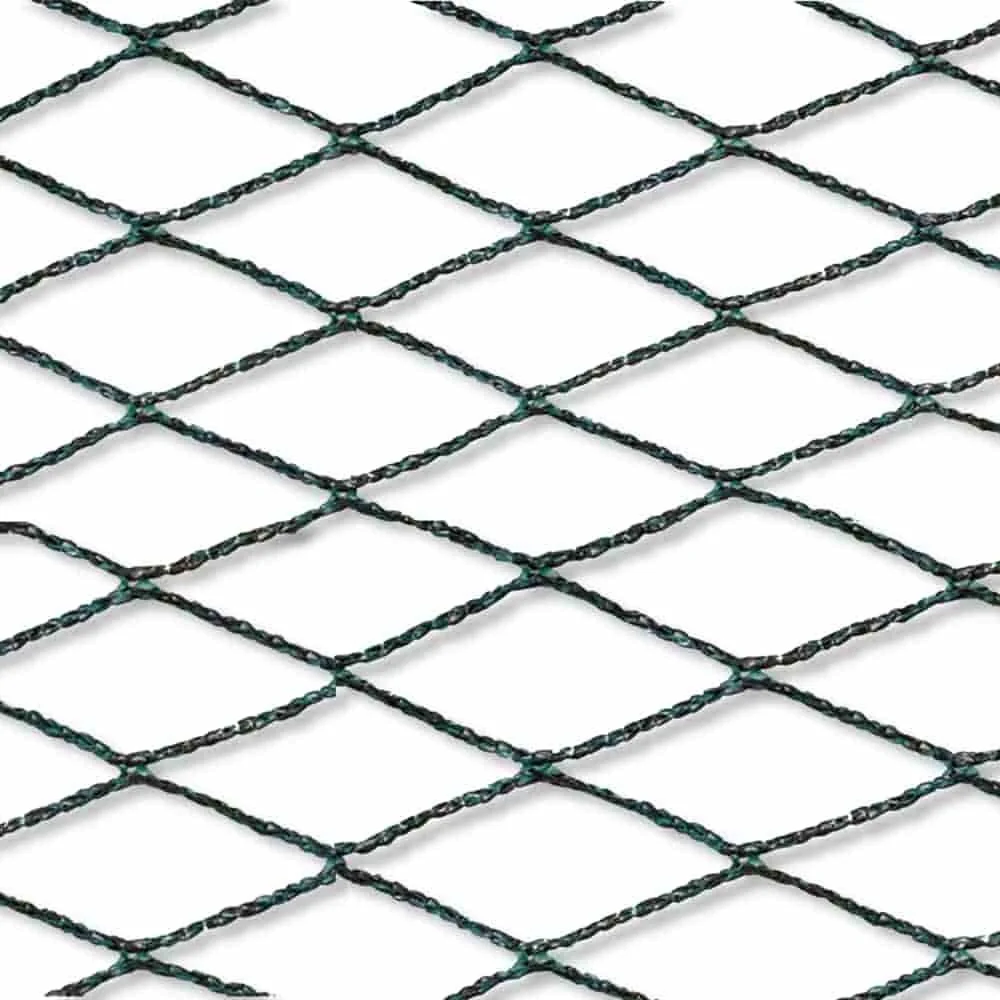
can serve as temporary protection for stored materials during the construction phase.
2. Retrofitting a horizontal damp-proof course
For severe rising damp, this is the most demanding method. Specialist contractors inject special silicates, resins or paraffins into the masonry. These substances spread through the wall and permanently prevent capillary transport.
A mechanical barrier installed by underpinning is the most expensive option, but also the longest-lasting. The masonry is underpinned section by section and separated with stainless steel sheets or plastic membranes. You need a specialist company for either method.
The injection method has evolved. Modern, low-viscosity injection gels penetrate even the finest capillaries and provide a reliable barrier without compromising structural integrity.
3. Coatings and waterproofing slurries
For intact but moisture-sensitive concrete slabs, coatings are the first choice. You apply a flexible, crack-bridging waterproof layer. This is often made from modified bitumen or synthetic resin.
Mineral waterproofing slurries are cement-based and work through crystallisation. They grow into the pores of the concrete and seal them permanently. These systems are vapour-permeable. Residual moisture can escape while new water is blocked. is a traditional sealing material for threads and joints that can be used when installing drainage pumps or pipes in the basement.

How can I insulate the basement floor afterwards?
Waterproofing and thermal insulation go hand in hand. An insulated basement floor prevents cold feet and reduces heating costs. The right order is crucial: waterproof first, then insulate.
Use pressure-resistant insulation materials such as extruded polystyrene rigid foam (XPS) or cellular glass. These materials do not absorb moisture and retain their insulating properties. Lay the boards in a staggered pattern and fill the joints.
Place a suitable separation layer on top, such as PE film. Only then should the new screed be poured. Ensure a tight connection to the insulated basement walls. This will prevent thermal bridges.
Additional advice
If you are planning a complete renovation, consider installing underfloor heating in the basement at the same time. It keeps the room dry all year round and makes it suitable as living space throughout the year. Installation in the new screed is straightforward.
Practical Steps for Renovating Your Basement
Proceed systematically. A good plan saves time, stress and money. Start by thoroughly clearing out the basement. Make sure you have clear access to all walls and corners.
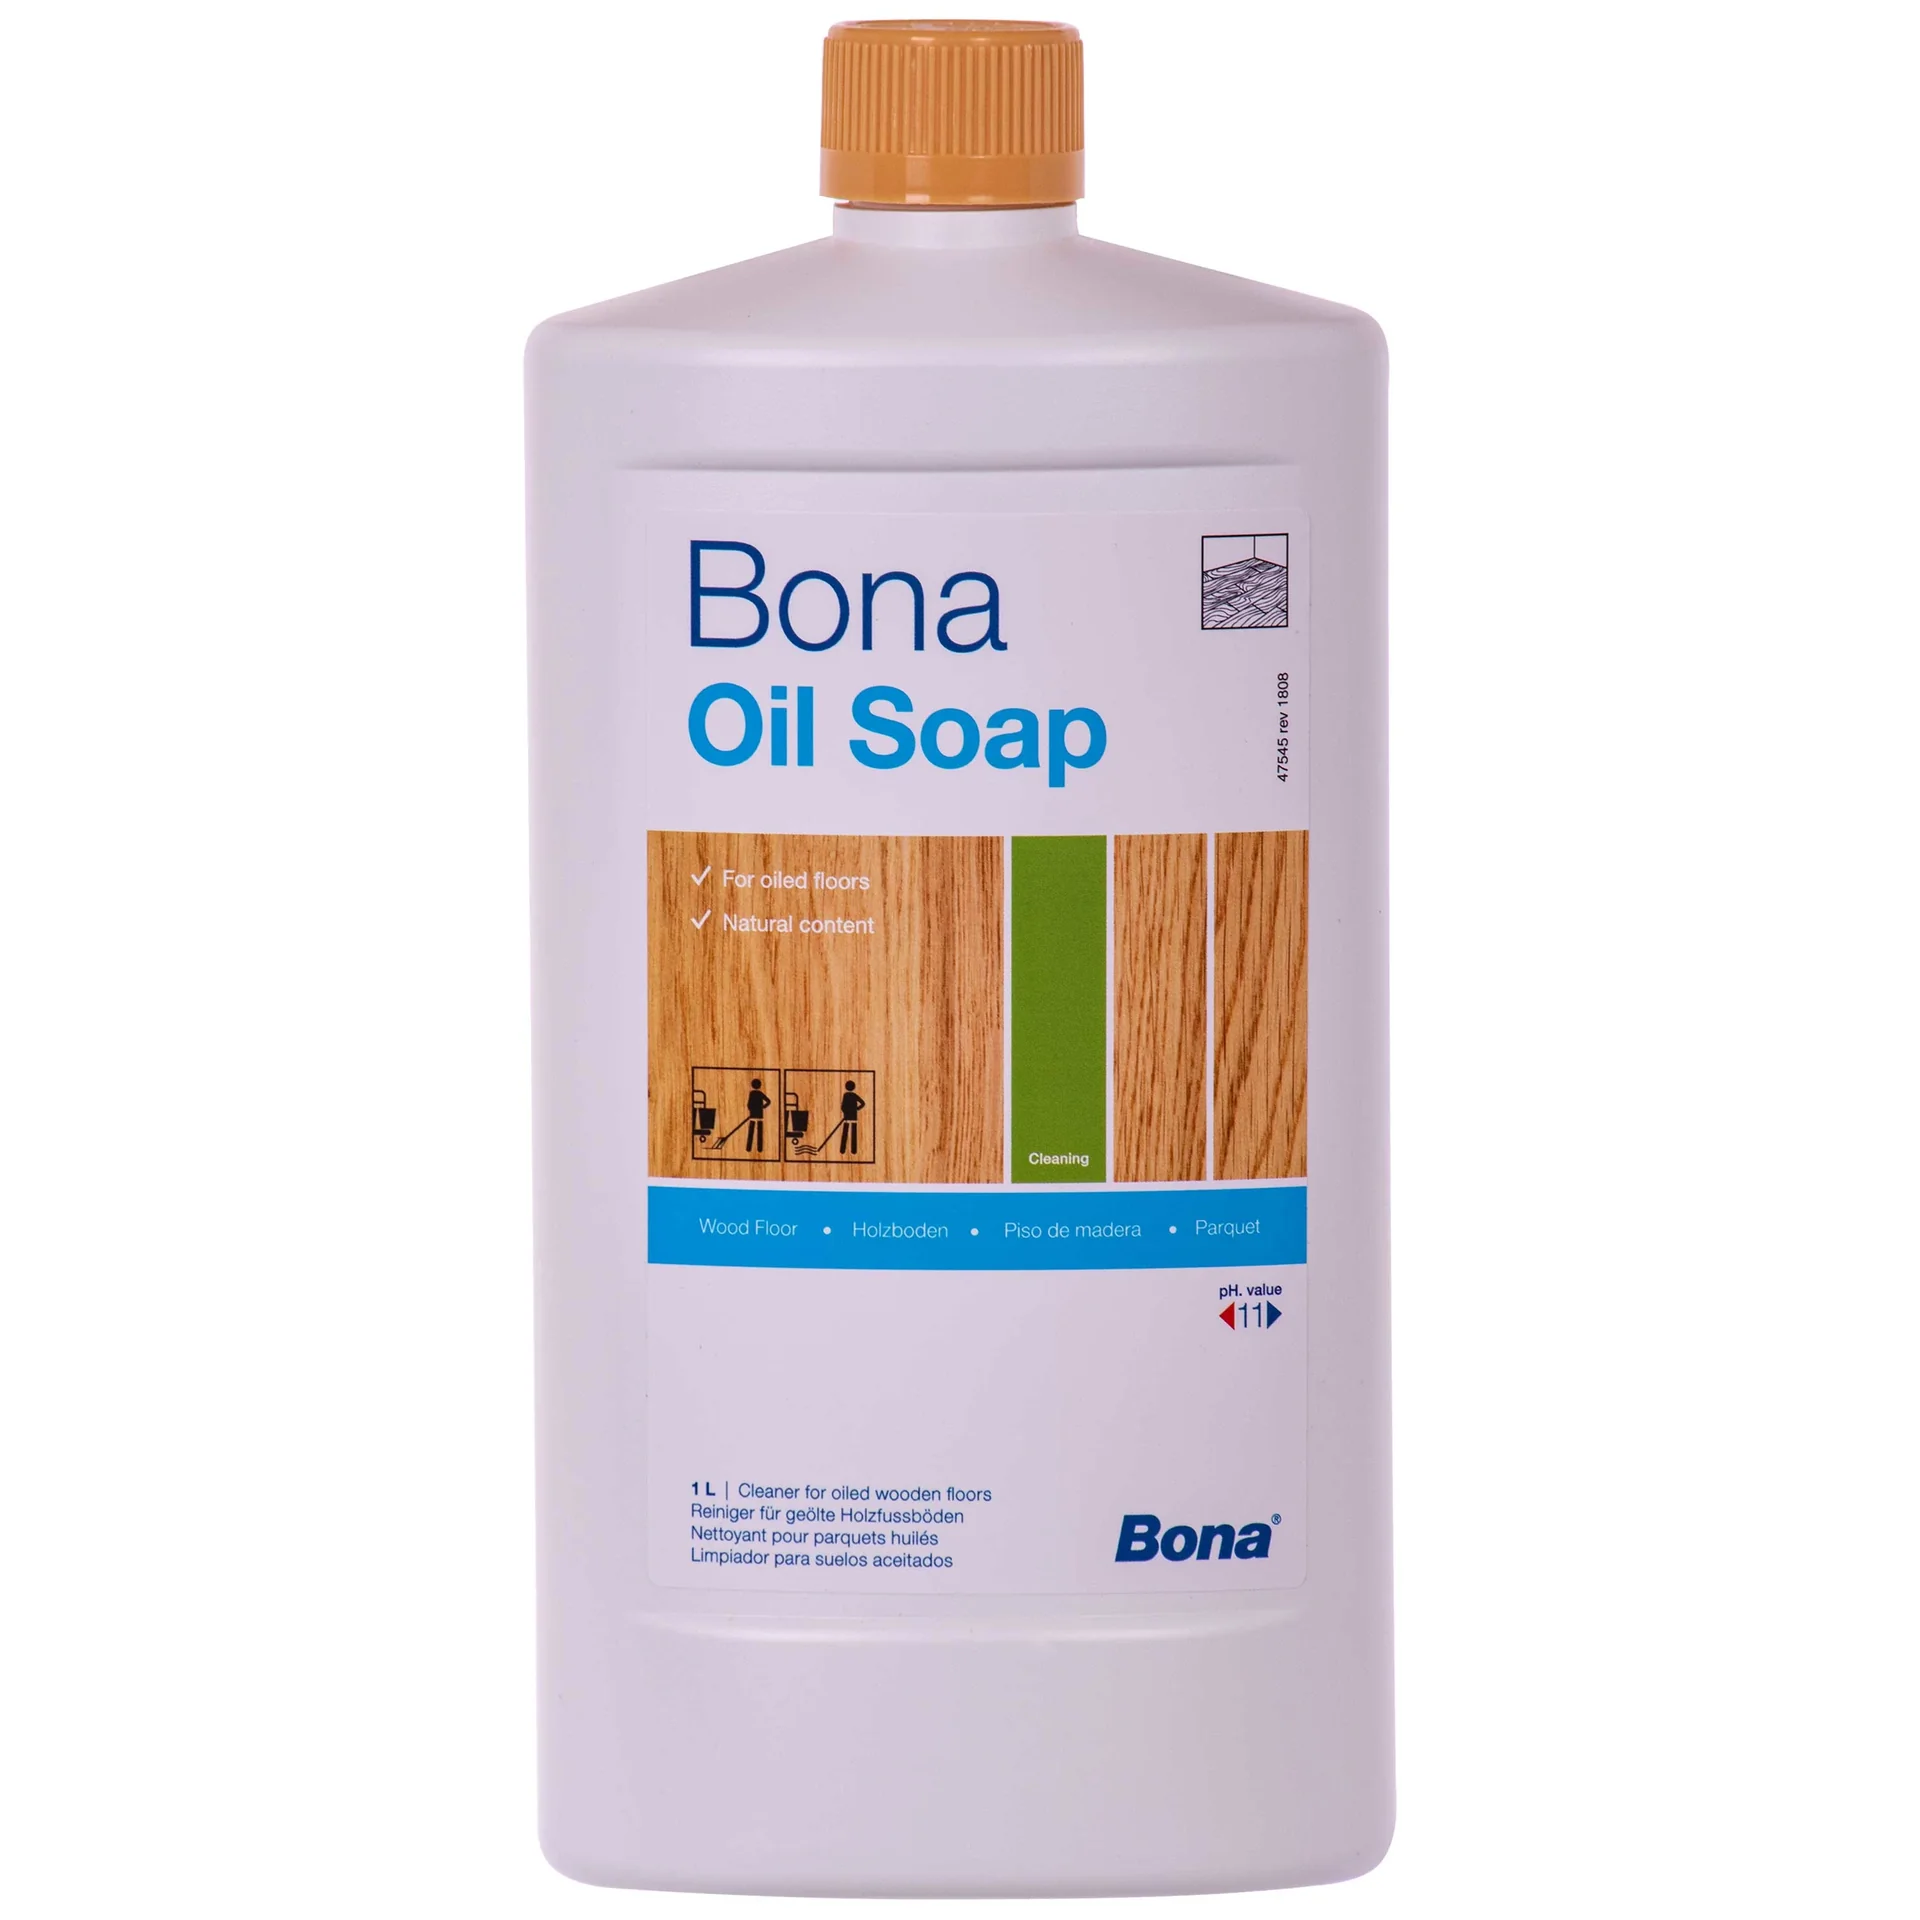
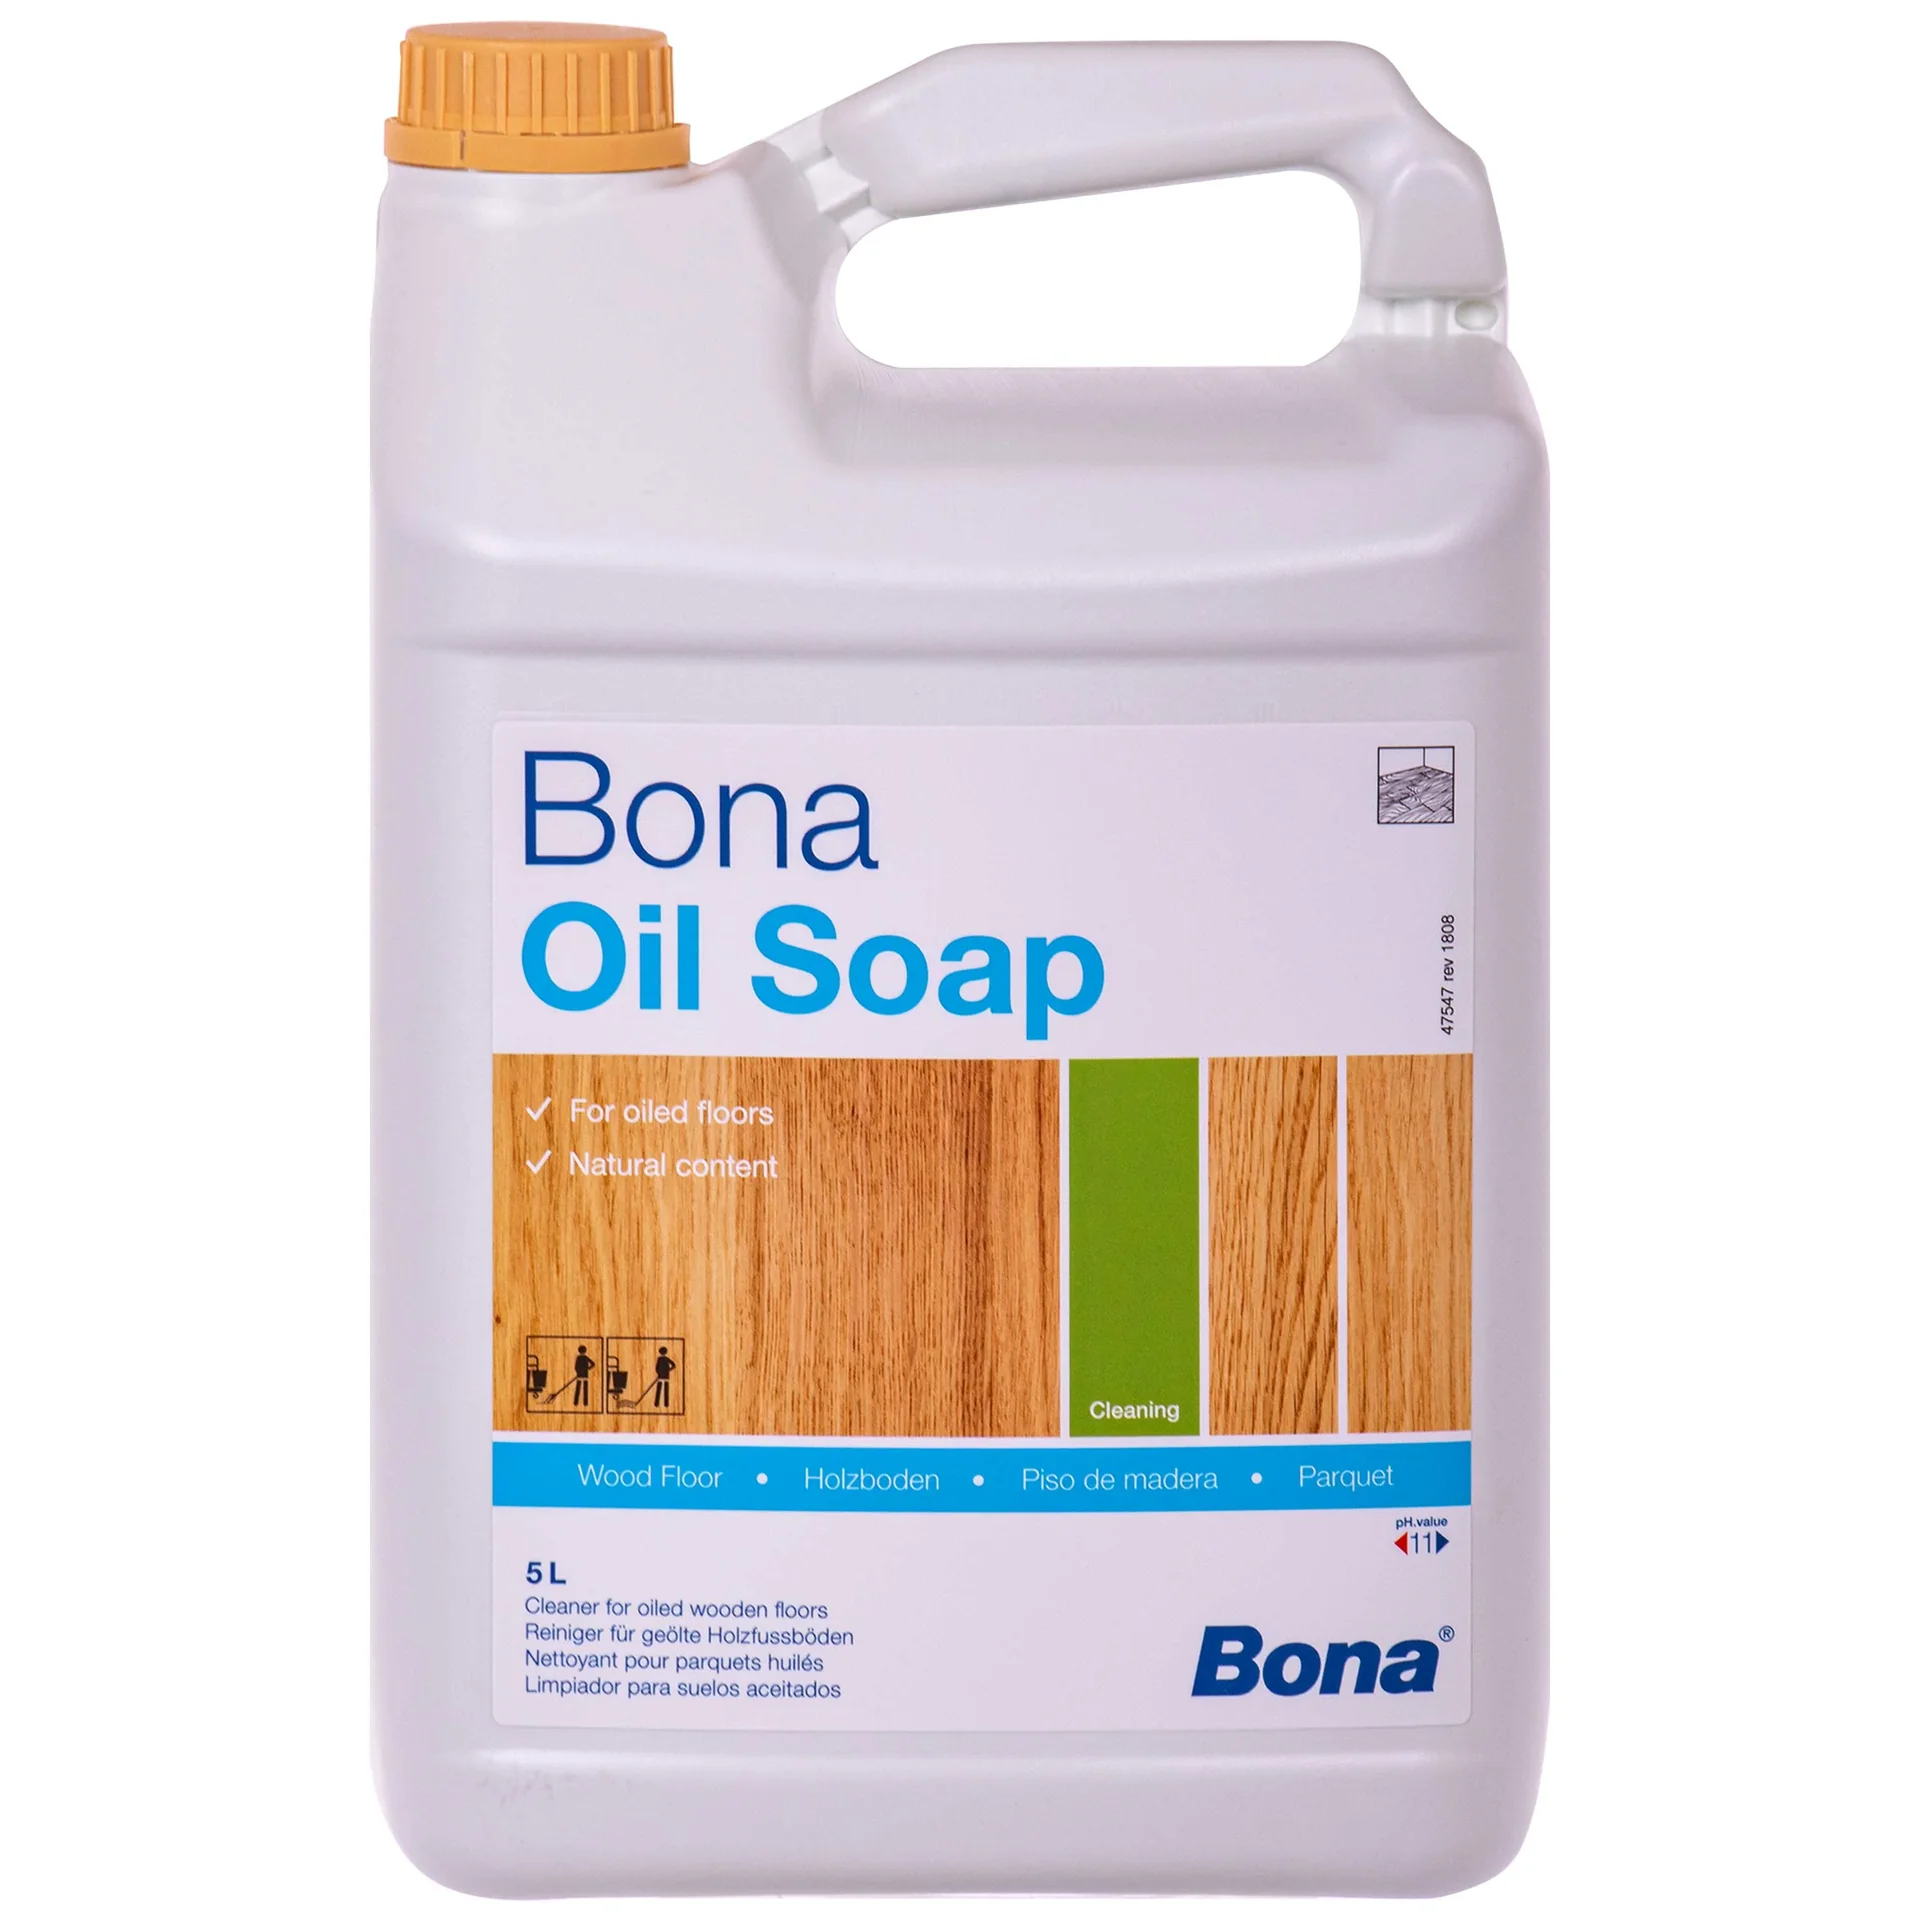
Clean the affected areas thoroughly. Old paint, plaster residue and dirt must be completely removed. A durable protective covering for the rest of the hallway can be useful here. For cleaning wooden surfaces after renovation, or the larger version .
Once the initial cleaning is complete, dry out the basement. Use dehumidifiers and powerful fans. Construction moisture must leave the walls before you apply new materials. This process can take several weeks.
Materials for Interior Waterproofing
- Rotary hammer with chisel for removing old screed
- Pressure washer for deep cleaning
- Crack filler for larger hairline cracks
- Primer for concrete (bonding agent)
- Flexible waterproofing coating (two-component)
- Pressure-resistant insulation boards (XPS)
- Screed and levelling compound
- Personal protective equipment including a respirator mask and gloves
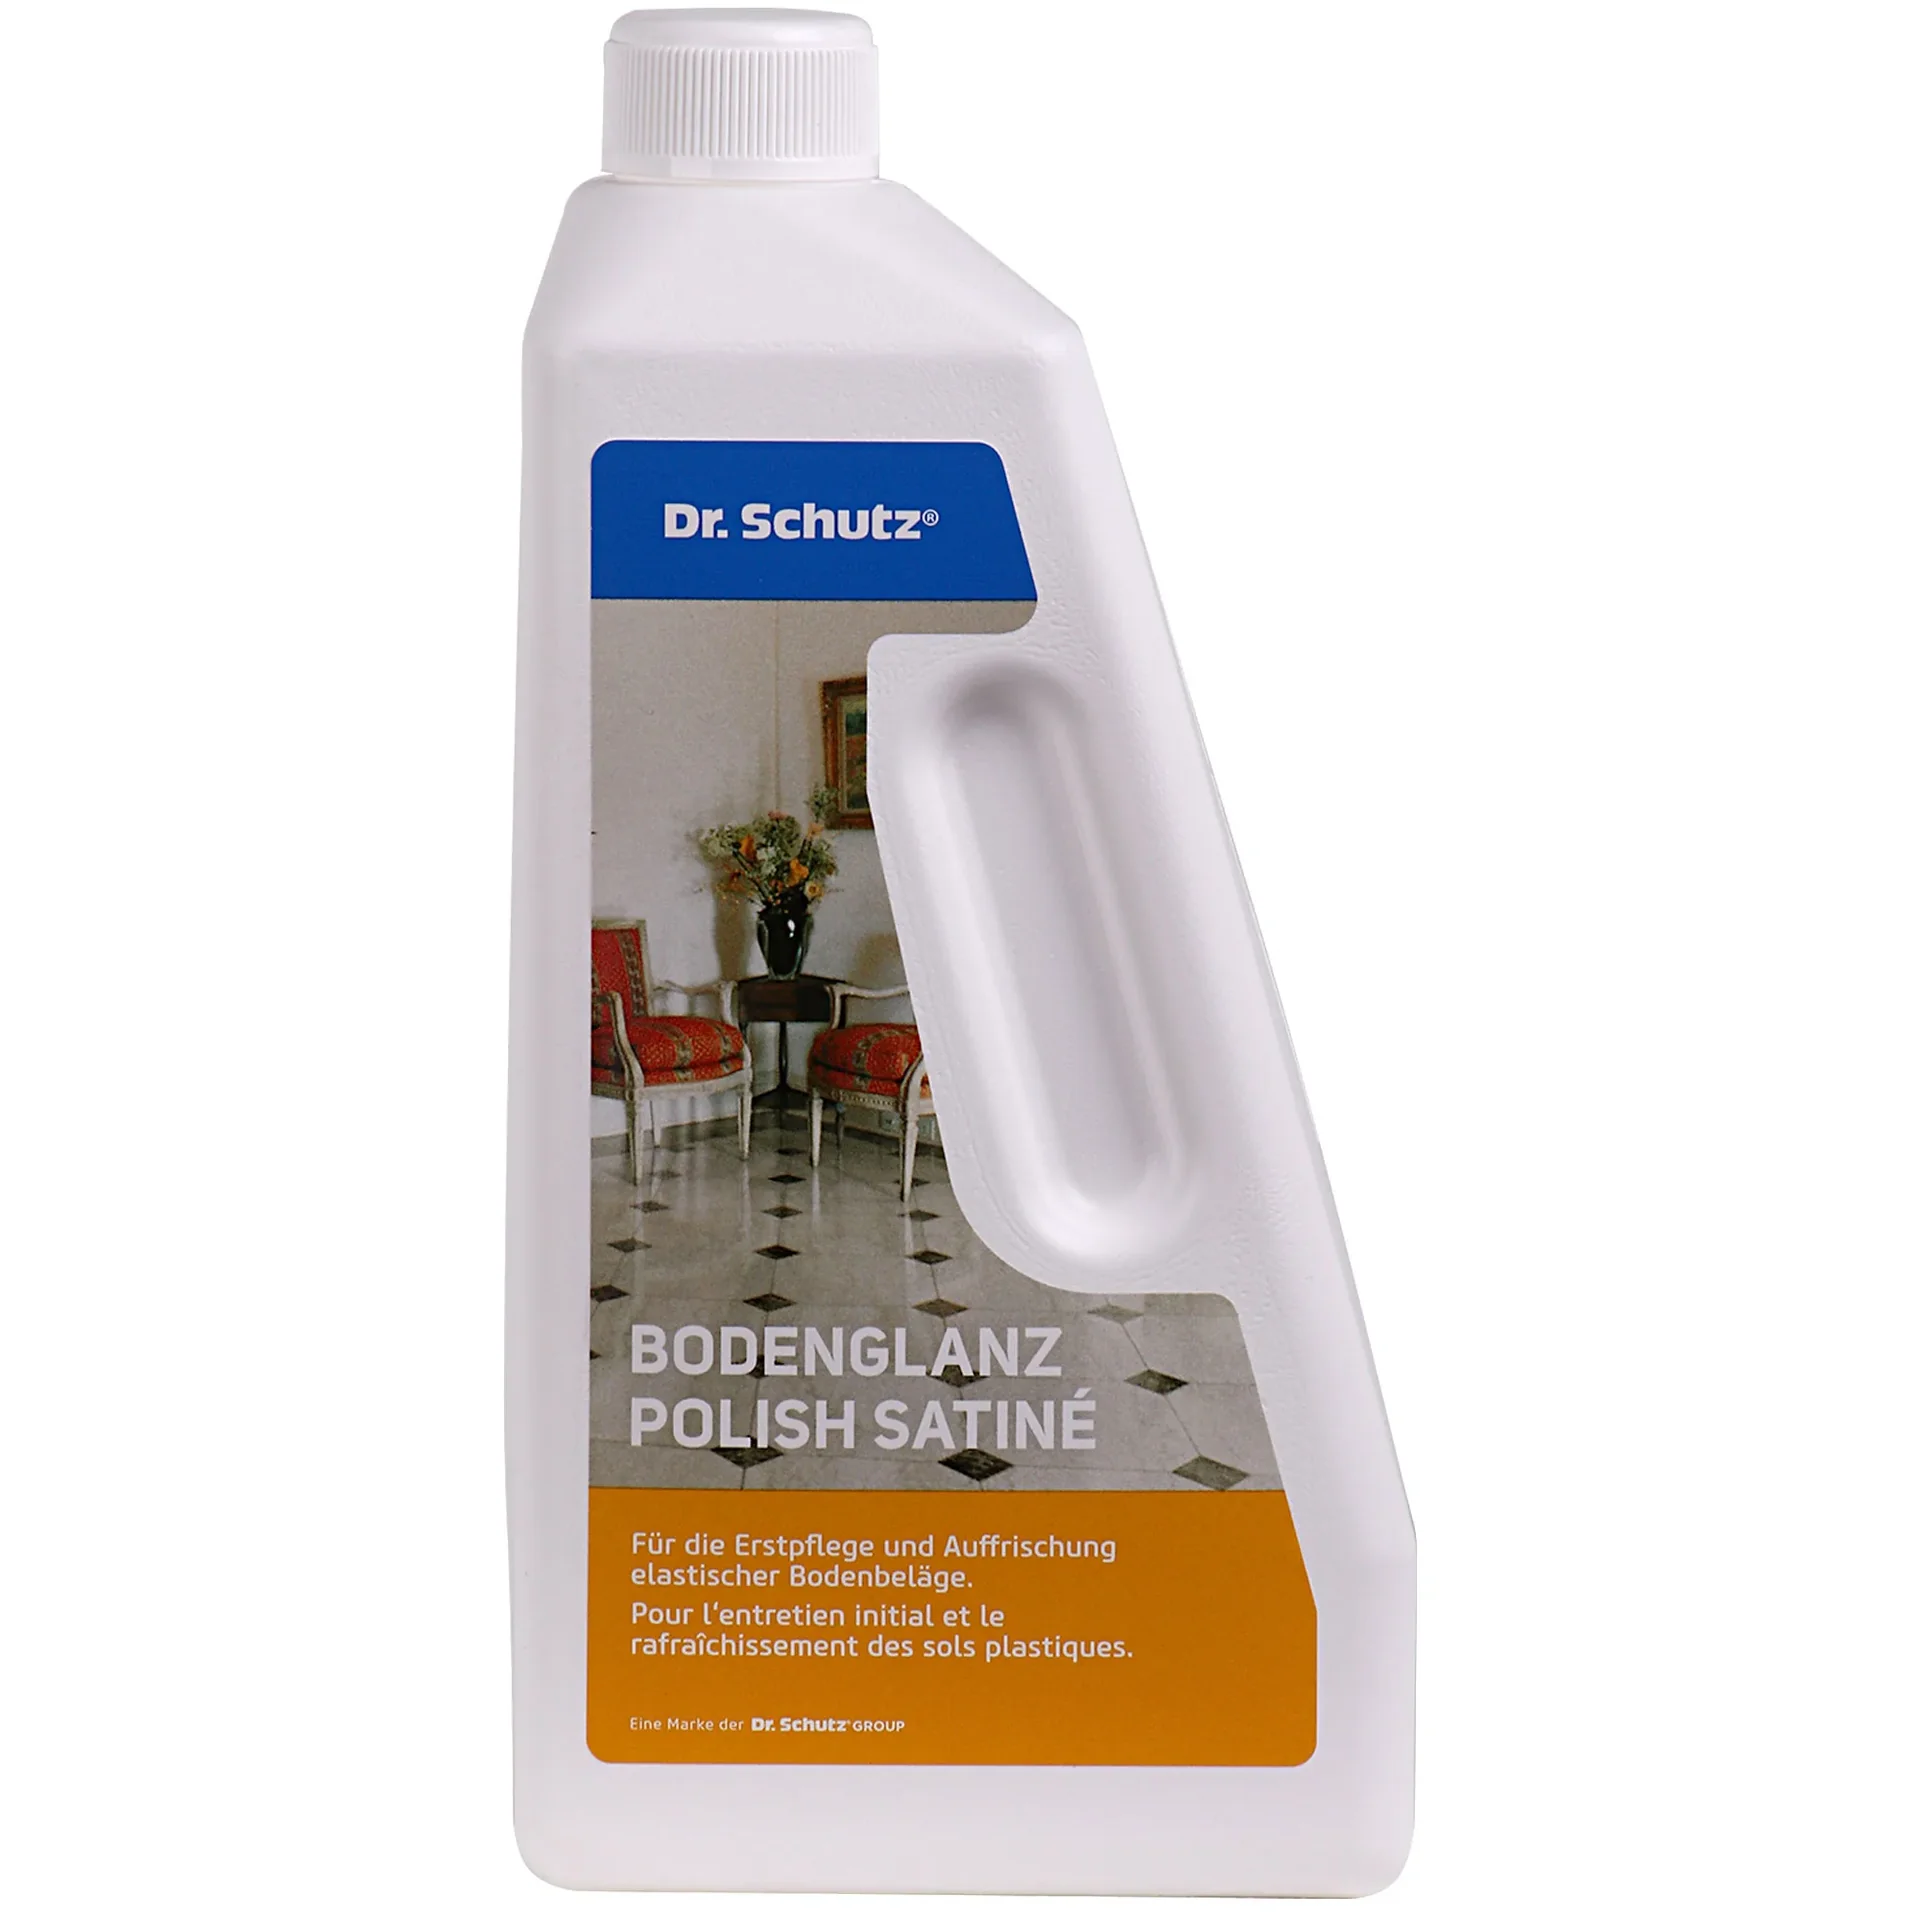
Once the work is complete, proper care is essential. is suitable for gently cleaning the new floor covering in your renovated basement.
When Should You Call a Professional for Basement Waterproofing?
You have reached the point where professional help is needed when structural problems are present. Deep cracks in the concrete slab, sunken foundation areas or severe lateral water pressure require specialist expertise.
A structural engineer must assess the stability of the building. An experienced building contractor coordinates the waterproofing, drainage and any necessary structural repair work. The cost of hiring a professional is an investment in preserving your home's value.
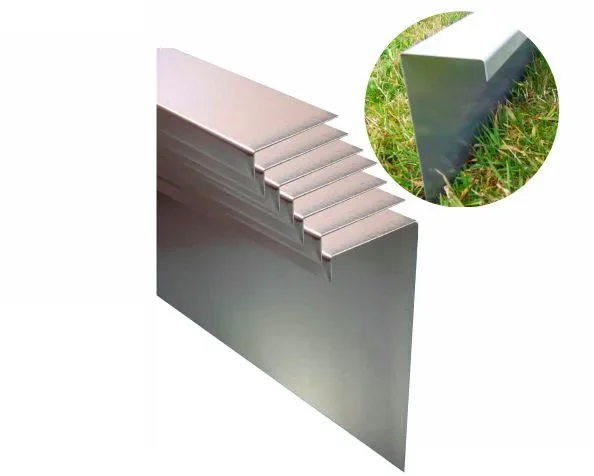
Always obtain several detailed quotes. Check references and warranty periods. A reputable provider offers at least 5 years' warranty on waterproofing work. demonstrates the importance of long-lasting protection – here for garden beds, just as with protecting your basement.
Long-Term Protection: How to Keep Your Basement Dry
Even the best waterproofing will achieve little if water is not drained away from outside. Check your downpipes and the drainage around your house regularly. Make sure the ground slopes away from the house.
Keep ventilation in the basement balanced. In summer, you should not ventilate continuously when the air is warm and humid. Targeted airing for short periods during the cooler morning or evening hours is better. A hygrometer gives you a reliable indication of the humidity level.
A dry basement is more than just a storage area. It is the stable foundation of your home. With the right waterproofing for the concrete slab and walls, you can protect your property from significant loss of value and create healthy living space. Start by analysing the problem, work systematically and consult an expert if you are unsure.
Frequently asked questions
- How can I tell whether the damp in my basement is coming from the concrete slab?
- Rising damp shows as evenly damp walls extending upwards from the floor, often with salt efflorescence (white patches). Place a sheet of plastic on the dry floor. If the underside is fogged up after 24-48 hours, moisture is penetrating from below. Lateral moisture ingress causes damp patches in the middle of the wall or at junctions.
- Can I waterproof my basement floor myself?
- Surface coatings on sound concrete can be applied as a DIY project. If there is hydrostatic pressure, cracks or leaking joints, you need a specialist contractor. Installing a horizontal damp-proof barrier retrospectively is almost always a job for professionals. Incorrect waterproofing can make the damage worse. Always consult a surveyor about structural problems.
- How much does it cost to retrofit insulation for a concrete slab?
- Costs vary considerably. A capillary-breaking layer (gravel, drainage) costs 50-100 €/m². Retrofitting a horizontal damp-proof barrier (injection, underpinning) costs 200-500 €/m². The most extensive renovation, involving new walls and a concrete slab, starts at 800 €/m². A detailed quote from a specialist is essential.
- Which materials are suitable for waterproofing from the inside?
- For internal waterproofing, use mineral waterproofing slurry, reactive resins or flexible bitumen coatings. Elastic polyurethane or acrylate gels are suitable for cracks. It is important that the material remains vapour-permeable so that residual moisture can escape. Avoid vapour-tight membranes, which can cause condensation behind the layer.
- How long does professional basement waterproofing last?
- Properly installed, multi-layer external waterproofing lasts 30-40 years. Internal waterproofing has a service life of 15-25 years, depending on the moisture levels. Regularly checking the drainage system and backwater valves extends its lifespan. Plan an inspection every 10 years.
You may also be interested in
- Drying out a damp basement: How to waterproof the exterior wall properly
- Waterproofing a basement from the inside: How to keep your basement dry
- Renovating a basement: Tips for dryness and preserving property value
- Sealing leaks: The solution for roofs, balconies & more
- Flood protection for basements and garages: Effective measures
- Sealing tape & joint sealing: How to protect your home