
In brief: Peel-and-stick wallpaper is a quick way to transform your walls. It requires no wallpaper paste because it sticks with a built-in adhesive backing. For the best results, walls should be dry, clean, smooth and free of grease. Measure carefully, cut each strip with a little extra material, and work from the centre out to prevent air bubbles.
Peel-and-Stick Wallpaper: A Quick Alternative to Traditional Wallpaper
Want to give a wall a fresh look without the hassle of wallpaper paste and long drying times? Peel-and-stick wallpaper is a practical solution. It has an adhesive backing that sticks to the wall when you remove the liner, saving time and avoiding the mess of paste.
Even so, careful application matters. Once a strip is in place, it can be difficult to reposition. Preparing the wall is key to getting a good result. Follow these steps to get the job done quickly and neatly.
How Do I Prepare the Wall for Peel-and-Stick Wallpaper?
A successful DIY wall makeover starts with thorough wall preparation. Peel-and-stick wallpaper won't hide imperfections in the surface.
The wall must be dry, clean, sound and completely free of grease. Remove loose wallpaper and flaking paint. Fill cracks and uneven areas, then sand the surface smooth. Thoroughly remove all dust. Wipe away any remaining dust with a damp cloth.
Important note
Peel-and-stick wallpaper won't adhere to textured woodchip wallpaper, loose emulsion paint or dusty plaster. The surface must be smooth and sealed. If you're unsure, prime the wall with a bonding primer for non-absorbent surfaces. This helps create an even surface and improves adhesion.
The Right Tools for the Job
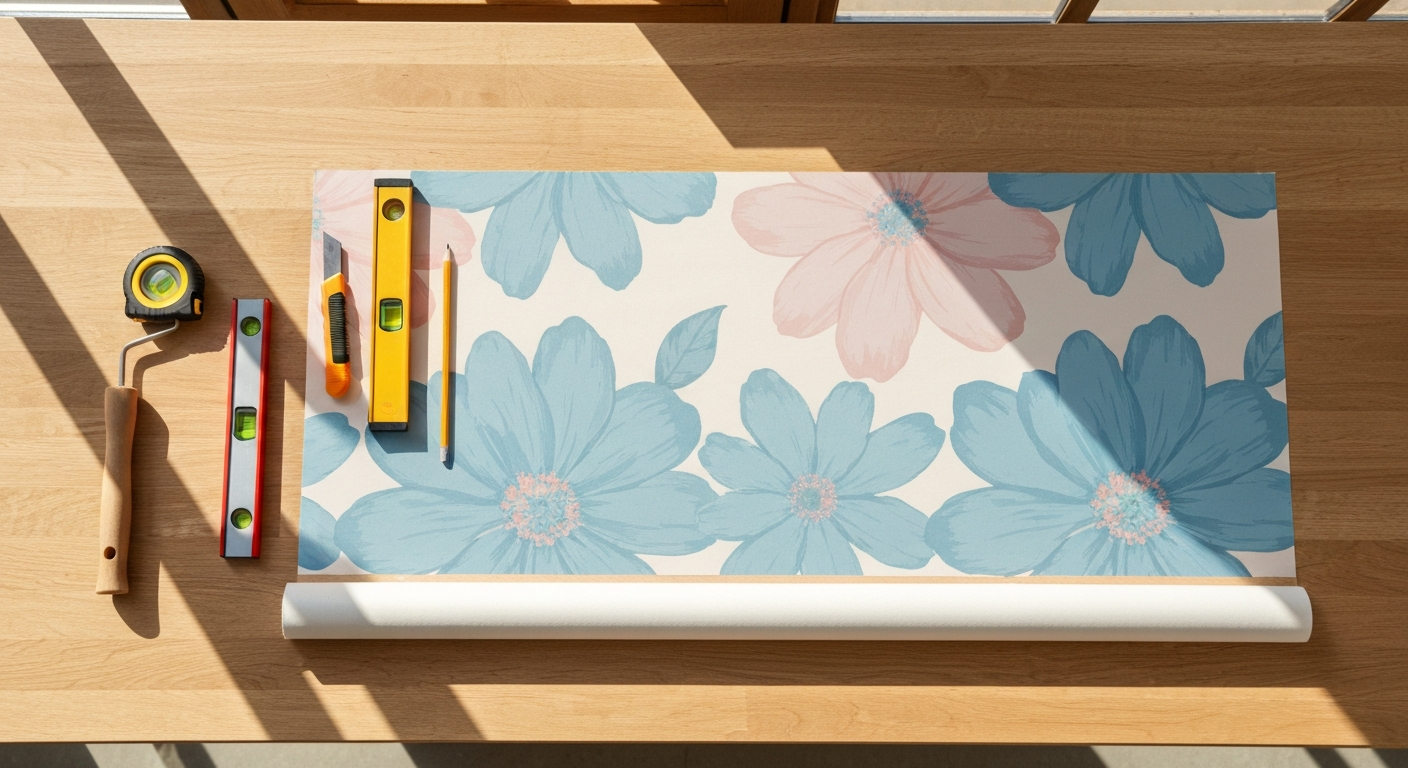
Along with a clean surface, you'll need the right tools. A spirit level or plumb line is essential for marking a straight starting line. A utility knife with a sharp blade makes precise cuts. A seam roller or wallpaper smoother helps remove air bubbles.
A large, sturdy table gives you room to lay out and cut the wallpaper. A tape measure and pencil help you measure accurately. Keep a lint-free cloth handy to wipe away any adhesive that squeezes out as you smooth the wallpaper down.
How Do I Measure and Cut Peel-and-Stick Wallpaper Strips?
Accurate measurements are essential. Measure the wall height in several places. Use the largest measurement, then add about 5-10 cm at the top and bottom. This extra material lets you trim the strip for a neat fit at the ceiling and baseboard.
Roll out the wallpaper on the table and cut the first strip to length. Use a spirit level as a guide for a straight cut. Lightly mark the top and bottom on the back of the strip with a pencil so you can tell which way it goes when applying it.
Expert tip
Lay out several strips side by side and cut them together. This saves time and keeps the pattern at the same height across all the strips. Check the pattern repeat as you cut and allow for the required offset.
Patterned wallpaper takes patience. Before cutting, place the strips side by side and line up the design at the seams. Mark the overlap for the next step.
How Do I Apply the First Wallpaper Strip Correctly?
The first strip sets the direction for the entire wall. Choose a starting point, such as a prominent corner or the centre of the wall. Use a spirit level and pencil to draw a perfectly vertical line to guide your first strip.
With the printed side facing down, roll the cut strip back slightly on the table. Peel away only about 30-50 cm of the backing paper at the top. Fold the exposed adhesive backing back so it doesn't stick to itself.
“The most common mistake is removing the entire backing paper at once. The strip then immediately sticks to itself and becomes unusable. Always work in small, manageable sections.”
Line up the top edge of the strip with the ceiling or your marked line. The extra material should extend evenly at the top and bottom. Press the top section firmly into place.
Continue a little at a time. Slowly pull away more backing paper with one hand while using your other hand or a wallpaper smoother to press the wallpaper onto the wall, working from the centre out. This pushes air bubbles towards the edges.
Working Around Windows, Outlets and Corners
Work carefully around obstacles. First, position the strip over the obstacle. Then press the wallpaper around the frame or outlet. Use a utility knife to cut an X over an outlet, or carefully trim along the window frame.
Trim the excess material and neatly wrap the edge around. At corners, make a vertical cut in the strip so you can guide it neatly around the edge. The next strip should slightly overlap this cut area.
Additional advice
For a neat finish around outlets and light switches, turn off the power, remove the cover plate and apply wallpaper over the area. Carefully trim the excess around the screw holes, then replace the cover plate. This gives the installation a clean, professional finish.
How Do I Apply the Next Strips and Finish the Seams?
Position the second strip right next to the first. If the wallpaper has a pattern, take care to match the design. Depending on the type of wallpaper, the strips may need to overlap slightly or meet edge to edge. Follow the manufacturer's instructions.
Use the seam roller to press the adjoining edges together for a neat, secure finish. Roll along the seam with moderate pressure. Immediately wipe away any adhesive that squeezes out with a damp, lint-free cloth.
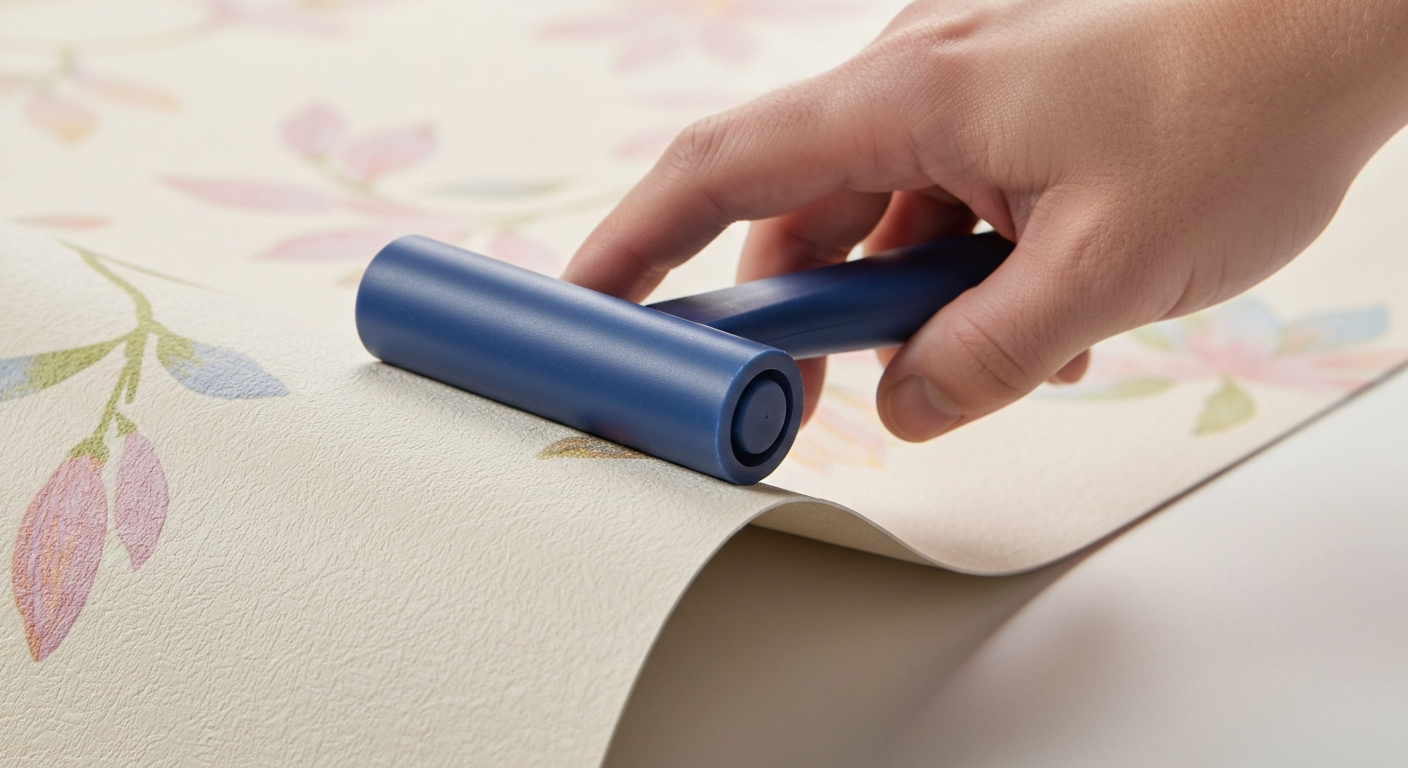
Continue across the wall, applying one strip at a time. Check regularly with a spirit level to make sure the strips are still vertical. Correct small deviations with the next strip instead of pulling a strip that's already in place out of shape.
What Should I Do About Air Bubbles and Other Problems?
Small air bubbles are common. Use a seam roller to push them towards the nearest seam or edge. For larger bubbles, carefully prick them with a pin and press the air out, then smooth the area down again.
If you notice right away that a strip is crooked, you may be able to carefully peel it off and reposition it before the adhesive fully bonds. Once it's firmly stuck, you'll need to start again with a new strip.
“Staying calm is essential when working. Hurrying leads to crooked strips and air bubbles. Allow enough time, take breaks and check every step before removing more of the backing paper.”
If old wallpaper is getting in the way of your renovation, a wallpaper steamer can make removal much easier. It loosens old adhesive gently and effectively.
Finishing touches and care
Once all the wallpaper strips are in place, it’s time to finish the job. Use a utility knife and metal ruler to trim the excess wallpaper neatly along the ceiling and baseboards. Change the blade often to keep the material from tearing or fraying.
Check all the seams and edges one more time with the seam roller. Wipe away any leftover adhesive. Your new wall is ready.
How you care for peel-and-stick wallpaper depends on the material. In most cases, careful dusting or gently wiping it with a slightly damp cloth is enough. Avoid harsh cleaners and abrasive sponges.
For more inspiration and a wide range of designs, browse our categories for patterned wallpaper, striped wallpaper or solid wallpaper. You’ll find the right option for every room and personal style.
When is peel-and-stick wallpaper the ideal choice?
This type of wallpaper is ideal for small areas, accent walls or furniture. It’s perfect for renters because it can often be removed without leaving residue. With large, perfectly smooth surfaces and a little practice, you can even decorate an entire room.
It’s a quick way to renovate and redecorate your walls without a lot of effort or mess. With the right preparation and our guide, you can tackle this DIY project with confidence.
Don’t forget other areas of your home: special self-adhesive insulation is available for insulated pipes and works on a similar principle—clean, quick and effective.
Frequently asked questions
- Does peel-and-stick wallpaper stick to all surfaces?
- No. It only sticks properly to surfaces that are completely dry, clean, firm and grease-free. Wood-chip wallpaper, loose or peeling paint, and dusty plaster walls aren’t suitable. Smooth, primed drywall or clean, sound latex or latex-based paint provide the best conditions for a long-lasting result.
- Can I remove peel-and-stick wallpaper without leaving residue?
- This depends largely on the surface and the quality of the wallpaper. High-quality non-woven wallpaper with a self-adhesive backing can often be peeled off dry without leaving residue. Paper-based products or sensitive surfaces may have some residue left behind. Always test removal in an inconspicuous spot first. To remove old wallpaper, use our wallpaper steamer.
- How do I get air bubbles out from under the wallpaper?
- Use a seam roller or squeegee and work from the center toward the edges, pushing the air out as you go. For larger bubbles, carefully prick the bubble with a needle and press the air out. If a bubble won’t go away, you can carefully lift the wallpaper and smooth it down again, as long as the adhesive hasn’t fully set.
- What should I do if I position the wallpaper incorrectly?
- Act right away. If the strip hasn’t been pressed down completely, you can carefully peel it off and reposition it. Once the strip is fully stuck to the surface, it can usually only be removed by tearing it. If that happens, trim the incorrectly positioned strip neatly and apply a new one. Measuring carefully and marking the wall can help prevent this mistake.
- Is peel-and-stick wallpaper suitable for damp rooms like bathrooms?
- Check the product specifications. Not all peel-and-stick wallpaper is water-resistant or suitable for humid conditions. Damp rooms require specially coated materials designed for those conditions. Also make sure the wallpaper is applied to a completely dry surface with no gaps, so moisture can’t get behind the strips.