
In brief: Spraying wood stain with a spray gun is the most efficient method for achieving even protection. It also reaches hard-to-access areas and saves time. The right preparation of the wood, a suitable stain for the intended use and a controlled workflow are crucial. The result is a professional, durable surface.
Why spraying wood stain is the professional method
The paintbrush has had its day when it comes to efficient wood protection. For large surfaces, intricate trelliswork or complex pieces of furniture, a spray gun is the tool of choice. It creates an even, continuous layer that penetrates deep into the wood fibres.
Brush marks and uneven roller coverage are a thing of the past. With spray application, you save not only time but also material. The fine atomisation enables precise dosing and minimises dripping.
This is particularly useful in the Garden + Outdoor range, where fences, pergolas and privacy screens often consist of many individual parts. The method also works well when caring for country-style children's furniture.
How to prepare the wood perfectly
Even the best stain is no use on a poor surface. Preparation determines success or failure. Start with a thorough inspection.
Is the wood new? It often only needs light sanding to open the surface for the stain. With old, previously treated wood, you must completely remove any flaking or cracked old coatings.
Sanding is essential. Use medium- to coarse-grit sandpaper for this. Always work in the direction of the wood grain. After sanding, remove all the dust with a vacuum cleaner or a lint-free cloth.
Preparation accounts for 80 percent of the work. A perfectly sanded, dust-free surface guarantees the coating's durability. Applying stain to dirt is like sticking something to sand.
Moisture is the enemy of every wood treatment. Only stain completely dry wood. After a rain shower or cleaning with water, allow several sunny days to pass. A moisture meter provides peace of mind.
Cleaning and treating problem areas
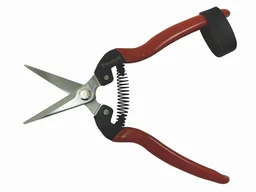
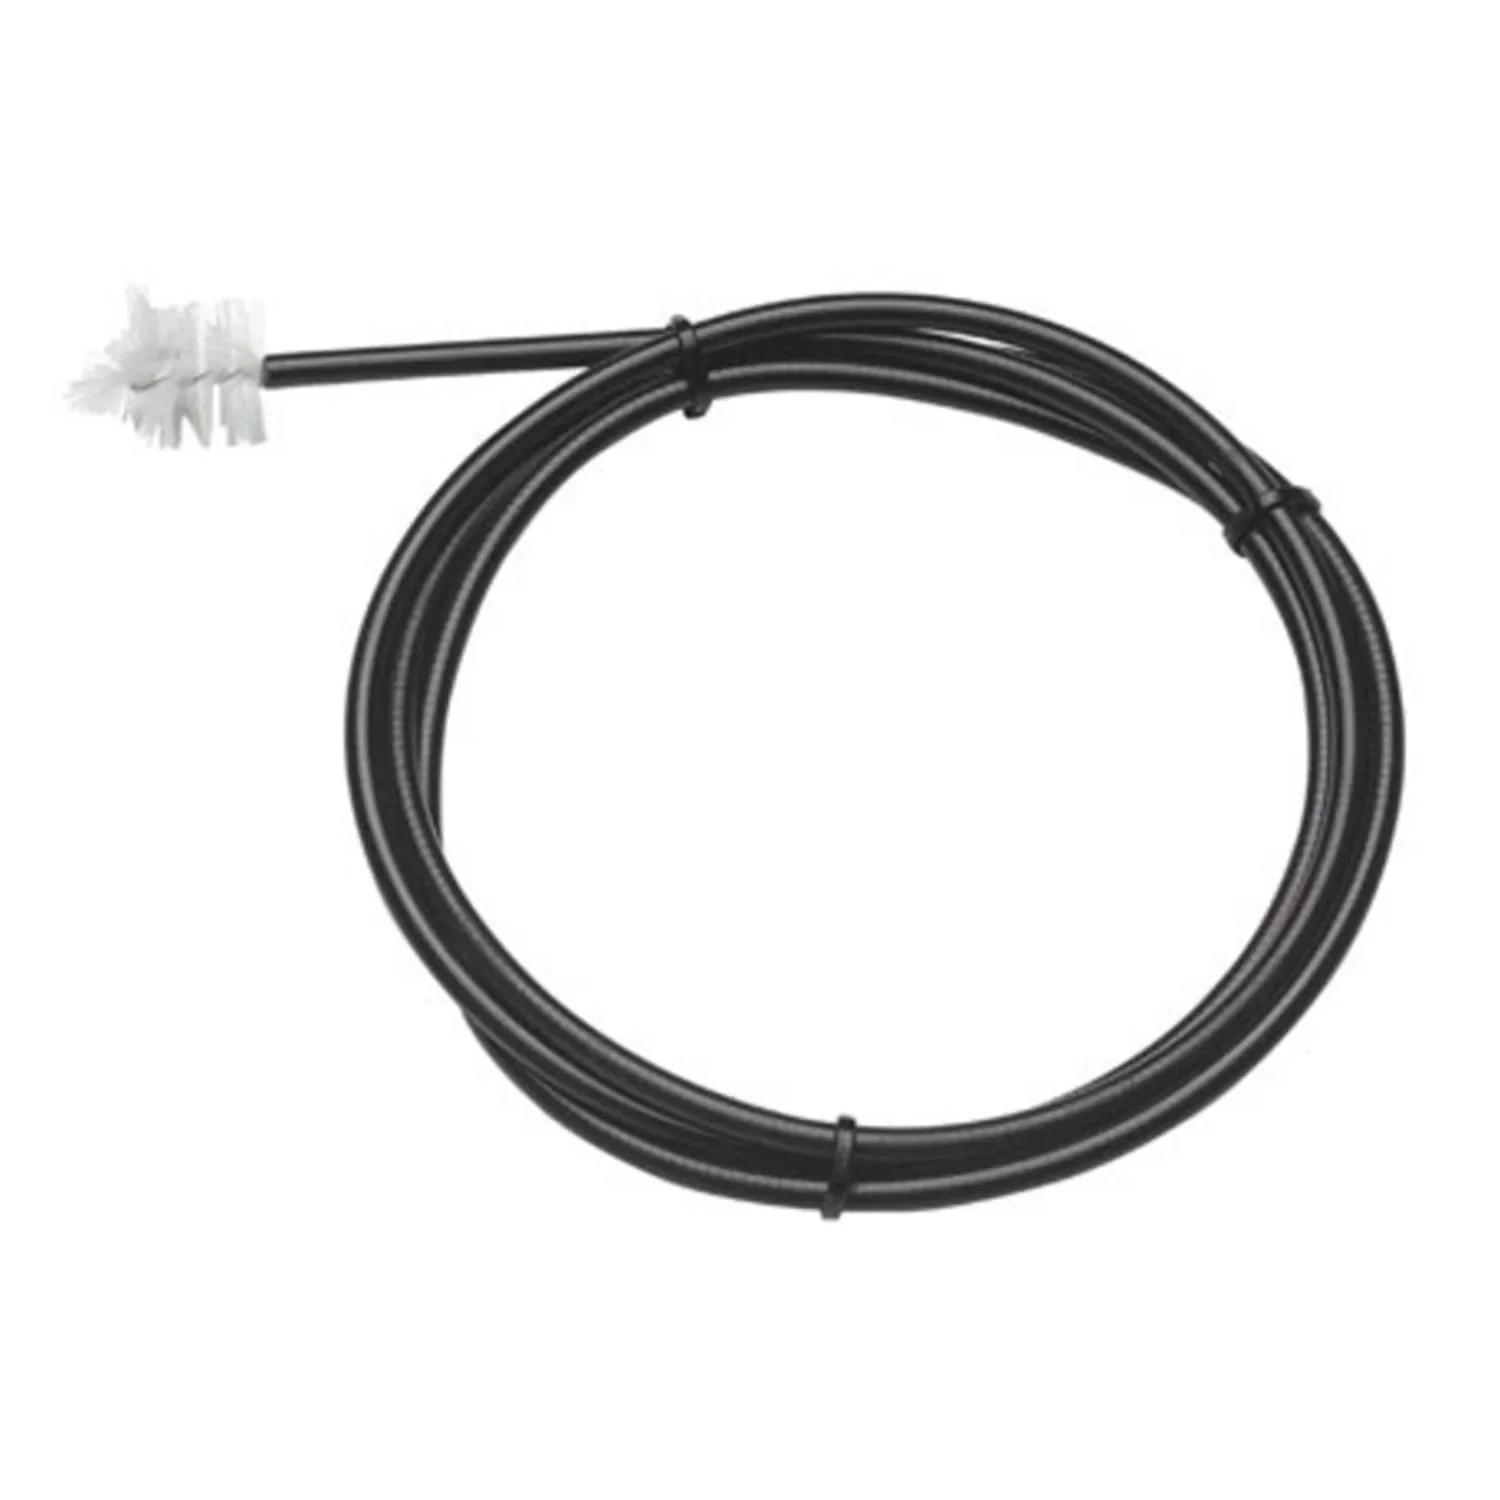
Surface dirt, algae and moss must be removed. A robust or a special can help with mechanical cleaning. In cases of severe fungal growth, prior treatment with a wood preservative primer may be necessary.
Then mask off all areas that should not be painted. Protect window glass, metal fittings and adjacent façade stonework with masking tape and protective sheeting. Do not forget the floor.
Important note
Always wear a respirator mask (FFP2 dust mask) and safety goggles when sanding and spraying. Wood dust and stain mist do not belong in your lungs. Work in well-ventilated areas.
Which stain and tools you need
Not every stain is suitable for spraying. High-build stains designed for brush application quickly clog the spray gun nozzle. Look specifically for stains described as "sprayable" or "low-viscosity".
For outdoor use, the stain must be UV-stable, water-repellent and treated with biocides to prevent fungal growth and algae. Water-based acrylic stains are easy to apply and clean up. Alkyd resin stains often offer even greater durability.
The choice of spray gun depends on the size of the job. For garden furniture or a small fence, a simple compressed-air spray gun with a compressor is sufficient. For large surfaces such as entire façades or extensive fences, an electric airless sprayer is worthwhile.
Professional tip
Always test the spray gun settings and the consistency of the stain first on an old piece of wood or an inconspicuous area. Adjust the pressure and nozzle size until you achieve an even, fine fan (spray pattern) without drips.
The right consistency should flow like thin milk. You can slightly adjust stain that is too viscous with the thinner recommended by the manufacturer (often water for acrylic stains). Do not overdo it, or the coating thickness will suffer.
The step-by-step guide to spraying wood stain
You have prepared everything. Now it is time to apply the stain. Fill the thinned, thoroughly stirred stain into the spray gun cup. Set the pressure according to the manufacturer's instructions.
Start at an upper edge and work your way down. Always hold the gun at a right angle to the surface and at an even distance of approximately 20-30 cm. Move in smooth, overlapping passes.
The key is to maintain an even speed. Moving too slowly causes runs and drips. Moving too quickly results in a coat that is too thin and uneven. The first coat should be thin and even; it serves as a bonding primer.
Never spray in one spot; always keep the gun moving continuously. Imagine you are painting a line with the spray mist. Start moving before you reach the wood, release the trigger over the surface and only stop moving once you have passed the end of the piece of wood.
Allow the first coat to dry completely according to the manufacturer's instructions. This may take several hours. Only then apply the second, covering coat. Two thin coats are always better than one thick coat.
Working with difficult geometries
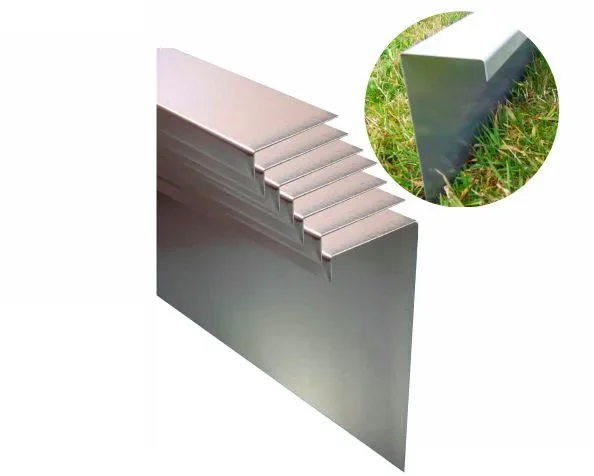
For slatted fences, railings or furniture with many bars, spray the inner sides and hard-to-reach areas first. Turn the object if possible. To protect garden beds from unwanted visitors such as slugs, which could also gnaw on wood, you can find special solutions such as .
With frame constructions, make sure no pools of stain form in the corners. Spray these areas with short, targeted bursts.
Additional advice
For extra protection for your freshly stained garden furniture while it is not in use, invest in a garden furniture cover. Transparent options, such as those found under transparent garden furniture cover, allow the wood to breathe while showing off its beautiful finish.
After spraying: drying and tool care
Place the treated wood in a dust-free, well-ventilated area to dry. Protect it from direct sunlight during the first stage to prevent the surface from drying and shrinking too quickly.
Final curing can take several days, depending on the stain and weather conditions. Do not fully load the surfaces until the time specified by the manufacturer has elapsed.
Cleaning your spray gun immediately is non-negotiable. Thoroughly flush the cup, nozzle and hose with the appropriate cleaning agent. For water-based stains, warm water with washing-up liquid is often sufficient; for resin-based stains, you will need the specific solvent.
Wood stain indoors: furniture and interior design
Spraying is not just suitable for the garden. Indoor wooden furniture, door frames and panelling can also benefit from an even finish. Indoors, you can often do without biocidal additives.
Even more thorough extraction and covering are important here, as the stain mist settles on every surface. Cover the entire room over a large area. Ventilation must be excellent.
For children's furniture or wooden play equipment, such as the products found in our children's toys categories, a water-based, non-toxic, harmless wood stain is essential. Look for the "Blue Angel" or a similar quality seal.
Spraying wood stain transforms wood care from a tedious chore into an efficient, professional task. With the right preparation, suitable tools and a systematic approach, you can protect your wood in the garden and home for years.
Frequently asked questions
- What are the advantages of spraying compared with using a brush or roller?
- Spraying is considerably faster and produces a more even, pore-filling coat without brush marks. You can effortlessly reach awkward areas such as railings or slatted fences. For large surfaces such as façades or extensive garden fences, a spray gun is unbeatable in terms of efficiency.
- Which wood stain is suitable for spraying outdoors?
- Choose a thin, sprayable stain explicitly labelled for outdoor use. Thick-layer stains clog nozzles. Acrylic or alkyd resin stains are good choices. Look for UV protection and protection against fungi and algae. Test how well the stain sprays on a sample first.
- How do I prepare wood correctly before staining?
- The wood must be dry, clean and free from grease. Completely sand off old, flaking coatings. Remove dirt, algae and moss with a brush. If the wood is wet or has just been cleaned, wait until it is completely dry. This is the only way the stain will adhere properly.
- What do I need to consider regarding safety and the surrounding area when spraying?
- Always wear respiratory protection (fine dust mask), safety goggles and gloves. Work in well-ventilated areas or outdoors. Generously cover plants, windows and surfaces that are not to be treated with protective sheeting. The fine mist can spread over a wide area.
- How do I clean the spray gun properly after staining?
- Clean the gun immediately after use, before the stain dries in the nozzle and cup. Flush it with the recommended solvent, often white spirit or a special cleaner, until clear liquid comes out. If necessary, dismantle it and carefully clean the nozzle and filter.
You may also be interested in
- Applying wood stain: protection and care for outdoor wood
- Painting and staining wood: a guide to perfect surfaces
- Paint spray gun: everything you need to know about spray painting
- Boat varnish: optimum wood protection for the garden and outdoors
- Building and maintaining a wooden deck: the ultimate guide
- Choosing the right paint sprayer system: our top tips