
In brief: A soaker hose waters tomatoes directly at the roots through fine pores. This reduces water loss through evaporation and prevents fungal diseases caused by wet leaves. You can save up to 70% water compared with conventional methods. Installation takes just a few steps.
Watering Tomatoes with a Soaker Hose: Easy and Efficient
Tomatoes need regular watering. Too much or too little water can harm the plants. A soaker hose helps solve this problem by releasing water slowly and directly at the roots. This saves time and resources.
The leaves stay dry, helping prevent fungal diseases such as early and late blight. You can harvest more fruit with less effort, and installation is simple.
Why is proper watering so important for tomatoes?
Tomato plants are more than 90 percent water. They need it to grow and produce fruit. Incorrect watering can stress the plants.
Stress can cause blossom-end rot, a black, rotten patch at the bottom of the fruit. It is caused by calcium deficiency, which is often triggered by uneven soil moisture.
Wet leaves encourage fungal spores to germinate. Once a plant is infected, the disease can spread quickly, putting the entire harvest at risk.
“Drip irrigation is the most efficient method for tomatoes. It reduces water consumption by up to 70 percent and significantly improves fruit quality.”
The disadvantages of a garden hose and watering can
A garden hose can waste water. Much of it evaporates before reaching the roots, and a strong stream can wash away soil and damage its structure.
Watering with a can is hard work. You have to carry several kilograms of water every day, and it can be difficult to control how much you use. It is easy to water too much at once.
Both methods wet the leaves, creating ideal conditions for disease. You may need to use plant protection products more often.
How does a soaker hose work?
A soaker hose is a flat, porous hose. Water escapes through tiny pores, slowly seeping out and soaking into the soil.
The system operates at low pressure, so water flows without a strong stream. This creates an even strip of moisture along the hose.
Tomato roots grow toward this moisture, becoming denser and stronger. The plant can absorb nutrients more effectively.
Pro tip
Lay the soaker hose right after planting your tomatoes. This helps the roots adapt to consistent moisture from the start. Avoid sharp bends when laying the hose, as they can restrict water flow.
How it differs from other drip irrigation systems
A drip hose has built-in emitters at fixed intervals. A soaker hose releases water along its entire length, making it more flexible.
You can lay the hose wherever you need it, and tight curves are possible. Water spreads over a larger area, making soaker hoses ideal for rows of tomatoes.
Soaker hoses are less likely to clog. The pores are self-cleaning when the pressure is correct, while emitters can become blocked by limescale or algae.
How do I install a soaker hose in a tomato bed?
Installation takes just a few steps. You need the hose, a filter, a pressure regulator, and suitable connectors.
Start at the faucet and connect the filter. It catches sand and rust particles. Connect the pressure regulator next.
A soaker hose operates at low pressure, so a pressure regulator is essential. Without one, the hose could burst.
“The most common source of error during initial installation is water pressure that is too high. A simple pressure gauge and a pressure regulator solve this problem and protect the material.”
Step-by-step guide
1. Plan the route. Lay the hose along the row of tomatoes. A distance of 10-15 cm from the base of each plant is ideal.
2. Lay the hose. Secure it with ground anchors or clips to keep it in place.
3. Seal the end. Use a plug or end fitting to make sure water only escapes where you want it to.
4. Test the system. Turn on the water for a few minutes. Check that the soil is evenly moist and look for leaks.
Important note
Always run the irrigation system with a timer. Do not leave it running unattended overnight. A fault or blockage can cause flooding. Check the water pressure regularly.
How do I measure how much water my tomatoes need?
Young tomato plants need less water than mature plants. Use the weather and soil as your guide.
Try the finger test. Insert your finger about 5 cm into the soil next to the hose. If the soil feels moist, the amount of water is sufficient.
More water evaporates in hot or windy weather, so extend the run time. On cool, overcast days, you can reduce it.
Recommended watering times
During the growing season: Start with 20 minutes per day and observe the plants for one week.
When fruit is forming: Increase this to 30-40 minutes daily. The tomatoes need more water as their fruit develops.
When it rains: Switch off the system and install a rain sensor to interrupt watering automatically.
Find suitable products for your tomatoes in our Tomatoes category. You will also find special seed-starting pots there.
What products do I need for a soaker hose system?
A basic set includes the most important components, and you can expand it with individual parts. The right accessories make the job easier.
The
is a comprehensive drip irrigation kit. It includes 50 metres of hose, connectors, and a filter. It’s a good starting point for larger beds.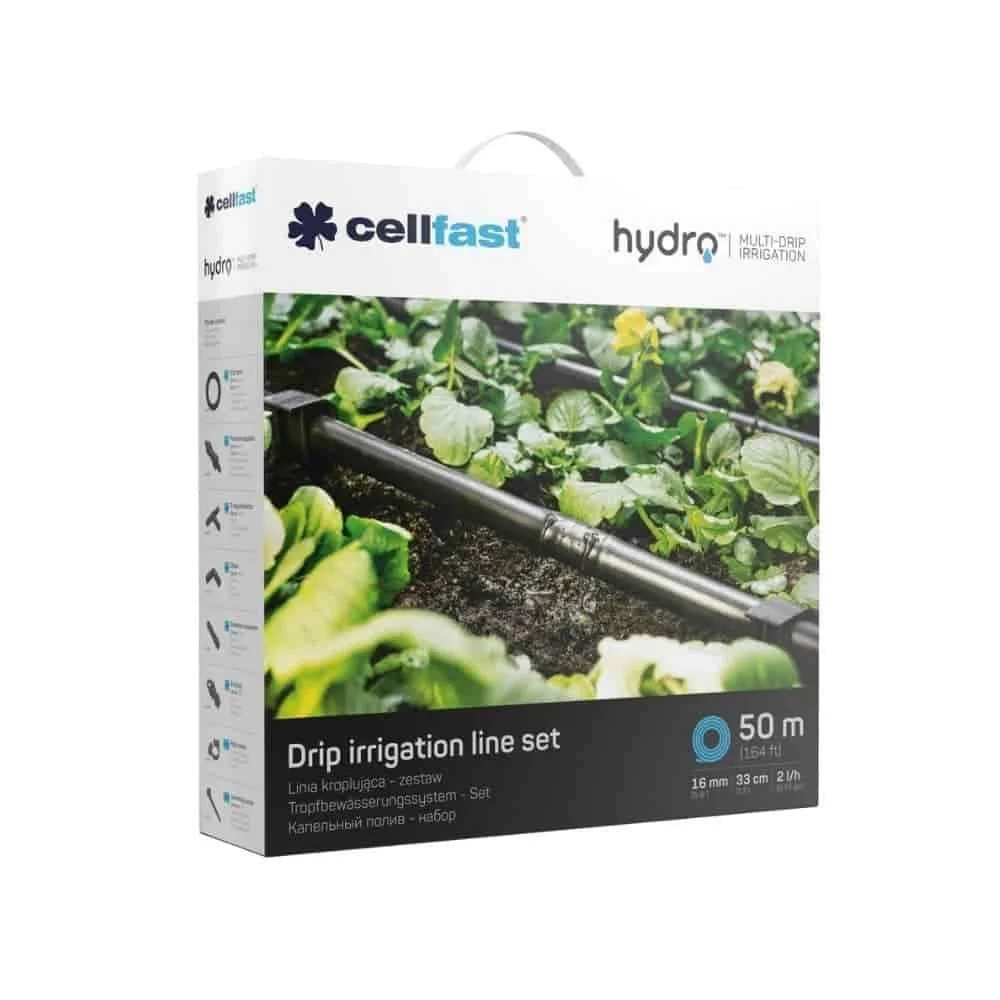
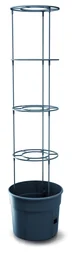
Special pots are ideal for growing tomatoes. The
and the larger provide ideal growing conditions for healthy root development.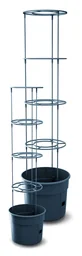
Additional advice
Use sharp, clean pruning shears when trimming tomato plants. The
is handy for many gardening tasks. Clean cuts heal faster and reduce the risk of infection.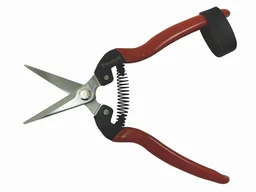
System maintenance and care
Flush the soaker hose at the end of the season by running water through it at low pressure. This clears out deposits.
Store all parts in a frost-free place. Frost can make plastic brittle. Keep the connectors in a box.
Check every hose section before the new season begins. Look for cracks or breaks, and replace any damaged parts.
Find more ideas for your garden in the Garden + plant accessories category. You’ll find everything you need to care for your plants.
How do I combine a soaker hose with mulch?
Mulch is the perfect addition. Lay the soaker hose on the ground, then cover it with a layer of mulch.
Bark mulch or straw work well. The layer should be 5-7 cm thick to protect the hose from UV radiation.
Mulch also reduces evaporation, helping the soil stay moist and cool for longer. It also makes it harder for weeds to grow.
Benefits of combining the two
You’ll save even more water because the mulch layer retains moisture. You’ll need to water less often.
The hose stays protected. Direct sunlight can make plastic brittle over time, while mulch helps extend the hose’s service life.
The bed looks tidier with the hose hidden, letting the tomato plants take center stage.
Reliable tools are essential for gardening. Browse the Garden tools category to find the right helpers.
What mistakes should I avoid?
The biggest mistake is using too much pressure. Without a pressure reducer, the system won’t work properly and the hose may be damaged.
Don’t forget the filter. Even clean tap water can contain particles that clog the fine pores.
Don’t lay the hose too far from the plants. If the roots can’t reach the water, the tomatoes may suffer from drought stress.
Problems and quick solutions
No water comes out at one point along the hose: It’s probably kinked. Straighten the hose and secure it with clips.
Water only seeps out at the ends: The pressure is too low. Check that the faucet is fully open, and straighten any kinks in the supply line.
Weeds are growing right along the hose: Cover it with mulch. This blocks light and keeps the weeds from germinating.
A soaker hose lets you water your tomatoes efficiently and gently while saving water, time, and effort. Your harvest will be more abundant and healthier.
Start with a small system and expand it as needed. Your garden will thank you.
Frequently asked questions
- How often should I water tomatoes with a soaker hose?
- Start with 20-30 minutes a day during the main growing season. Check the soil: it should be moist, not wet. In hot weather, double the watering time. Water less in late summer.
- Can I use a soaker hose in a raised bed?
- Yes, soaker hoses are ideal for raised beds. Lay the hose in loops or parallel rows to distribute water evenly. You can find a raised bed with an integrated system in our garden equipment category.
- What are the advantages of drip irrigation over sprinklers?
- Drip irrigation delivers water directly to the roots, keeping leaves dry and helping prevent fungal diseases. It saves a considerable amount of water and reduces weed growth. Evaporation is minimal.
- Do I need to remove the soaker hose in winter?
- Yes. Remove the hose before the first frost. Any water left inside can freeze and damage the hose wall. Flush the system thoroughly, then store all parts in a dry, frost-free place.
- Does a soaker hose work with rainwater?
- Yes, rainwater is ideal. Use a filter to keep out dirt particles and prevent the tiny pores from getting clogged. A watering system can be easily connected to a rain barrel.
You might also be interested in
- Watering the garden: tips for saving water
- Growing tomatoes: your guide from seed to a bountiful harvest
- Growing vine tomatoes: how to get a bountiful harvest in your garden
- Garden hose systems: how to choose and maintain one for efficient watering
- Automatic garden irrigation – easier than you think!
- Installing tomato supports: a guide to a bountiful harvest