
In brief: For optimal performance, remove grass clippings and sap from your trimmer blade after every use. Sharpen it as needed with a file or sharpening tool to preserve the original cutting angle. A balanced, clean and sharp blade extends the life of your cordless trimmer and ensures a clean cut.
A well-maintained lawn edge is the calling card of every gardener. But what happens when your grass trimmer only pulls and tears instead of cutting cleanly? The grass blades fray, turn brown and leave an untidy finish. The cause is usually simple: a dull blade. The good news is that just a few simple steps can keep your blade sharp and significantly extend the life of your tool. This guide shows you how to clean, sharpen and maintain your trimmer blade correctly.
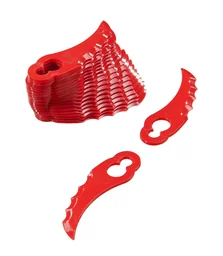
A sharp blade is important for more than just appearance. It also protects the motor of your cordless trimmer, as it has to overcome less resistance. This saves energy and extends runtime. Before we go into detail, remember that sometimes the best maintenance is timely replacement. If your blade has deep nicks or is bent, a new one will provide safety and the best results. The Curved replacement blade for cordless trimmer item no. 984031 is the perfect choice to restore your tool to its former performance.
How can you tell if a trimmer blade is dull?
You do not need to be an expert to identify a dull blade. Your lawn and trimmer send clear signals. Look out for the following signs that it is time for maintenance.
The appearance of the lawn after cutting
The most obvious clue is the lawn itself. Take a close look at the freshly cut grass blades. A sharp blade cuts smoothly and precisely, leaving a clean edge. A dull blade, on the other hand, hits and tears the grass blades rather than cutting them cleanly. The tips look frayed and ragged. One or two days later, these torn tips often turn yellowish or brown, making the entire lawn look less healthy. These injuries also make the lawn more vulnerable to disease.
The trimmer's sound and performance
Listen to your tool. A cordless trimmer with a dull blade has to work harder. The motor sounds more strained and louder than usual. You may also notice stronger vibrations because the dull blade encounters more resistance and can no longer cut through the grass effortlessly. Another effect is that the battery does not last as long as it used to because the motor needs more energy to do the same job.
Visual inspection of the blade
Inspect the blade closely (with the battery removed!). A sharp blade has a clearly defined, smooth cutting edge. You can identify a dull blade by the following features:
- Rounded edges: The cutting edge no longer feels sharp but has been ground round.
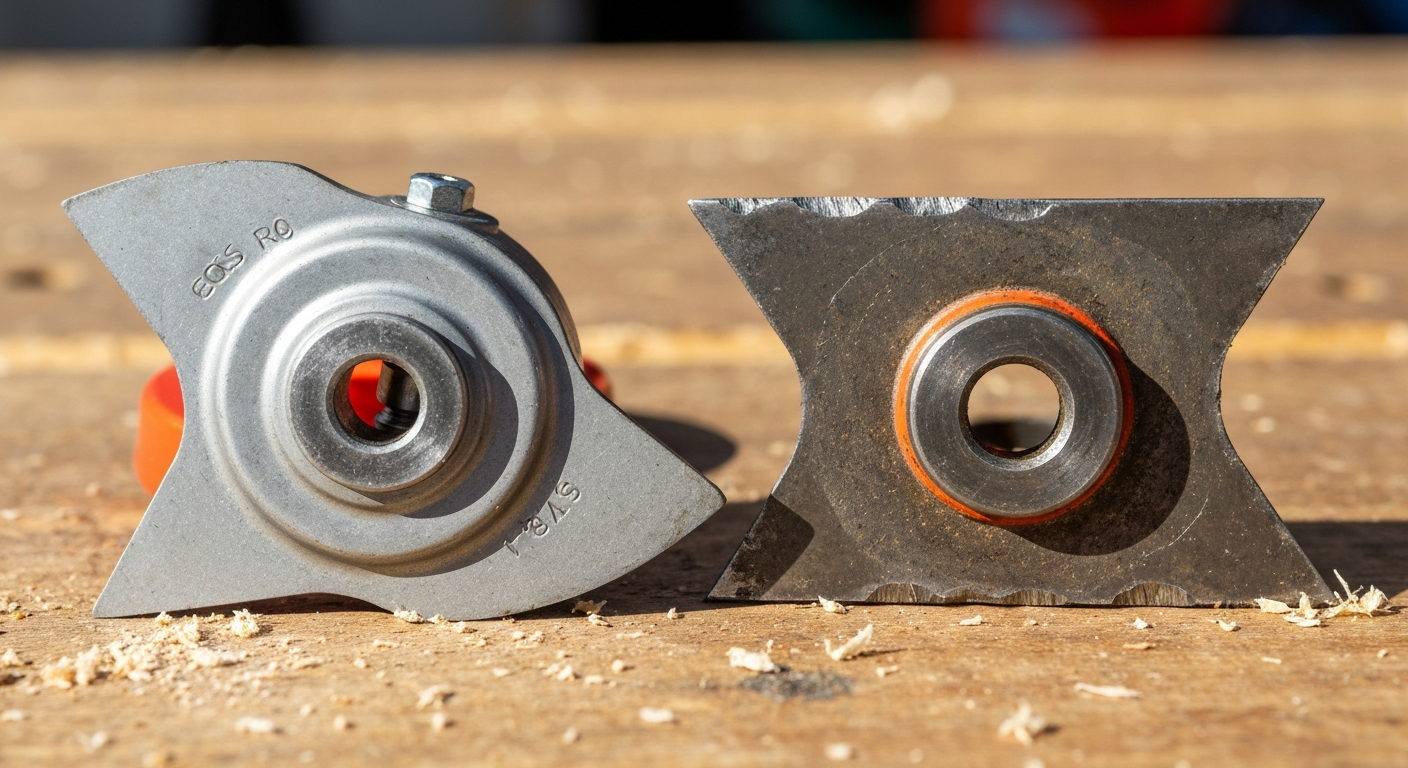
- Nicks and dents: Small notches and dents, often caused by contact with stones, fences or hard clods of soil.
- Bends: The blade is no longer perfectly straight, which can cause dangerous imbalance.
- Rust: Surface rust is often harmless, but deeper rust weakens the material.
A precise cut is essential for a healthy lawn. Frayed grass blades lose more water and provide an entry point for fungal diseases. Regular sharpening is therefore not just cosmetic; it is active plant protection.
The foundation of all maintenance: proper cleaning
Before you start sharpening, clean the blade first. A clean blade is easier to inspect and work on. Cleaning also prevents dirt and moisture from building up and causing corrosion. Ideally, clean the blade after every use.
Important note
Safety first! Always remove the battery from your trimmer before carrying out any cleaning, maintenance or replacement work. This prevents the tool from starting accidentally and protects you from serious injury.
Step-by-step guide to cleaning
Cleaning is quick and requires no specialist tools. With just a few simple steps, your blade will be clean and ready for its next use.
- Remove loose dirt: Use a stiff brush or an old cloth to brush away loose soil and grass clippings. A wooden or plastic scraper helps remove dried-on dirt without scratching the metal.
- Loosen stubborn residue: Plant sap and resin can form a sticky layer. A cloth soaked in a little cleaning alcohol or denatured alcohol works wonders. Alternatively, use a penetrating oil such as WD-40, which also leaves a light protective film.
- Dry thoroughly: Drying is essential after wet cleaning. Use a clean, dry cloth to remove all moisture. This effectively prevents rust from forming.
- Maintain and protect: Lightly spray the clean, dry blade with maintenance oil or silicone spray. This film protects against corrosion and helps prevent dirt from sticking as firmly next time.
How do you sharpen a grass trimmer blade correctly?
A clean but blunt blade only does half the job. Sharpening restores its original cutting performance. With the right approach and a little practice, you can do this at home too. Invest a few minutes of work and you will be rewarded with a perfect cut and a longer-lasting tool.
Preparation: Safety and the right tools
Good preparation is half the battle. Make sure you have a safe workspace and have all the necessary tools ready. You can find suitable files and other accessories in our Spatulas + Knives category.
Your checklist:
- Protective equipment: Always wear sturdy work gloves and safety glasses. Metal filings can have sharp edges and get into your eyes.
- Removal tool: A suitable spanner or socket wrench to remove the blade from the trimmer head (follow the manufacturer's instructions).
- Securing the blade: A sturdy vice is ideal for clamping the blade securely. Alternatively, you can use clamps on a workbench.
- Sharpening tool: A medium-coarse flat file is the best and safest choice to start with. Experienced users can also use a bench grinder or an angle grinder with a flap disc.
Additional advice
Before removing the blade, mark its top side with a waterproof pen. This ensures that you reinstall it the right way round after sharpening. A wrongly installed blade will not cut and can pose a hazard.
Instructions: Sharpening the blade by hand with a file
Sharpening with a file gives you maximum control over how much material is removed and is particularly suitable for beginners. Work slowly and carefully.
- Remove and secure the blade: Loosen the retaining screw and remove the blade. Clamp it flat and securely in the vice so that the cutting edge to be sharpened is easily accessible.
- Find the correct angle: Examine the cutting edge closely. The manufacturer specifies a particular sharpening angle, usually between 25 and 35 degrees. Your task is to maintain this angle. Place the file flat against the cutting edge to get a feel for the angle.
- File in one direction: Move the file with even pressure away from the blade, from the blade body towards the cutting edge. Lift the file when pulling it back. Never pull the file back over the blade, as this will blunt it again.
- Work evenly: Count the file strokes on each side. For example, make 10-15 strokes on one side and then repeat the same number on the other side. This is important to prevent imbalance.
- Remove the burr: After sharpening, a fine metal burr forms on the back of the cutting edge. Turn the blade over and run the file flat over the back once or twice to remove the burr.
- Check the sharpness: Carefully run the blade over a piece of paper. It should feel sharp and cut the paper cleanly rather than tear it.
Checking for imbalance: A crucial step
Imbalance is your trimmer's biggest enemy. If one side of the blade is heavier than the other, the high rotational speed creates enormous vibrations. Over time, these damage the bearing and motor and make the work uncomfortable and dangerous. Checking is easy: Hang the blade by its centre hole on a nail or a screwdriver held horizontally. A perfectly balanced blade will remain horizontal. If it tilts to one side, that side is too heavy. To correct this, remove a little more material from the heavier side—but not from the cutting edge, rather from the rear, blunt end of the blade. Check again until the blade is balanced.
The centrifugal and gyroscopic forces generated by a grass trimmer are enormous. An imbalance of just a few grams becomes a considerable load on the entire tool at 8.000 rpm.
Maintaining a cordless trimmer: More than just the blade
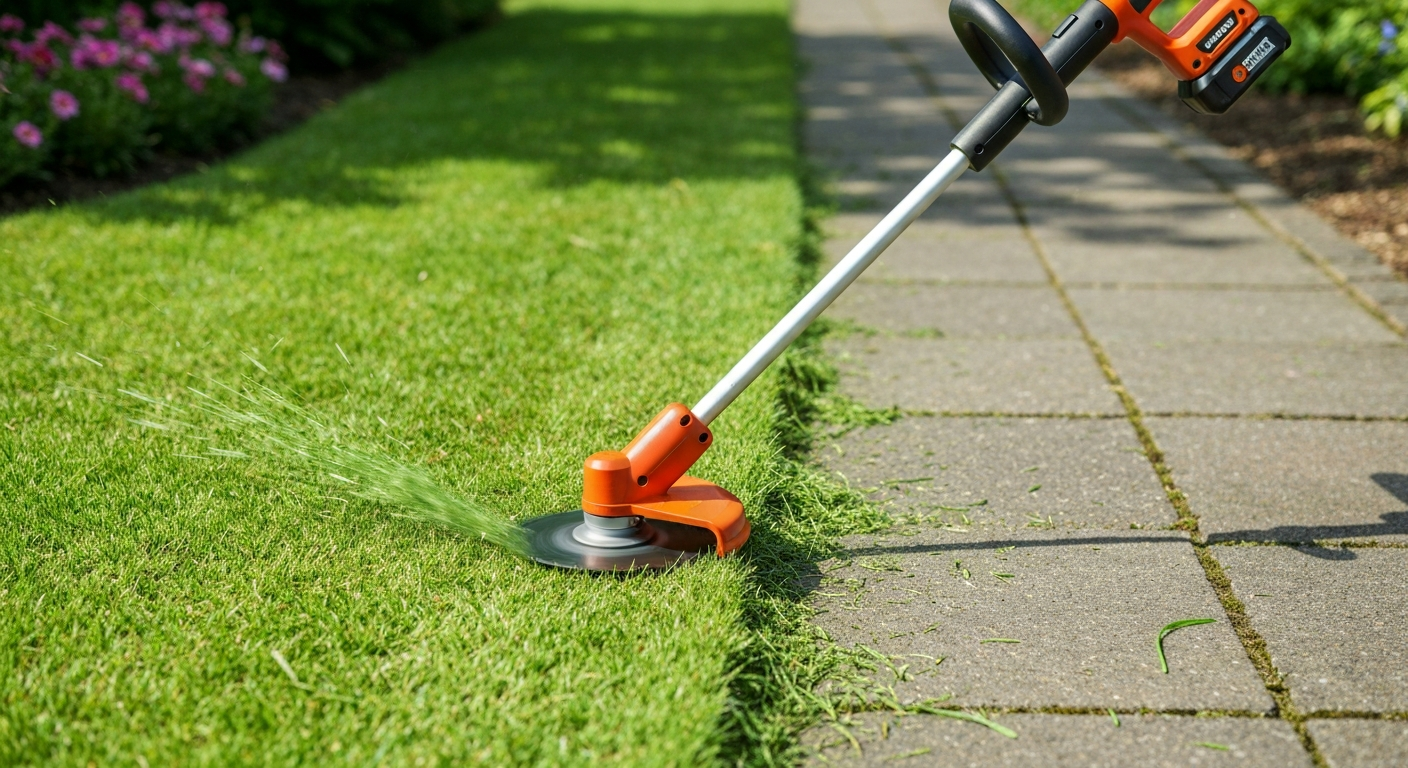
Blade care is essential, but a cordless trimmer consists of more components that deserve your attention. Comprehensive maintenance ensures the performance and longevity of the entire tool. Modern tools such as the
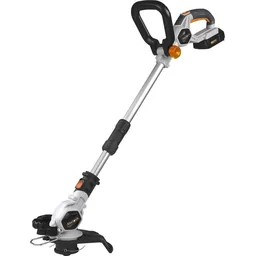
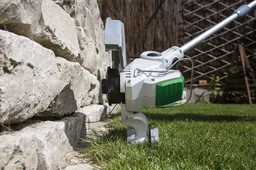
- Clean the housing and guard: Keep the entire tool free of grass clippings. The inside of the guard in particular should be clean so that the cuttings can be discharged freely.
- Keep the ventilation slots clear: The ventilation slots on the motor housing are essential for cooling. Blocked slots cause overheating. Clean them regularly with a soft brush or compressed air at low pressure.
- Battery care: Store the battery in a dry, cool place (not in direct sunlight or below freezing). Avoid deep discharge and recharge it after use.
These simple steps are part of general power tool care and will help you enjoy your tools for longer.
Pro tip
Carry out a thorough maintenance session at the end of the season. Clean the trimmer thoroughly, sharpen and oil the blade, and store the battery at around 50-70 % charge. This means your tool will be ready to go as soon as spring arrives.
When Is It Time for a New Blade?
Even the best blade and the most careful maintenance cannot prevent wear forever. At some point, replacing the blade is safer and more effective than sharpening it again. Look out for these unmistakable signs:
- Cracks or breaks: Even the smallest hairline cracks pose a serious safety risk. A blade can break at high speed and send parts flying uncontrollably. Replace it immediately.
- Severe bending: A bent blade can no longer be balanced properly and causes extreme vibrations.
- Excessive material loss: If frequent sharpening has significantly changed the blade's shape or made it noticeably narrower, it will lose stability and cutting performance.
- Large, deep nicks: Small nicks can be ground out, but deep nicks affecting a substantial part of the blade permanently weaken it.
In these cases, a new blade such as the replacement blade is the right investment in your safety and perfect results.
Taking care of your trimmer blade is well worth the effort. It takes little time, visibly improves the quality of your lawn, protects your tool and enhances workplace safety. With a regular routine of cleaning, sharpening and inspection, you can get the most out of your tool. And when it is time for a replacement, Westfalia has the right replacement blade and many other useful helpers for Garden + Outdoor.
Frequently Asked Questions
- How often should I sharpen my trimmer blade?
- Sharpen your blade as soon as you notice that the grass is being torn rather than cut cleanly. With regular use, this may be necessary several times a season. A visual inspection before every use is ideal.
- Can I sharpen every trimmer blade?
- Metal blades can and should be sharpened. Plastic blades, on the other hand, are wear parts and should simply be replaced when worn. Do not try to sharpen plastic blades, as this weakens their structure.
- What tool do I need to sharpen a trimmer blade?
- A high-quality flat file is sufficient for manual sharpening. For faster results, you can use an angle grinder or bench grinder. You will also need a vice to secure the blade and protective equipment such as gloves and safety glasses.
- Is wet or dry grinding better?
- When grinding mechanically at high speed, water cooling (wet grinding) prevents the metal from overheating and losing its temper, preserving the blade's hardness. When sharpening slowly by hand with a file, dry grinding is perfectly sufficient.
- When do I need to replace a trimmer blade completely?
- Replacement is essential if the blade has cracks, large nicks or severe bends. You should also replace it for safety reasons if repeated sharpening has removed so much material that the blade becomes unbalanced.
You Might Also Be Interested In
- Cordless Trimmer Ready for Spring? The Blade Check Is Crucial
- Neat Garden Edges: Trimming Tips with the Right Blades
- Curved Trimmer Blade: The Secret Advantage for Your Lawn
- Cordless Grass & Shrub Shears: How to Maintain Your Tool for a Long Service Life
- Dull Utility Knife Blades? 5 Tips for Longer-Lasting Sharpness
- Caring for Ratchet Pruning Shears: Sharp Blades, Long Service Life