
In brief: The most common mistakes when using a vole trap are incorrect placement, inadequate safety precautions and neglected maintenance. Proper use requires finding active tunnels, safely setting the trap with a protective cage, and regularly checking the trigger and cartridge for effective and safe vole control.
A lawn torn up by voles and gnawed roots on young fruit trees are every gardener's nightmare. These rodents undermine flowerbeds, destroy crops and leave a trail of devastation behind them. A vole trap provides an effective way to get the infestation under control. However, its high effectiveness requires responsible and correct handling. Incorrect use not only reduces the chances of success, but also creates serious risks.
This guide explains the seven most common mistakes when using vole traps and how to avoid them. With the right knowledge, you can set the trap safely, in line with animal-welfare requirements and as effectively as possible. The goal is a vole-free garden without putting yourself or others at risk.
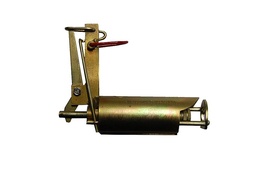
The key to successful control is a reliable trap. The vole trap is a proven solution that works quickly and precisely when handled correctly. Its robust construction ensures durability and repeated use in your garden.
How can I tell whether a vole tunnel is active?
The first and most important step is finding an active tunnel system. A trap placed in the wrong tunnel will not work. You need to learn how to distinguish vole signs from those of protected moles.
Vole mounds are flat and irregular, with the entrance offset to the side. If you push the soil aside, you will find an oval tunnel running vertically. Molehills, on the other hand, are noticeably higher and cone-shaped, with the tunnel running straight down. Moles are protected animals. Make sure you are dealing exclusively with voles.
To check for activity, carry out a disturbance test. Open up a tunnel at several points over a length of approximately 30 centimetres. If the tunnel has been closed or repaired again after a few hours (usually 2 to 6), you have found a main tunnel used by the vole family. This is the ideal place for your trap.
Voles are creatures of habit. They use their main routes every day. The trick is to find these highways rather than ending up in a dead end.
How do I place a vole trap correctly? (Mistakes 1-3)
Correct placement determines whether you succeed or fail. Even the best trap cannot do its job if it is positioned incorrectly. Avoid these three fundamental mistakes.
Mistake 1: Choosing the wrong tunnel
After a successful disturbance test, you know which tunnels are occupied. Always place the trap in a straight, continuous section of tunnel. Voles often use tunnels that run directly between two mounds. During disturbances, the animals are more likely to avoid dead ends or shallow feeding tunnels. A trap placed there would be a waste of time.
Mistake 2: Incorrect trap alignment
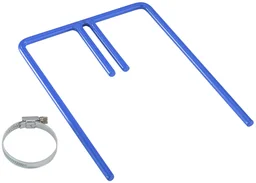
The vole trap must be positioned precisely in the tunnel. Use a spade or a suitable soil probe to make a hole just large enough for the trap. The barrel of the trap must point exactly in the direction of the tunnel, and the trigger should be level with the tunnel floor. The trap must not wobble or sit too high. The vole must touch the trigger directly with its snout or body to move it. If the trap is crooked, the vole will simply push soil in front of it and the trap will not fire. For stable positioning in difficult soil, a holder for vertical alignment of a vole trap can help you align the trap perfectly.
Expert tip
Place a small piece of bait, such as a piece of carrot or celery, directly behind the trigger mechanism. The scent attracts the vole and increases the chance that it will move the trigger with force instead of simply pushing soil in front of it.
Mistake 3: Contaminating the tunnel with light and scent
Voles are extremely timid and react sensitively to changes in their surroundings. Wear gloves throughout the entire process. Human scent on the trap or in the tunnel can deter them. Once the trap has been placed, carefully cover the opening to prevent any light from entering. An upturned bucket, a wooden board or a piece of turf are ideal for this. A gap that lets in light or a draught will cause the vole to avoid the area or block the trap with soil.
Which safety precautions are essential? (Mistakes 4–5)
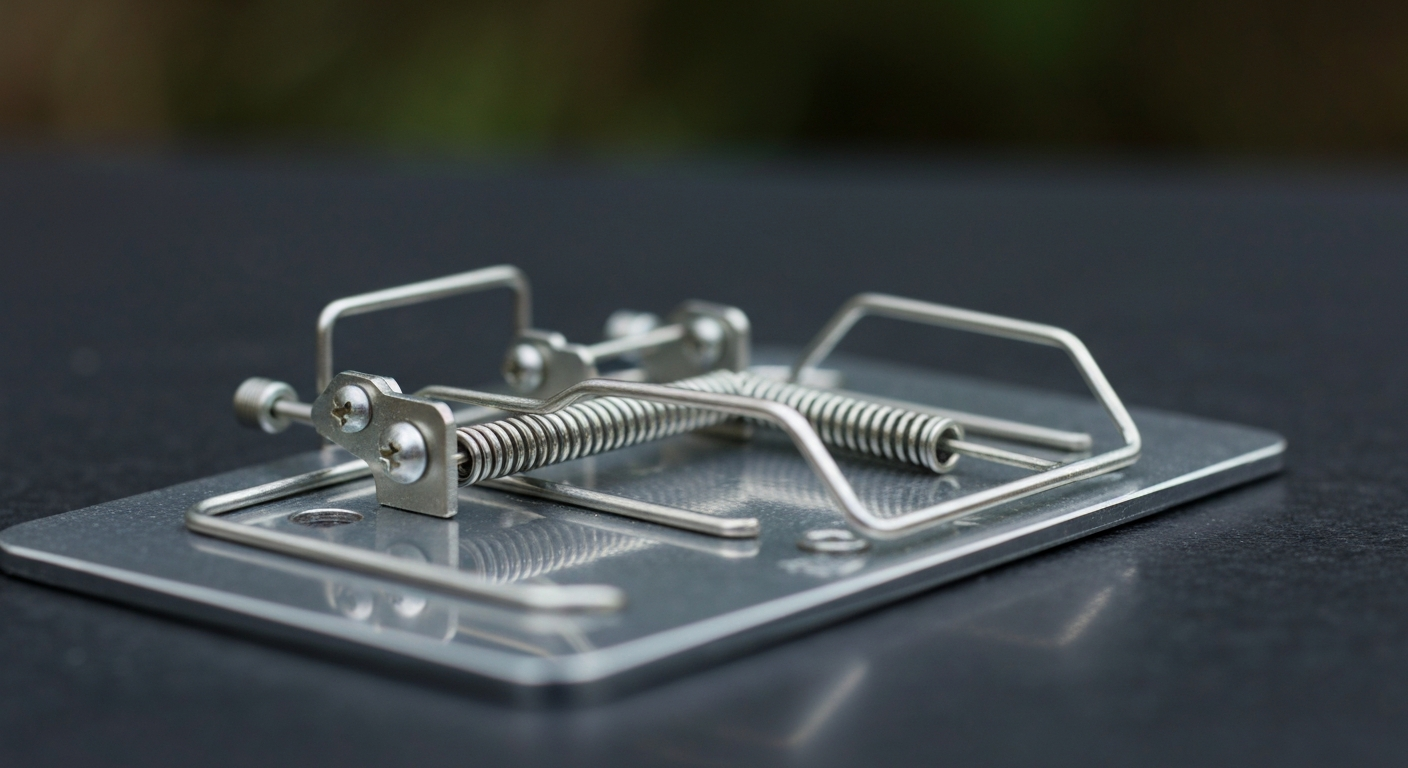
A lethal vole trap is not a toy. It develops tremendous force and requires the utmost care when handling. Your safety and that of your family and pets must be the top priority. Neglecting safety is the most serious mistake of all. Proper workplace safety & protection is crucial not only at work but also in the garden.
Mistake 4: Incorrect setting and securing
Never set the trap before it has been firmly positioned in the ground. The correct order is: 1. Dig a hole. 2. Insert the trap unloaded and unset. 3. Align and stabilise the trap. 4. Load the cartridge. 5. Only now, as the final step, carefully pull the setting bar upwards and arm the trap. Always point the muzzle away from your body. Never reach in front of the muzzle of a loaded trap.
Important note
An armed lethal vole trap is a source of danger. Keep children and pets—especially dogs that like to dig—well away from the trap location. Clearly marking the spot is essential. Always use a protective cage.
Mistake 5: Failing to protect pets and children
The greatest danger comes from an unsecured trap. A curious dog or playing child could trigger the trap accidentally and suffer serious injury. You must therefore use a protective cage for lethal vole traps . It is placed over the armed trap and prevents access from above. You should also mark the spot with a stick or flag so that you do not forget where the trap is located. Inform all family members about the location and the danger.

How do I maintain a vole trap correctly? (Mistakes 6–7)
To ensure that your lethal vole trap works reliably for years, it needs regular maintenance. Many users neglect this point and then wonder why its performance deteriorates. Proper maintenance is part of a sustainable strategy for gardening + outdoor living.

Mistake 6: Neglecting to clean the trap
After every use, whether it has been triggered or not, soil, moisture and organic residue stick to the trap. This dirt can block the sensitive triggering mechanism. Clean the trap after every use with a brush and water. Then dry it thoroughly to prevent rust. A drop of gun oil or penetrating oil on the moving parts will keep them working smoothly.
A clean, well-oiled tool is a reliable tool. This applies just as much to garden shears as it does to a vole trap. Anyone who cuts corners on maintenance will end up buying twice.
Mistake 7: Ignoring wear parts
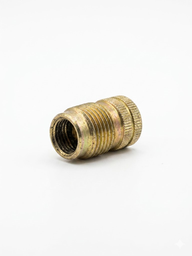
Even with the best care, certain parts are subject to natural wear. The cartridge holder can become deformed over time due to pressure waves, and springs can lose tension. Check the trap before every season for cracks, deformation or excessive play in the mechanism. A defective cartridge holder can severely impair operation. It is therefore advisable to keep a replacement cartridge holder on hand so you can respond quickly when needed.
Additional advice
Store the lethal vole trap and cartridges separately in a dry, secure place out of the reach of children. Moisture can make the cartridges unusable and cause corrosion on the trap. A lockable toolbox is ideal.
What should I do if the trap does not trigger?
Sometimes, despite careful preparation, you may not get the desired result. Do not give up immediately. Troubleshoot the problem systematically. Is the tunnel really still active? Repeat the disturbance test. The vole may have moved to a different part of its burrow.
Check the positioning. Is the trap firmly and flush in the tunnel? Are there small stones or roots blocking the trigger? Could the vole have bypassed the trap? Sometimes voles simply dig a new tunnel around the obstacle. In this case, place the trap a few metres further along the same tunnel system.
Finally, inspect the trap itself. Is it clean? Does the mechanism move freely? An old or damp cartridge is a frequently overlooked cause. Try a new one from a fresh pack. Patience and systematic analysis are your most important tools when dealing with the complex task of pest control.
Controlling voles with a lethal trap is one of the most effective methods of pest and plant protection. The key to success lies in combining knowledge, care and the right equipment. By avoiding the mistakes described above, you not only maximise your catch rate but also ensure the necessary safety at all times. A well-planned approach protects your plants, your garden and, above all, you and your loved ones.
Frequently asked questions
- How deep should a self-firing vole trap be placed in the tunnel?
- The trap must be positioned so that the trigger is centred and level with the ground in the tunnel. The entrance to the trap should be flush with the course of the tunnel. Dig an opening that is just large enough for the trap to ensure precise alignment and prevent the vole from bypassing it.
- Is a self-firing vole trap allowed for moles?
- No. Moles are protected in Germany and must not be killed. The self-firing vole trap is intended exclusively for controlling voles (water voles). Make sure you have identified a vole tunnel before setting the trap.
- How often should I check the trap?
- Check the trap at least once or twice a day, ideally in the morning and evening. A quick check prevents a trapped vole from attracting other animals and ensures that you can quickly move the trap to a new location if it has not been triggered.
- Which cartridges do I need for the self-firing trap?
- Use only the blank-firing cartridges or special cartridges recommended by the manufacturer for the specific model, usually calibre 9x17 mm. Using the wrong ammunition can cause malfunctions, damage the trap and create significant safety risks. Check the product description.
- My trap triggers, but I do not catch a vole. What is the reason?
- This can happen if the vole merely pushes soil into the trap instead of triggering it. The tunnel may not have been active after all, or the trap may not have been placed deep enough. Clean the trap, check the trigger and try again in another clearly active tunnel.
You may also be interested in
- Want to buy a self-firing vole trap? Guide and tips
- When should you control voles? A seasonal vole trap guide
- Is your solar animal repeller not working? 5 mistakes to avoid
- Battery-powered sprayer not pumping? Solutions for the GM ASL 8
- Weed brush trimmer line keeps breaking? The 5 most common mistakes
- Weeds not gone? The 5 most common mistakes when using hot-air weed control