
In brief: The best time to install grass pavers is in spring (April to June) or early fall (September to October). During these periods, the ground is neither frozen nor too dry, and mild temperatures and regular rainfall encourage the grass to grow quickly.
A muddy driveway after every rainstorm, deep ruts in the lawn, or an unpaved parking area that slowly sinks into the ground—many homeowners and gardeners know these problems. They need a way to stabilize the surface without sealing it completely. Grass pavers offer just that: a driveable, load-bearing surface that stays green and lets water drain through. Choosing the right time to install them is key. It affects how quickly and densely the grass grows and how stable the surface remains over time.
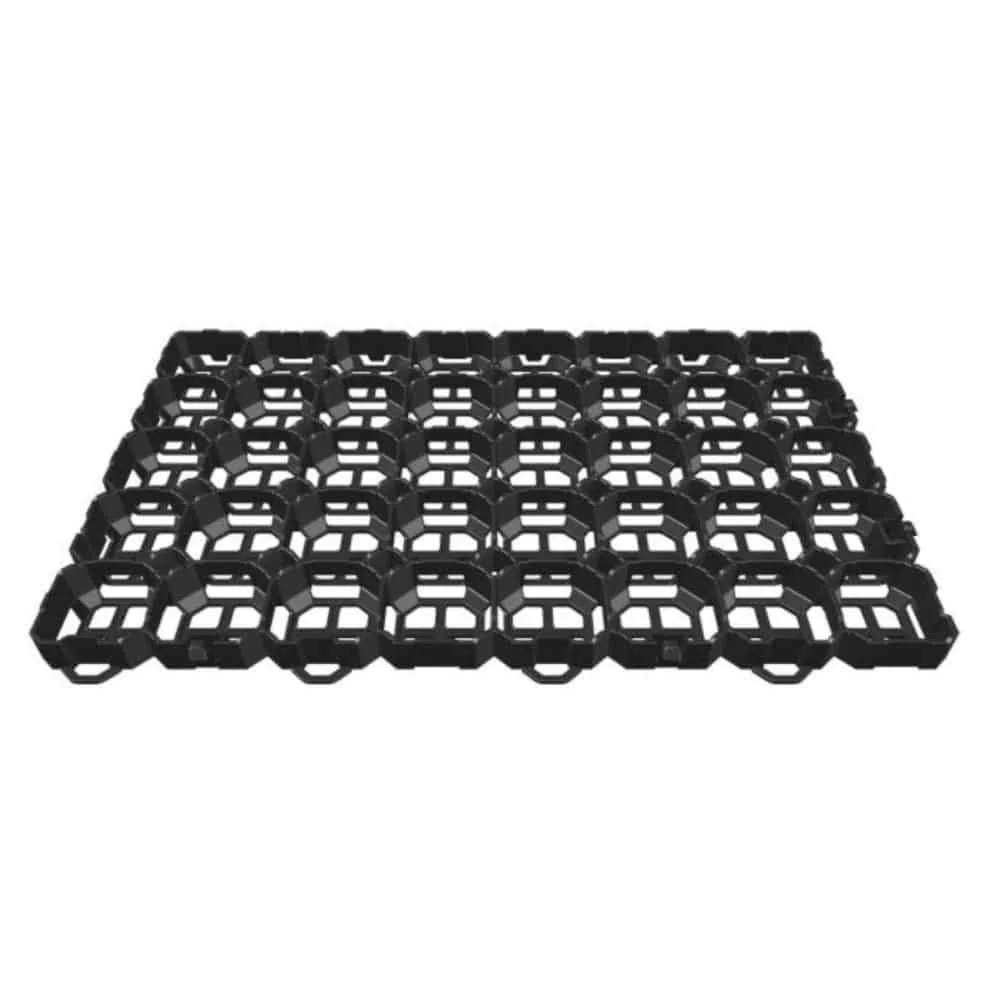
The right material is the foundation for a durable, attractive surface. The Black RKP6 grass pavers are an excellent choice. Measuring 57x38x4 cm and built to last, they can handle everyday vehicle traffic. Made from environmentally neutral recycled plastic, they help protect the ground from compaction and allow rainwater to soak in, supporting your garden’s natural balance.
Why is timing important when installing grass pavers?
The success of your grass paver project depends on two things: a stable base and healthy grass growth. Weather and the time of year have a major effect on both. Install the pavers at the wrong time, and you risk patchy grass, weak roots, and an unstable base.
Soil temperature is crucial for grass seed germination. If the soil is too cold, as it is in late fall or winter, the seeds won’t sprout. If it’s too hot and dry in midsummer, young seedlings may dry out before they can develop strong roots. Weather also affects the groundwork. Prolonged rain turns soil to mud, while frost makes it hard as a rock. Both conditions make it difficult to excavate and compact the base properly.
What weather is best for installing lawn grid pavers?
Choosing the right season is the first step to success. Two times of year offer ideal conditions for installing lawn grid pavers and sowing grass seed afterward.
Spring: Take advantage of the ideal growing season
Spring, especially April through early June, is generally the best time. The ground has thawed and warmed up, which helps grass seed germinate faster. Regular rainfall provides young grass with enough moisture, so you won’t need to water constantly. Mild sunshine supports growth without scorching delicate seedlings. The grass then has plenty of time to develop deep, resilient roots in the grids before summer heat arrives.
Fall: A second chance before winter
Early fall, from September to mid-October, is an excellent alternative. The ground is still warm from summer, helping seeds germinate quickly. Temperatures are milder, and rainfall picks up again. Weed pressure is also much lower in fall than in spring. The grass can take root without competition and grow strong enough to make it through winter and thrive the following spring.
Choosing the right time is a strategic decision. A grass-grid parking area installed in spring or fall has the best chance to develop into a dense, resilient, long-lasting green surface.
Can you install grass pavers in summer or winter?
You can install grass pavers in midsummer, but it’s not recommended. Strong sun and high temperatures dry out the soil quickly. You’ll need to water often to keep the seedlings alive. Winter is unsuitable. Frozen ground makes excavation impossible, and grass seed won’t germinate in the cold.
How do you prepare the ground for grass pavers?
A stable foundation is essential for a long-lasting surface. Without a properly built base, even the best grass pavers can sink or shift over time. Preparation involves three key steps.
Step 1: Mark and excavate the area
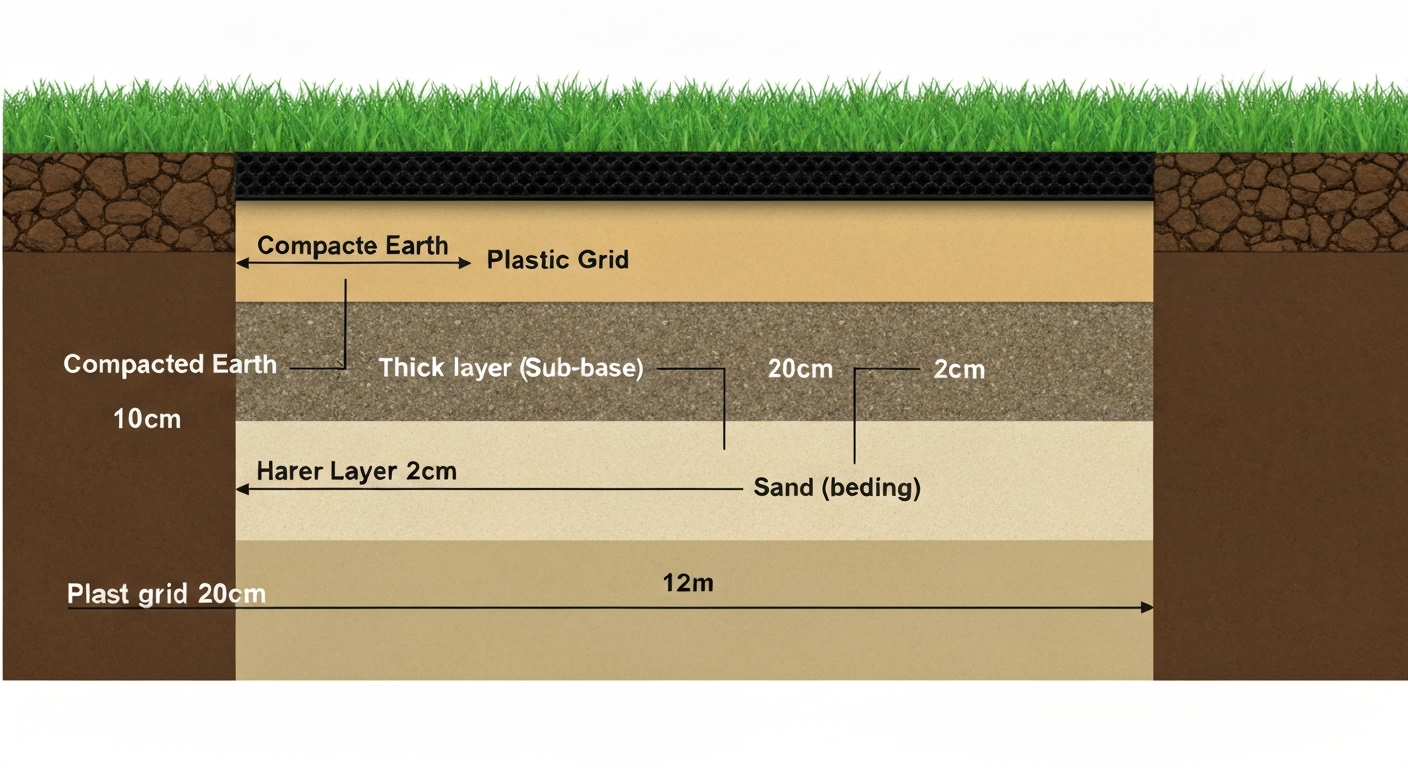
First, mark the area precisely with stakes and string. Then excavate the ground. The excavation depth, also called the formation level, depends on the expected load. About 15 cm is enough for a simple walkway. For a parking space used regularly by cars, dig at least 25 to 30 cm deep. Include a slight slope of 1-2 % so rainwater can drain more effectively.
Important note
Don’t skimp on excavation depth, especially for driveable surfaces. A base that’s too thin can’t support a vehicle’s weight and will lead to settling and tire ruts.
Step 2: Build a stable sub-base
Fill the excavated area with crushed stone or mineral aggregate (e.g. grading 0/32 mm). This layer provides stability and drains water to help prevent waterlogging. Add the material in layers of about 10 cm, compacting each layer thoroughly with a plate compactor. The compacted sub-base should reach approximately 6 cm below the planned finished surface (4 cm for the grass pavers + 2 cm for the leveling layer).
Pro tip
Before adding the sub-base, lay weed-control fabric at the bottom of the excavation. It helps prevent weeds from growing up through the layers while still allowing water to pass through.
Step 3: Add a leveling layer for an even surface
Spread a leveling or bedding layer about 2-3 cm thick over the compacted sub-base. A mix of sand and grit works well (e.g. grading 2/5 mm). This layer smooths out any remaining uneven spots and creates a level base for the grass pavers. Use a long straightedge or screed board to level it precisely.
Laying Grass Pavers: A Step-by-Step Guide
Once the sub-base has been carefully prepared, laying the grass pavers is straightforward and quick. Most systems are designed for easy installation.
Lay and Connect the Grass Pavers
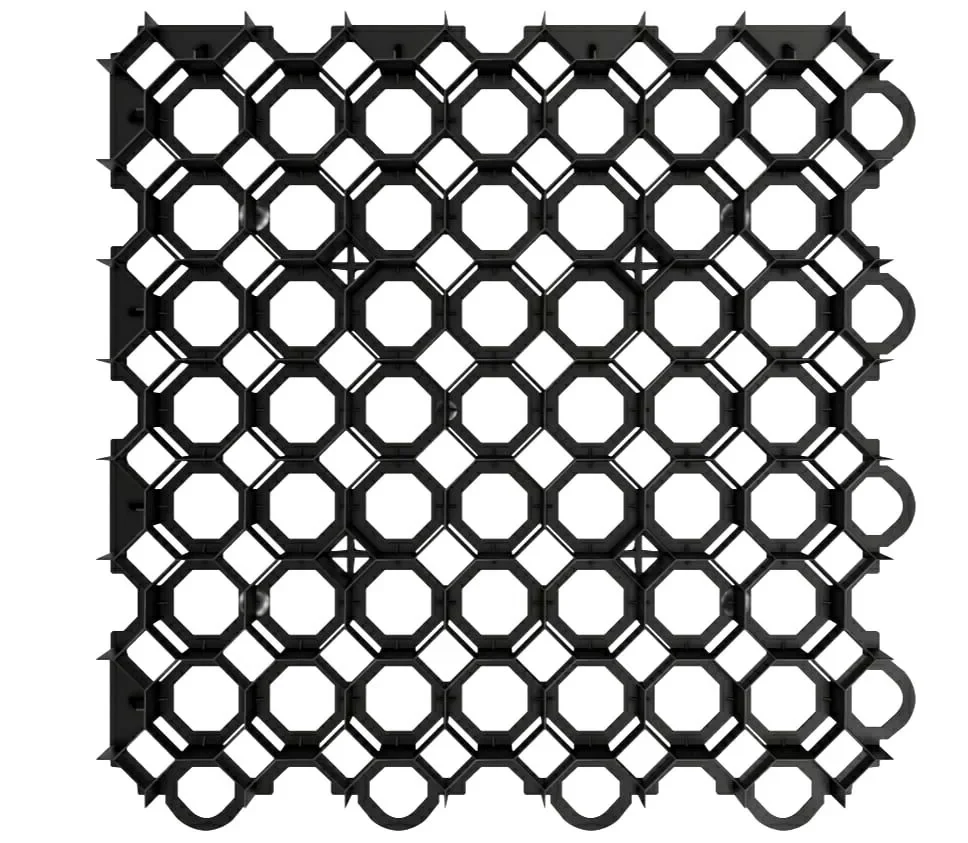
Start in one corner and lay the first row of grass pavers, such as the plastic grass pavers, on the prepared leveling layer. Thanks to the practical click connections, the individual elements can be joined together easily and securely. Work your way along row by row until the entire area is covered. Make sure you do not push the pavers into the sand, but place them on top.
Cutting and Adjusting the Edges
The plastic pavers can easily be cut to fit edges, curves or openings. Use a jigsaw, handsaw or angle grinder with a suitable blade. This allows you to adapt the surface precisely to the layout of your garden.
Securing the Grass Pavers
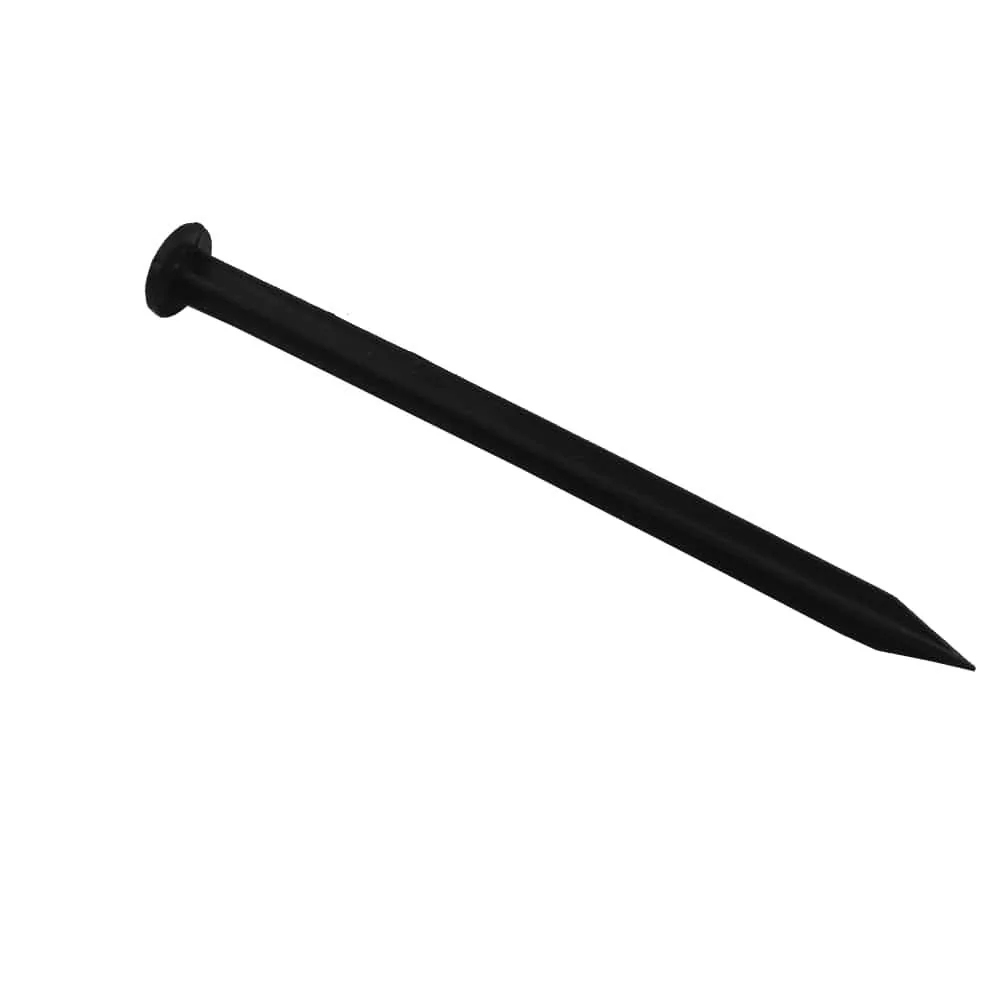
On level surfaces, additional fixing is usually not necessary thanks to the pavers' own weight and the subsequent filling. On sloping ground or along heavily used edges, it is advisable to anchor the pavers securely in the subsoil. Special ground anchors such as the 25 cm fixing peg are ideal for providing a secure hold.
Filling the Cells
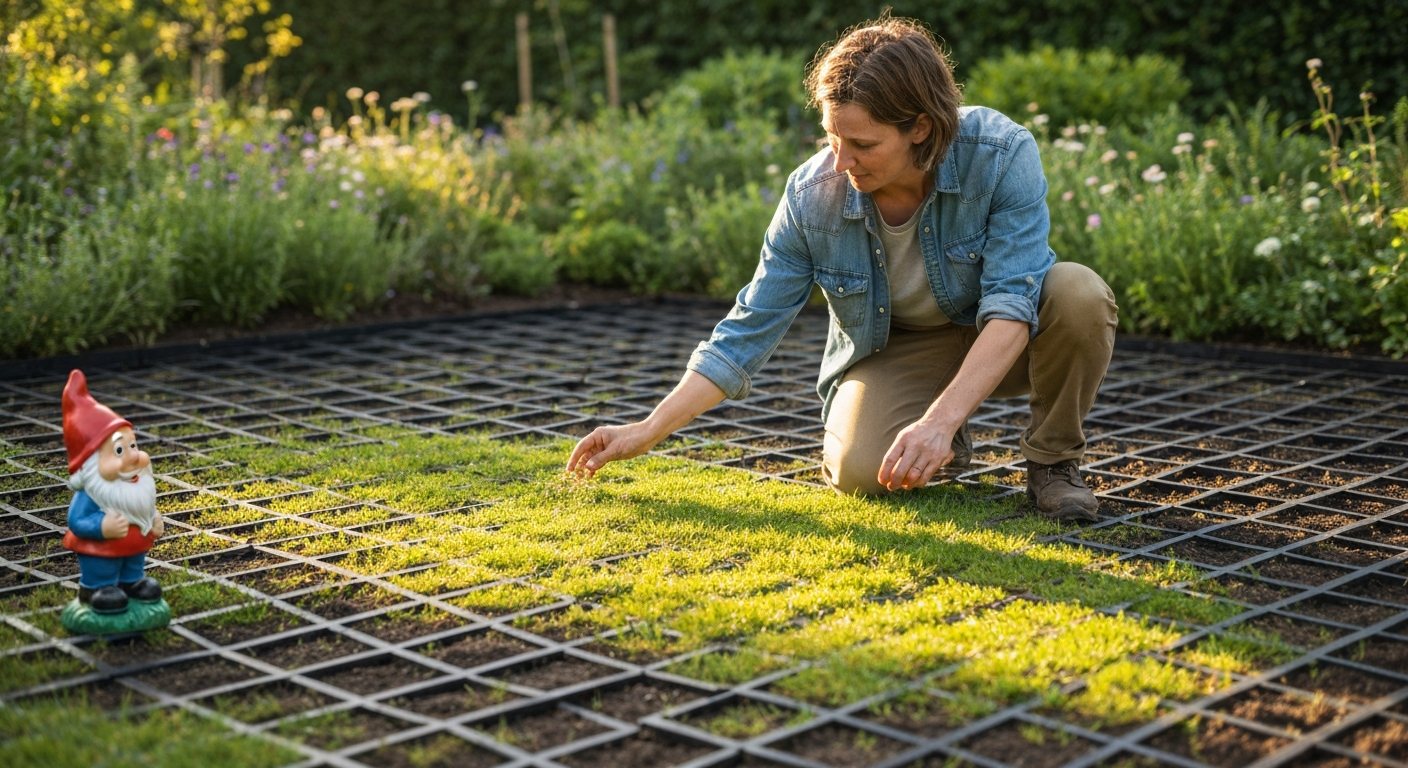
The cells can now be filled. The ideal filling for a green lawn is a mixture of topsoil, sand and a little compost. This mixture provides nutrients for the grass while remaining loose and permeable. Spread the substrate over the pavers and sweep it into the cells with a broom until they are completely filled. The substrate will settle slightly, so fill the cells to just below their top edge.
What Comes After Laying the Pavers? Seeding and Caring for a Dense Lawn
The main work is complete once the cells have been filled. Now it is time to turn the stabilized surface into a living green space. Choosing the right seed and providing proper aftercare are crucial.
Additional advice
Give your newly seeded lawn the best possible start with a specialist lawn starter fertilizer. It promotes root development and encourages the young grass to grow quickly and densely. Apply the fertilizer according to the manufacturer's instructions on the packaging.
Choose the Right Grass Seed Mix
Choose a grass seed mix designed to withstand heavy use. Sports and play lawn mixes or special parking-area mixtures are ideal. These varieties are hard-wearing, recover quickly and form a dense lawn. You can find suitable seed and other garden and plant supplies in the Westfalia range.
Seeding and Watering
Spread the grass seed evenly over the filled surface. Then water the area thoroughly using a fine spray. During the first three to four weeks, it is essential to keep the surface consistently moist so that the seeds can germinate and the young roots do not dry out. The right garden watering equipment will help you do this.
First Use and First Mowing
Now you need to be patient. Do not walk or drive on the surface until the grass has reached a height of around 8-10 cm and is well rooted. This usually takes six to eight weeks. Mow the lawn for the first time when it reaches this height, and do not cut it shorter than 5 cm. Regular mowing encourages dense growth and a durable lawn.
Creative Uses for Grass Pavers
Grass pavers are much more than just a solution for driveways. Their stability and permeability make them a versatile feature in modern garden design and equipment.
Use them to create stable paths to your garden shed, as a firm base for your trash cans or as a clean parking area for an RV. They are also ideal for securing light embankments or as a base for temporary event areas. For parking areas, you can use the grass paver marking in white to create clearly defined parking spaces that blend harmoniously into the green area.
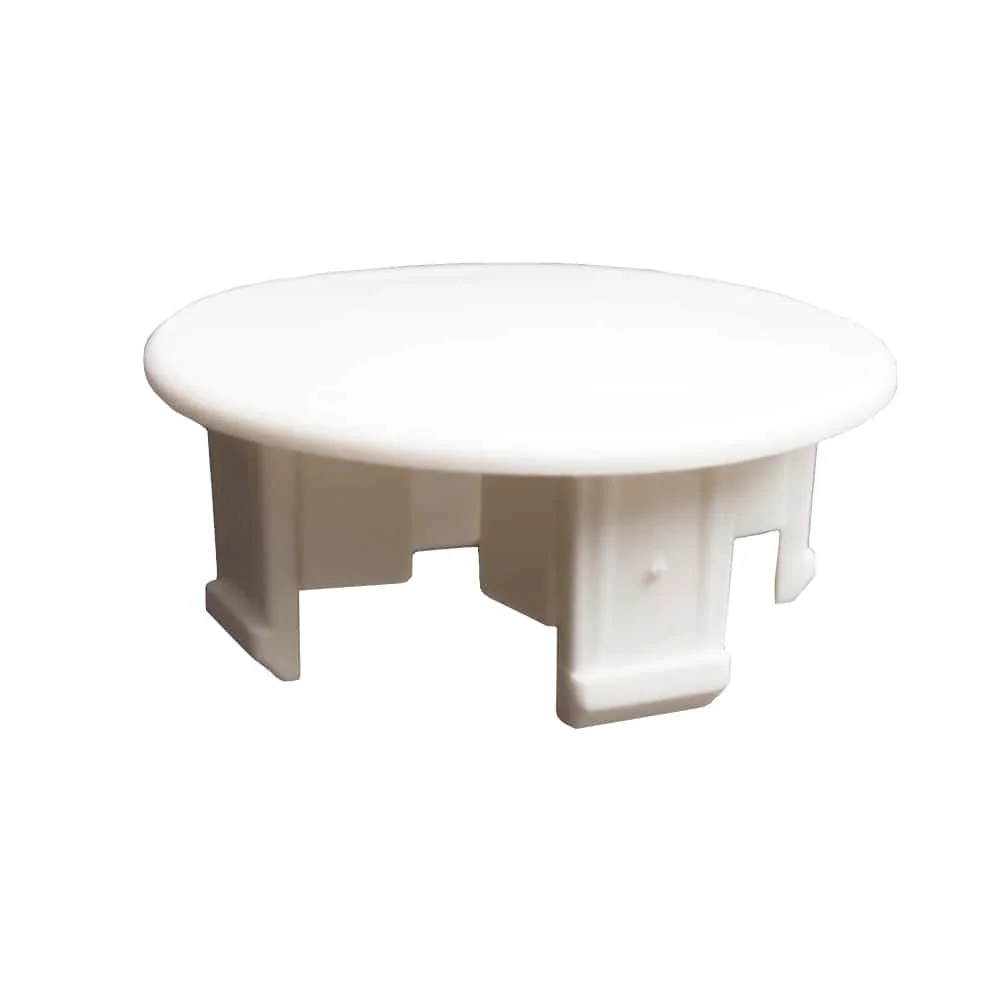
I like using grass pavers to create clear structure without sealing the garden. A path made from grass pavers filled with chippings alongside a green parking area creates interesting contrasts while being extremely easy to maintain and highly functional.
Laying grass pavers is a project that any enthusiastic DIYer can tackle with the right planning and timing. Choose spring or autumn, prepare the sub-base carefully and give the grass time to grow. The result is a durable, green and useful surface that enhances the value and functionality of your property.
Frequently Asked Questions
- Can I install grass pavers in summer?
- Yes, but they need frequent, thorough watering because heat and drought make it harder for grass to take root. Spring or fall is a better time for the project, helping you save water and give the grass the best possible start.
- How deep should I excavate for grass pavers?
- For footpaths or decorative areas, a depth of 10-15 cm is sufficient. For a driveway that needs to support cars, excavate at least 25-30 cm so you can install a sufficiently thick, stable crushed stone base.
- Do plastic grass pavers need to be removed in winter?
- No. High-quality grass pavers, such as those from Westfalia, are weather-resistant, frost-resistant, and UV-resistant. They’re designed for year-round use and stay in the ground to stabilize the area.
- What is the best fill for grass pavers?
- A mixture of high-quality topsoil, sand, and a little compost is ideal. Sand improves drainage and helps prevent waterlogging, while the topsoil and compost provide nutrients for healthy grass growth.
- Can I fill grass pavers with gravel instead of grass?
- Yes, this is a popular, low-maintenance alternative. Fill the grids with decorative gravel or crushed stone to create a stable, permeable surface. This works well for parking areas or paths that see little use.
You may also be interested in
- Installing Grass Pavers: A Step-by-Step Guide to a Stable Green Surface
- Grass Pavers: Benefits for Garden Paths and Parking Areas
- A Clean Garden Edge: When to Install Lawn Edging and Grids
- Buying Grass Pavers: A Guide to Sizes and Materials
- No More Ruts: How to Stabilize Grass Areas
- When to Apply Lawn Lime: The Best Time for a Healthy Lawn