
In brief: The tools you need to install flooring depend on the material. For laminate, a utility knife, pull saw, underlayment and installation spacers are essential. Tile installation calls for a wet tile saw, notched trowel and tile spacers. For carpet, you’ll need a carpet knife, double-sided tape and a seam roller. Invest in quality basics such as a hammer and a spirit level set. Proper preparation saves time and helps you get professional results.
What tools do I need to lay flooring?
Installing a new floor doesn’t start with the first plank or tile. It starts with choosing the right tools. A well-equipped toolbox can make the difference between a frustrating job and a precise DIY project. Here’s a look at the tools you’ll need for each type of flooring.
Basic tools for any flooring project
Before choosing specialized tools, start with the basics. These versatile tools make any flooring project easier.
A sturdy metal ruler or a long tape measure is essential for accurate measurements. A precise spirit level measuring 60 cm and 120 cm helps you check that the subfloor and first row are level. A durable rubber mallet protects the edges of boards as you fit them together.
A sharp utility knife with replacement blades makes clean cuts in underlayment and insulation. Keep a pencil handy for marking, along with a hand broom and dustpan for cleanup.
The quality of the subfloor determines 70 percent of the final installation result. Spend more time on preparation than on the installation itself. A perfectly level, clean surface is the best tool you can have.
Tools for laminate and click-lock vinyl: Get the job done fast
Laminate and modern click-lock vinyl flooring are popular choices for DIY installation. The installation system is simple, but the job can become tedious without the right tools.
A circular saw or table saw is ideal for straight cuts along the length of a plank. For notches around door frames or radiators, a jigsaw with a wood-cutting blade is invaluable. A pull saw or a tapping block with a pull bar is essential for installing the final row, which can be hard to reach.
Use installation spacers (approx. 8-10 mm) to leave the required expansion gap along the wall. An underlayment made from PE film or insulating fleece helps protect against moisture and reduces impact noise. A pull bar helps you fit the final row precisely.
Expert tip
Spread several packs of laminate around the room before installation. This gives the planks time to acclimate to the room’s conditions and helps prevent gaps from forming later as the flooring expands or contracts. At least 48 hours is recommended.
Choosing the right saw for the cut
When using a jigsaw, cut laminate with the decorative side facing up to get clean edges without chipping. Use a fine-tooth, reverse-cutting blade. Circular saws cut from the top, so place the material decorative side down.
Tools for tile and natural stone: Precision matters
Installing tile takes skill and effort. You’ll need tools that are both precise and powerful. Start by checking the subfloor.
The key tool is a wet tile saw with a diamond blade. It makes smooth cuts without chipping. For small adjustments or unusual shapes, use tile nippers. A mixing drill with a paddle attachment mixes tile adhesive evenly.
A notched trowel with the right notch size for the tile format and adhesive creates even ridges in the adhesive. Tile spacers in your desired size (e.g. 2 or 3 mm) help keep grout lines even. You’ll also need a rubber sponge and a grout finishing tool for grouting.
Important note
Always wear safety glasses and hearing protection when cutting with a wet tile saw. The spray and noise can be significant. Never use a saw with damaged cords or without a GFCI.
Specialty tools for large-format tile
For 60x60 cm tiles or thin, large-format tile, consider a vacuum lifting system or a tile suction lifter. A tile leveling system with clips and wedges helps correct minor height differences as the adhesive sets and prevents lippage.
Tools for carpet and other textile flooring
Carpet is usually installed with adhesive or stretched into place. For a DIY project, using adhesive is often the most practical option.
A heavy-duty, sharp carpet knife with a hooked blade is the most important tool. A carpet roller presses the flooring firmly into the adhesive and smooths out creases. A seam roller helps join two lengths invisibly when you use seam adhesive.
A knee kicker can help you unroll and position the carpet. A wide spatula from the building tools category spreads contact adhesive evenly. Double-sided carpet tape secures the flooring around the edges.
Many DIYers underestimate how much force it takes to cut cleanly through a length of carpet. A dull blade leaves frayed edges and an unprofessional finish. Change the blade after each room or whenever you feel resistance.
Tools for PVC and design flooring (vinyl)
Vinyl flooring comes in rolls or click-lock planks. The tools you need depend on the type.
For sheet vinyl, you need a long, straight marking ruler (guide rail) and a sharp utility knife. A heat gun softens the material for clean seams along the baseboards. A spiked roller perforates the backing when you use dispersion adhesive, helping it bond better.
For click-lock vinyl, you need tools similar to those used for laminate. Since the material is often softer, cut it with a special vinyl cutter or a very sharp utility knife and a metal guide rail.
Care starts as soon as installation is complete. A
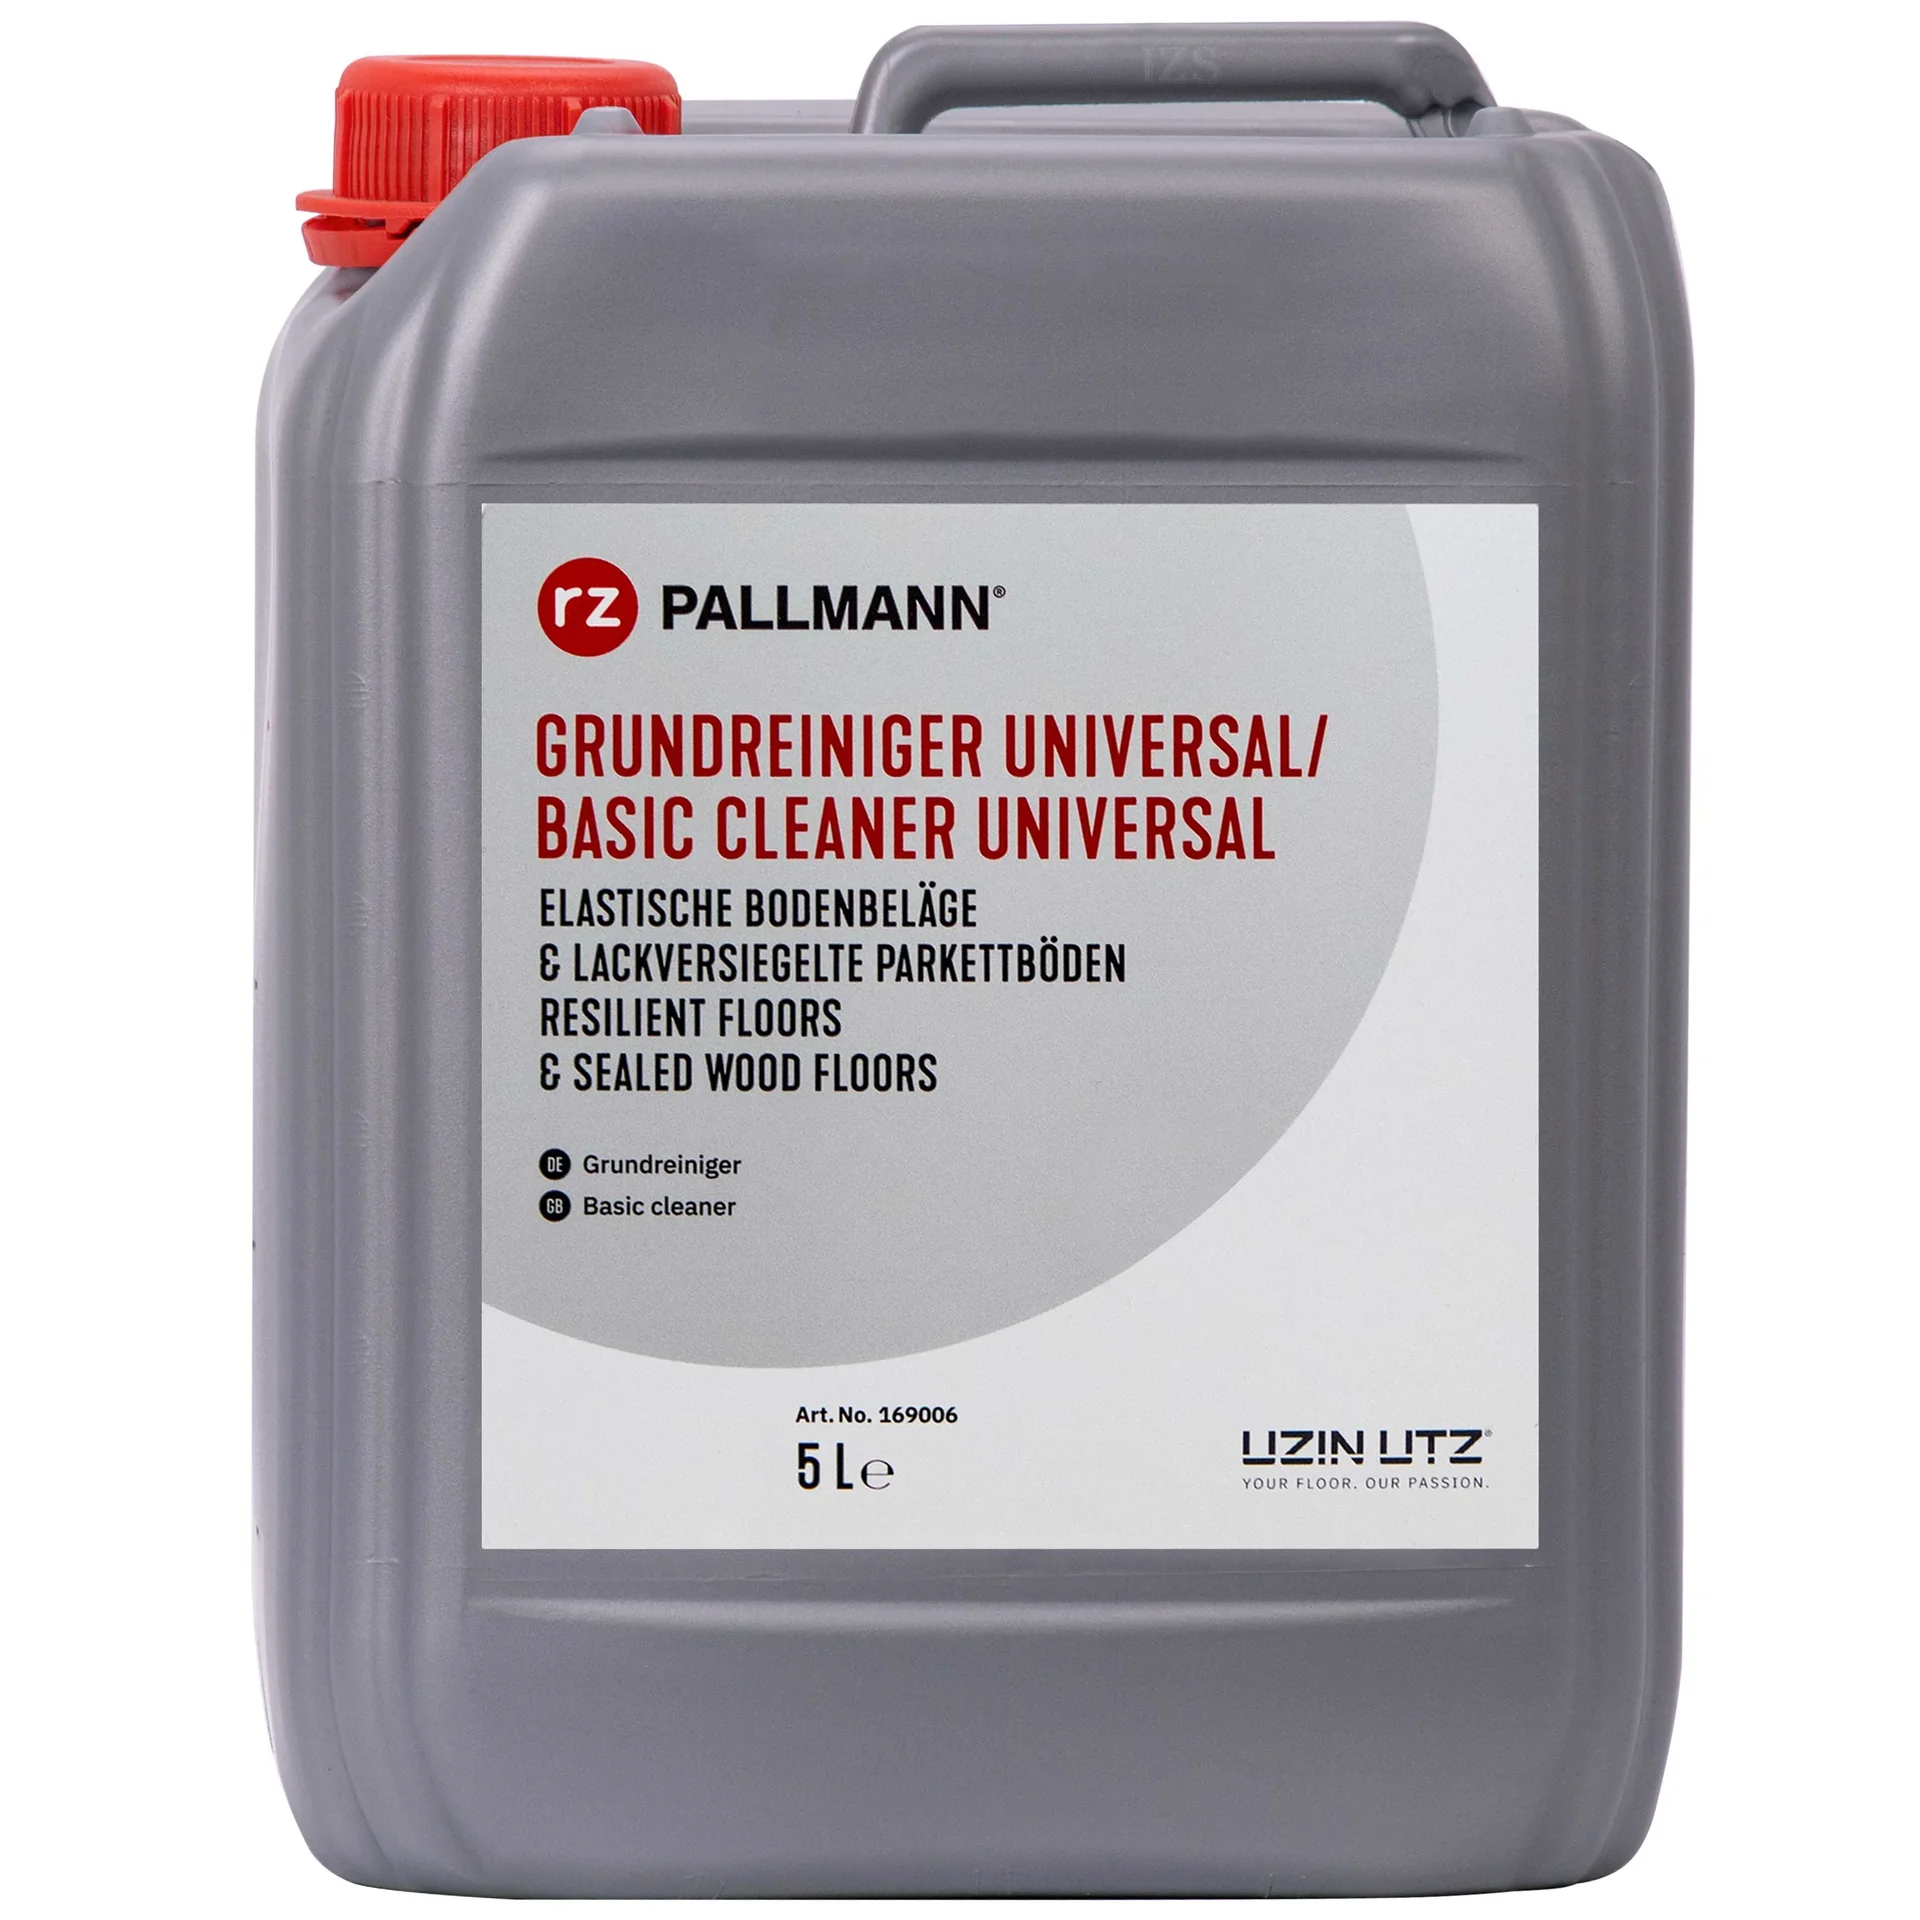
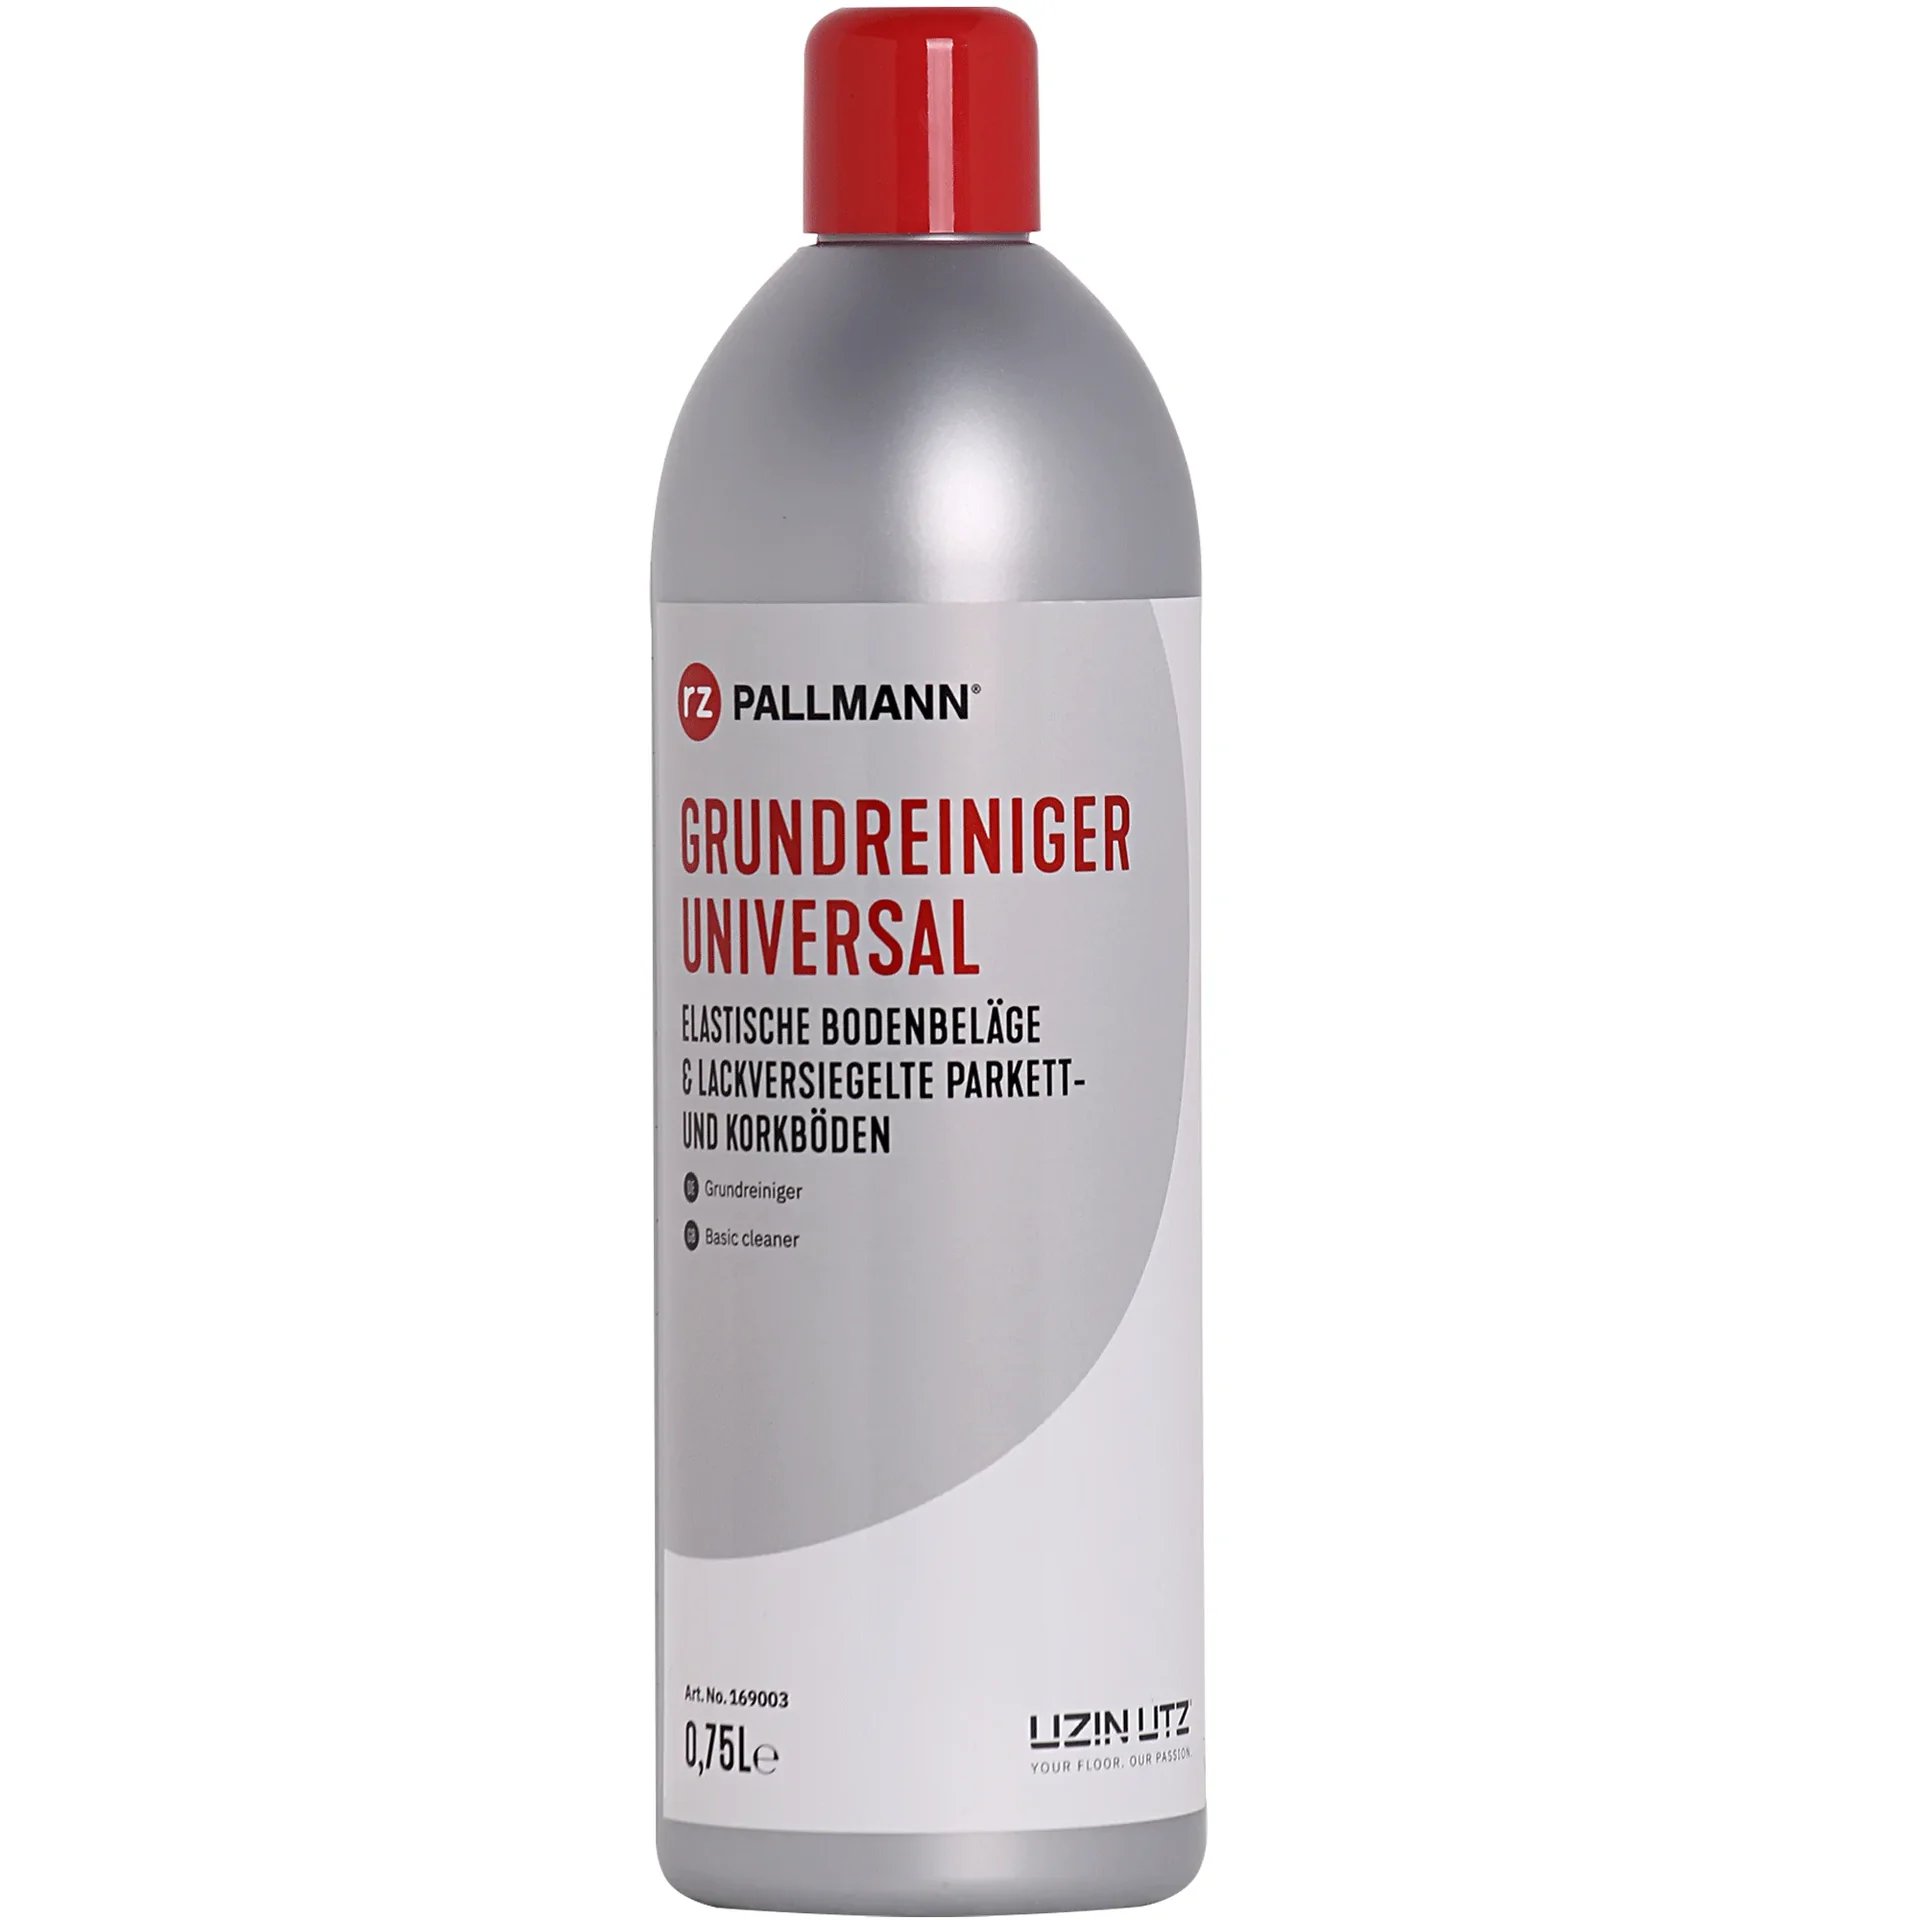
(DR. SCHUTZ PVC Design Flooring Care Set) protects your new floor from day one. For deep cleaning before installation or later, (RZ Universal Basic Cleaner 5 Liter) is an efficient option for larger areas. For smaller homes, (RZ Universal Basic Cleaner 750 ml) is a practical choice.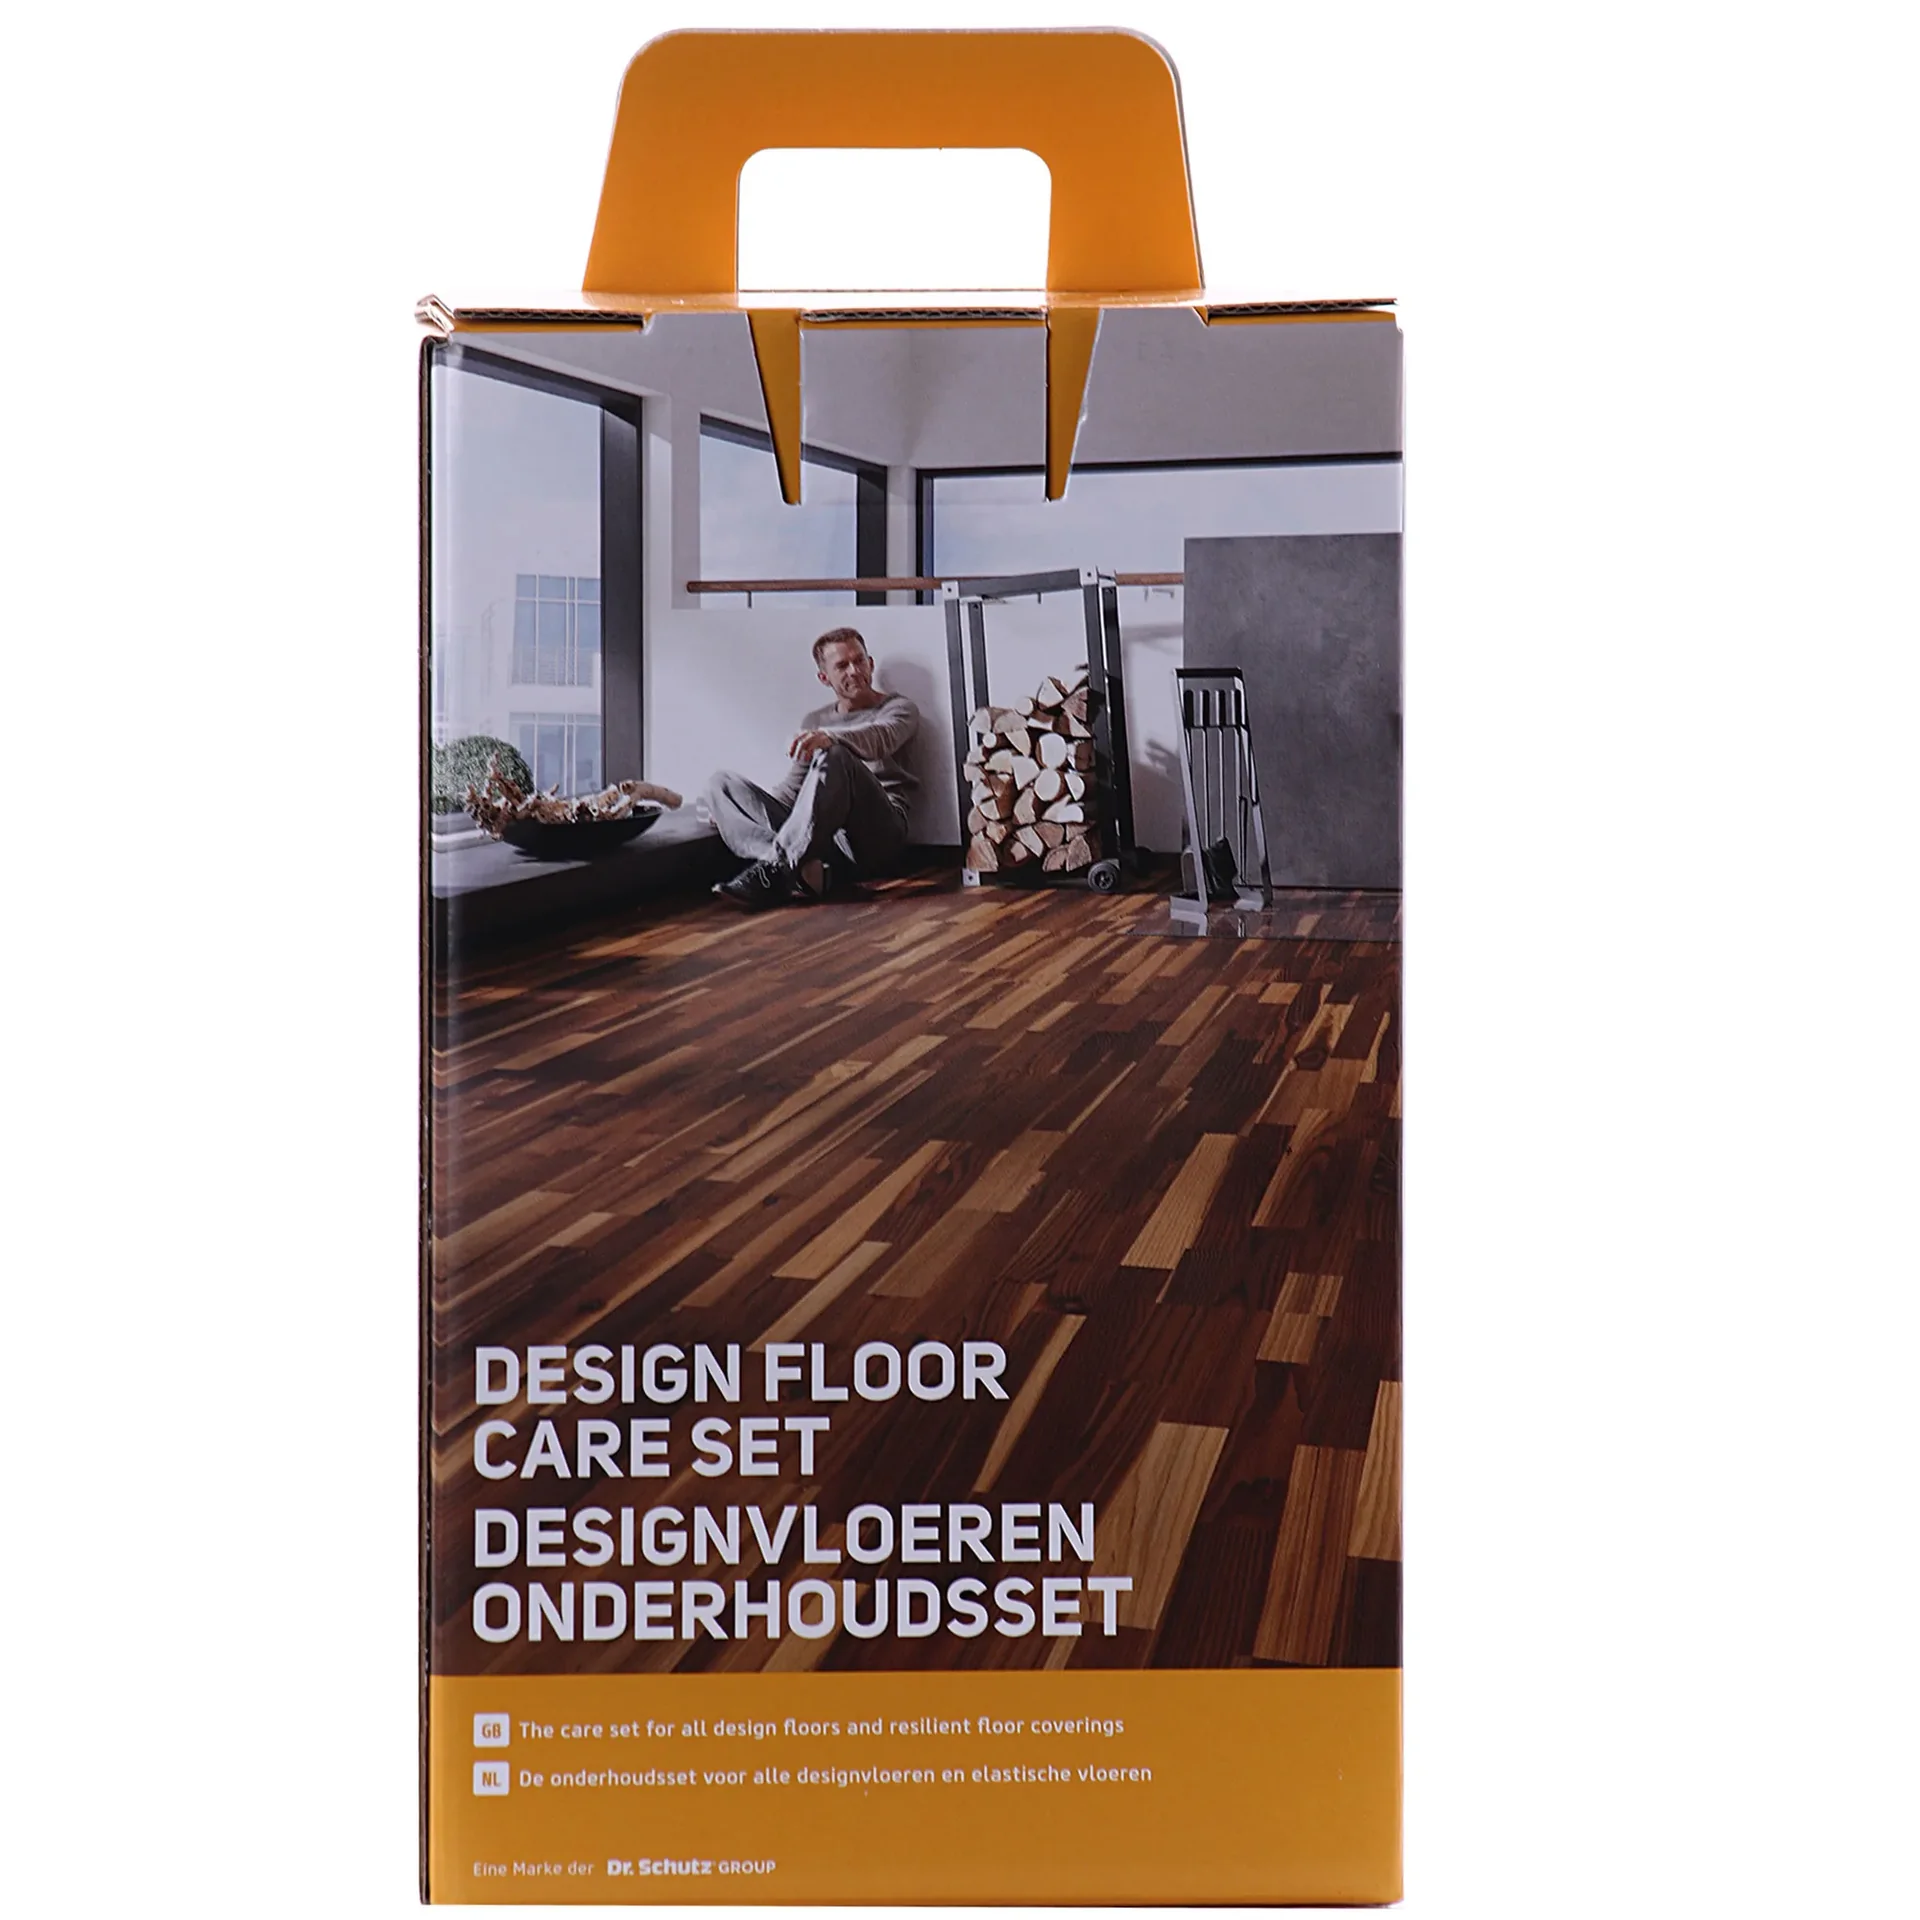
Additional advice
Keep heavy toolboxes and machines organized. A well-organized toolbox with the right socket set saves time and frustration on every project. You’ll be able to find every tool right away.
Preparation is half the job: Check and prepare the subfloor
Even the best tools won’t help if the subfloor is in poor condition. Preparation is the most important step.
Check that the surface is level with a long spirit level or straightedge. Use a floor sander to grind down major high spots in the screed, or level them with a floor leveling compound system. A floor vacuum removes fine dust.
Fill cracks and joints in the old floor with flexible joint sealant. Remove old adhesive residue with a scraper or an angle grinder with a floor milling attachment. You can find these in the power tools section.
Measure moisture levels
Measuring moisture in the screed is essential, especially before installing wood or cork flooring. A CM moisture meter (calcium carbide method) or an electronic moisture meter provides reliable readings. Don’t install a floating floor over a damp subfloor.
Finishing work and care
After installation, take care of the finishing work that gives your floor a polished look.
Install baseboards that match the flooring. Use a cordless drill/driver with wood and masonry drill bits to secure them to the wall, not to the floating floor. In wet areas, use a sealant such as silicone to seal the joint between the floor and baseboard.
Remove all installation wedges and fill the resulting perimeter gaps with an expansion joint profile or a flexible compound. The first deep clean removes any remaining construction dirt. Use only the cleaners recommended by the flooring manufacturer.
With the right tools and careful preparation, you can transform any room from the ground up. Plan your project step by step, invest in durable basic tools, and enjoy the results of your hard work.
Frequently Asked Questions
- Can I install laminate flooring without expensive specialty tools?
- Yes, basic tools are often enough for a simple laminate flooring installation. You’ll need a jigsaw or handsaw for cutting, a rubber mallet, and installation wedges to maintain the perimeter gap. A pull bar or a simple hammer with a tapping block makes it easier to lock the final row into place. For precise cuts around radiators or door frames, use a fine-tooth utility knife or jigsaw.
- What is the biggest mistake when installing tile?
- The biggest mistake is failing to prepare the subfloor properly, leaving it uneven or dirty. Tile won’t sit well on an uneven surface. The next critical step is mixing the tile adhesive correctly. Always use the amount of water specified by the manufacturer and mix it thoroughly with a drill mixer from the power tools section. Adhesive that’s too runny or has started to set won’t hold.
- Do I really need a special cutting tool for vinyl flooring?
- For PVC or luxury vinyl flooring, a sharp carpet knife or utility knife with plenty of replacement blades is enough. For thicker, multilayer vinyl flooring or precise cuts, a special vinyl cutter or an electric jigsaw with a fine-tooth blade is recommended. A tape measure and marking guide help you make clean, straight cuts.
- How do I keep grout lines even when tiling?
- Use tile spacers in your preferred size (e.g. 2 mm) to keep grout lines even. Place them at all four corners of each tile while the adhesive is fresh. Remove them once the adhesive has cured. For larger tiles or diagonal layouts, tile spacers with an integrated leveling system from the tool accessories category are useful.
- What tool is best for removing old flooring?
- For old laminate or PVC flooring, a pry bar and hammer are often enough. Stubborn tiles or screed residue may require a heavy-duty rotary hammer with a chisel attachment. Remove carpet adhesive with a special scraper. For all this work, safety glasses, a dust mask, and sturdy gloves from your basic tool kit are essential.