
In brief: The best time to install lawn edging is in spring or autumn. In spring, the soil is soft and plants have not yet reached full growth. Autumn also brings mild temperatures and moist soil, making the work easier and minimizing disruption to plants.
A well-kept garden is defined by clean lines. Grass grows where it should. Mulch stays in the beds. Paths are neatly separated from flower beds. The unsung helper behind this tidy look is lawn edging. It creates clean borders and makes garden maintenance much easier. But one question comes up time and again when planning a garden: When is the best time to install lawn edging? The answer depends largely on the season, the weather and the condition of your garden.
Choose the wrong time and the job becomes unnecessarily difficult. Hard, dry summer soil resists every spadeful. Frozen winter soil makes installation impossible. The right timing makes the work easier and protects your plants. For most projects, especially when you need a simple, flexible solution, the : Flexible black plastic lawn edging. It is flexible, weather-resistant and quick to adapt to any bed shape.

Why is choosing the right time for lawn edging so important?
Timing plays a big part in the success of your project. Three factors matter most: soil conditions, plant growth and your comfort while working. You want soil that gives way without being muddy. You also want to disturb plant roots as little as possible and work in comfortable temperatures.
A well-timed garden project minimizes stress on plants and helps you get the best results. Install lawn edging before perennials start growing and the lawn reaches its peak growth phase, and the new border will have time to settle. The soil can firm up around the edging before the main growing season begins. This creates a stable, long-lasting barrier and makes maintaining your Garden + Outdoor area easier for years to come.
The best time to plant a tree was twenty years ago. The second-best time is now. For lawn edging, the best time is spring or autumn.
Seasonal guide: When is the best time to install lawn edging?
Each season brings its own considerations in the garden. What works for planting flower bulbs may not work for installing lawn edging. Here is your seasonal guide.
Spring: The ideal starting point
Spring, usually from March to May, is considered the best time to install lawn edging. After winter, the soil has thawed and is moist and soft from melting snow and rain. That makes digging a trench much easier. You are working with nature, not against it.
Most plants are still dormant or just beginning to sprout. Their root systems are less sensitive, so you are less likely to damage them. It is the perfect time for spring garden planning, whether you want to create new beds or improve existing layouts before the growing season gets underway. One possible drawback is unpredictable weather. A sudden cold snap or prolonged rain can disrupt your plans.
Pro tip
If the soil is very wet and heavy with clay in spring, wait for a few dry days. Soil that is too wet is heavy, sticky and difficult to firm up again. The trench may keep collapsing as soil slides back in.
Summer: Possible, but plan carefully
In midsummer, from June to August, installing lawn edging can be a challenge. The soil is often rock-hard and dry, especially after an extended heat wave. Digging becomes sweaty, hard work. You will need more strength and possibly sturdier garden tools.
Plants are also in full growth. There is a high risk of damaging active roots in perennials, shrubs or the lawn itself. If you need to do the work in summer, choose a cooler day after a good amount of rain. Water the planned edging line thoroughly the day before to soften the soil.
Autumn: The second golden opportunity
Autumn, from September to early November, is the other ideal season. The intense heat has passed, but the soil is still mild. Regular showers soften the soil and make it easy to work again. Most plants are finishing their growth and sending energy back to their roots, which makes them more resilient to disturbance.
Autumn also gives you a good view of the garden after a full season. You can see exactly where the lawn has spread too far and which beds need reshaping. Pleasant temperatures and softer light make gardening a pleasure. Falling leaves can make the work a little more difficult.
Winter: More of a dormant period
From late November to February, leave the spade and lawn edging in the shed. Frozen soil is like concrete. It is practically impossible to dig, and doing so could damage your tools. Even if the surface thaws on mild days, deeper layers may still be frozen. Frost heave can push newly installed edging back out of the ground and shift it out of position.
Important note
Never install lawn edging in frozen or snow-covered soil. It will not sit properly and may be pushed back up by the freeze-thaw cycle in spring, undoing all your work.
How do you install lawn edging correctly? A step-by-step guide
You’ve chosen the right time and have your materials ready. With the right technique, you can install lawn edging neatly so it lasts. This guide is ideal for flexible plastic edging.
- Plan and mark the layout: Mark the edging’s path with a taut string line for straight sections or a garden hose for curves. This helps you create a clean, flowing shape.
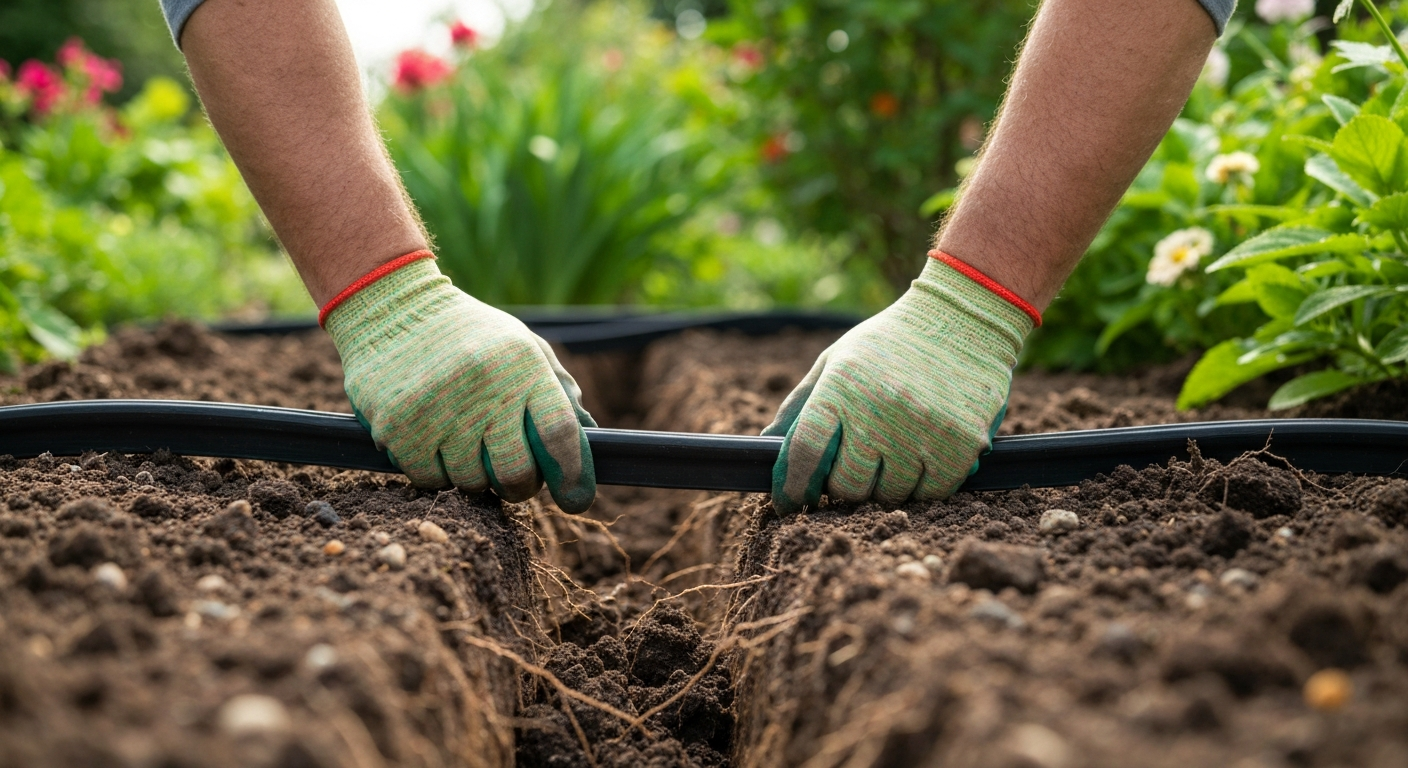
- Dig the trench: Use a spade or a lawn-edging spade to cut a narrow trench along the marked line. The depth depends on the height of your lawn edging. For edging that is 4,5 cm high, a trench about 8-10 cm deep is sufficient.
- Insert the lawn edging: Place the edging, such as the , in the prepared trench. For curves, simply bend the flexible material into the desired shape.
- Align and secure: Make sure the top edge of the garden bed edging is at the right height. Ideally, it should be level with the lawn or sit just slightly below it so you can mow over it easily. Gently tap the edging into place with a rubber mallet.
- Backfill and compact: Fill the trench on both sides with the excavated soil. Carefully firm down the soil to hold the edging securely in place.
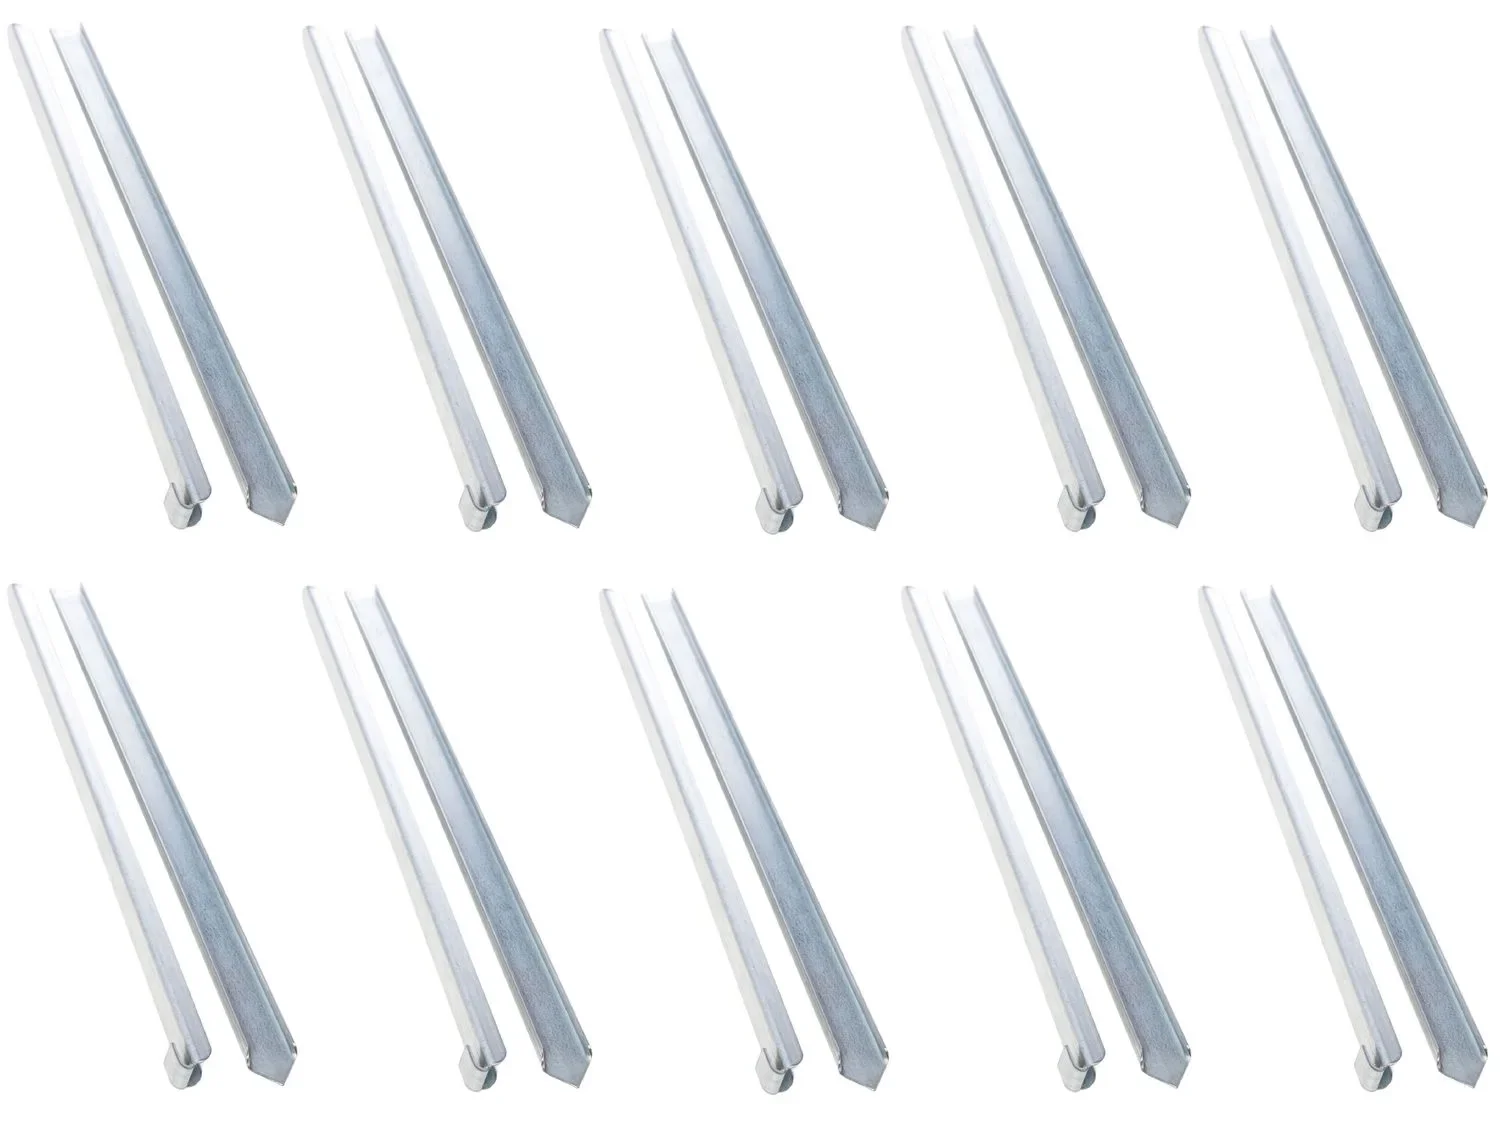
- Add extra anchors: For maximum stability, especially in loose soil or around tight curves, use ground anchors. The : 10-pack ground anchors are driven through the edging into the ground to secure it permanently.
Which material is best for garden bed edging? A quick overview
Your choice of material affects both the look of your garden and how easy the edging is to install and how long it lasts. Each material has its own advantages and disadvantages to consider when choosing the right garden equipment.
Plastic
Plastic edging, such as our tried-and-tested , is a versatile option. It is affordable, very flexible for curved shapes, rot-resistant, and easy to install. It is ideal for beginners and beds with complex shapes.
Metal (Corten steel, stainless steel, aluminum)
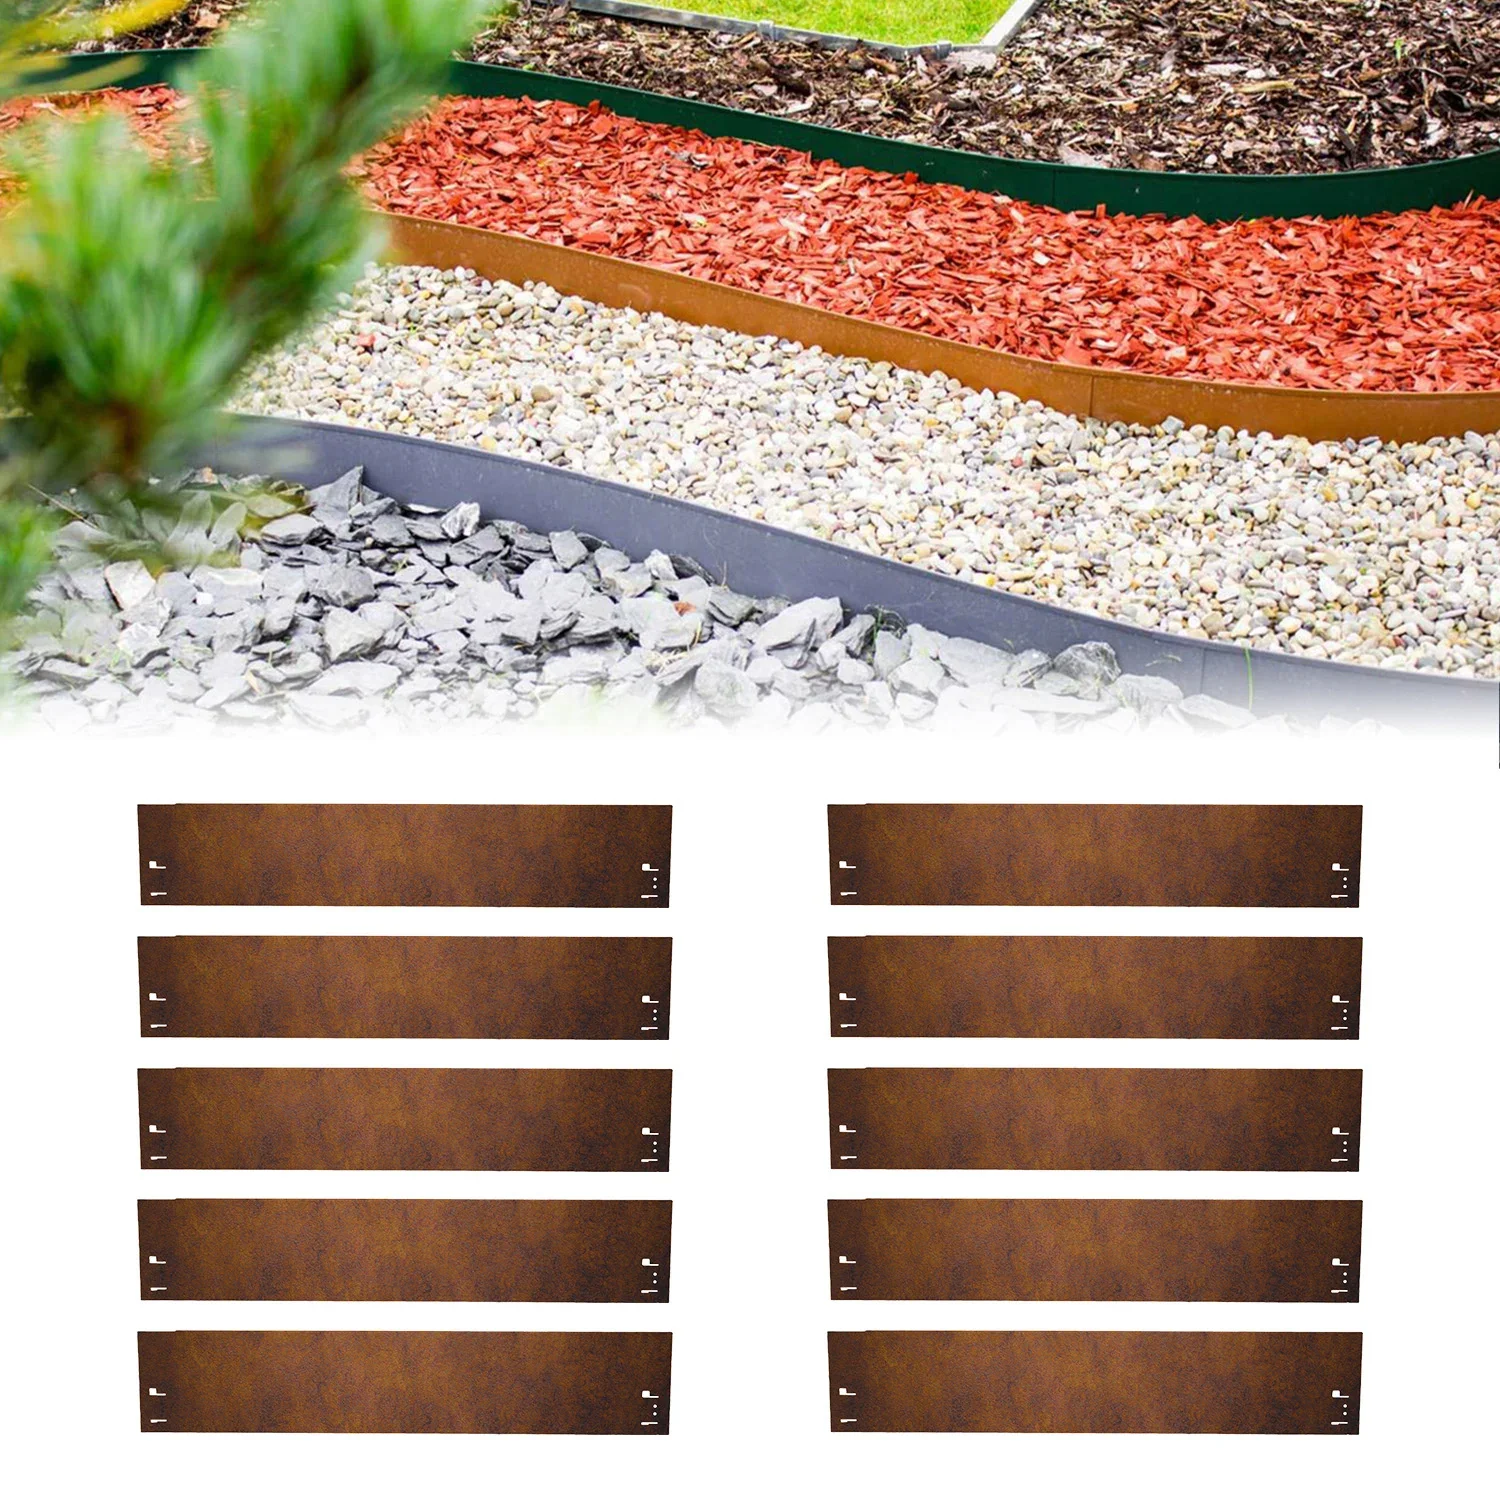
Metal edging offers a durable, high-quality look. Corten steel is especially popular because it develops a stable layer of rust that acts as a protective patina. This gives the garden a modern, natural look. The : 10-piece Corten steel lawn edging set is sturdy and makes a real design statement. Installation takes a little more work than with plastic, but the result is extremely durable.
More tips
Lawn edging is useful for more than flower beds. It also works well along gravel paths, around trees to create a mowing edge, or between different areas of a vegetable garden.
Wood
Wood has a natural look and works well in rustic gardens. However, it can rot and may need to be replaced after a few years, depending on the type of wood and how it is treated. Pressure-treated wood lasts longer but contains chemicals.
Stone or concrete
Pavers or small concrete palisades are the most solid and durable options. They are virtually indestructible, but installation is labor-intensive and often requires a small concrete foundation. They work well in high-traffic areas or as edging for raised garden beds.
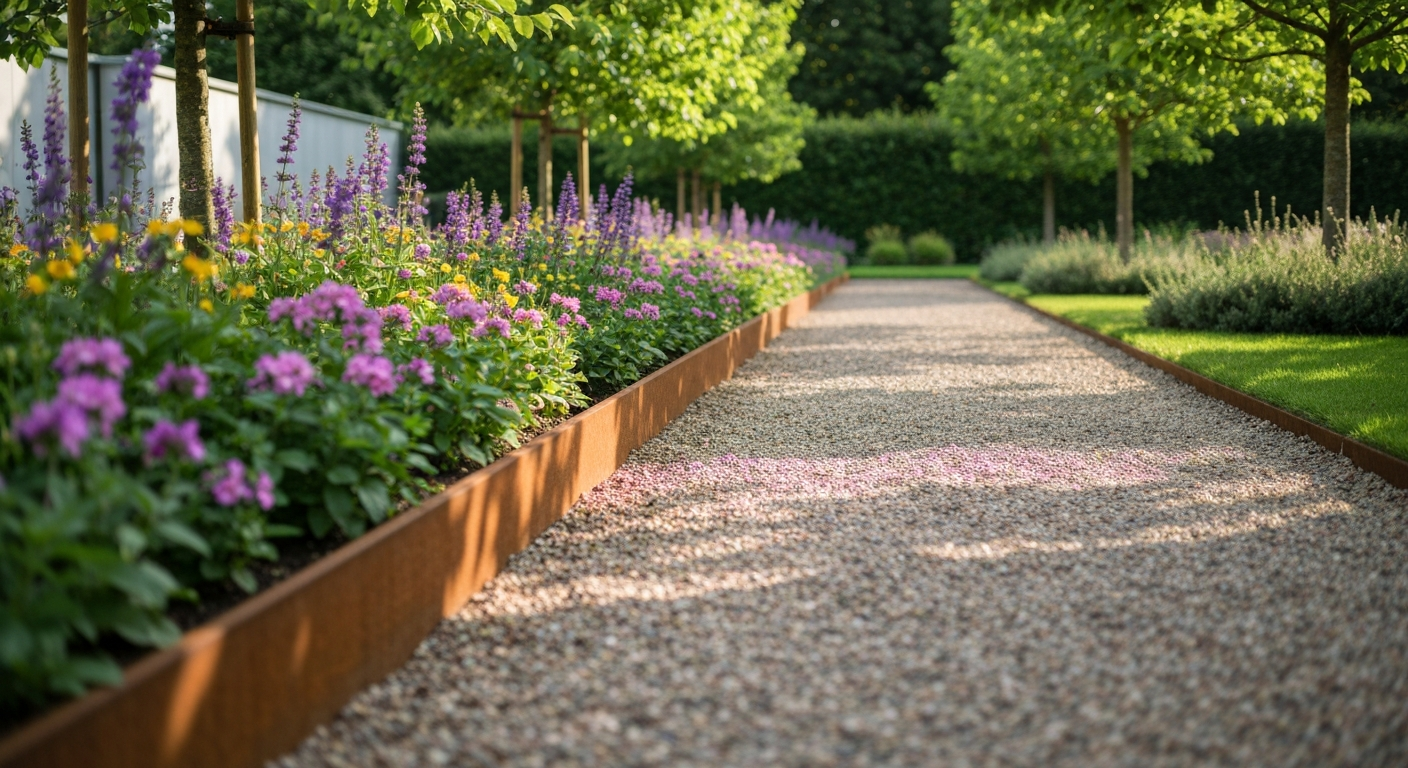
A clean edge between lawn and garden bed is like a precise brushstroke on a canvas. It brings calm and structure to the garden’s design.
How can you tell when your old lawn edging needs replacing?
Even the best garden bed edging won’t last forever. Watch for clear signs that it needs replacing. This is the best way to preserve both its function and your garden’s well-kept appearance. Take a close look at your existing garden and plant accessories.
With plastic edging, cracks, breaks, or severe warping caused by UV exposure are clear signs. If the edging has become brittle and breaks when touched, it has reached the end of its useful life. Check whether frost has pushed it out of the ground so it no longer sits flush. If grass roots grow underneath or over the edging, it is no longer an effective barrier.
With metal edging (except Corten steel), rust-through is the main concern. With wooden edging, look for rot and decay. If the wood becomes soft and crumbles, it is time to replace it. Sometimes the reason is simply aesthetic: the old style no longer suits your new garden design.
With careful planning and the right timing, installing lawn edging can be a rewarding project. A clear boundary between your lawn and flower beds not only looks great, it also cuts down on garden maintenance for years to come. Spring and fall offer the best conditions for a successful, stress-free installation.
Frequently Asked Questions
- Can you install lawn edging in summer?
- Yes, but it takes more work. The soil is often hard and dry, which makes digging more difficult. Be careful not to damage the roots of established plants. Water the area the day before to make the job easier.
- How deep should lawn edging be set into the ground?
- Lawn edging should be set deep enough to stay stable while protruding only slightly above the ground. A good rule of thumb is to set it level with the turf. This prevents it from becoming a tripping hazard and lets the lawn mower pass over it without any problems.
- What tools do I need to install lawn edging?
- You will need a spade or lawn edger, string to mark the line, a rubber mallet to tap it into place and, optionally, a level. For plastic edging, sturdy scissors can be useful for cutting it to the correct length.
- How do I connect individual lawn edging sections?
- Most systems have simple push-fit or click connections. With flexible plastic lawn edging, simply overlap the ends slightly in the trench. Metal edging often comes with special connectors, or you can bend the ends slightly and screw them together.
- Do I need to lay a foundation for lawn edging?
- You don’t need a foundation for lightweight, flexible plastic or metal edging. Installing it in the soil and compacting the ground is enough. Only heavy stone edging benefits from a small mortar or concrete foundation for added stability.
You may also be interested in
- Buying Lawn Edging: The Ultimate Guide for Your Garden
- Get Your Garden Ready for Spring: Is It Time to Install Lawn Edging?
- Keep Grass Out of Your Flower Beds: Flexible Lawn Edging as a Weed Barrier
- Enjoy Your Lawn Edging for Longer: Care and Cleaning Tips
- 5 Creative Lawn Edging Ideas: More Than Just a Border
- Lawn Edging in Spring: When Ground Anchors Make All the Difference