
Quick summary: You can install roof insulation between rafters yourself by fitting insulation batts or boards snugly between the rafters. Start at the ridge and work down toward the eaves. Install the insulation without gaps, then carefully seal every joint with a vapor barrier and tape. Accurate cutting is essential for a good result.
How to Install Roof Insulation Between Rafters
An uninsulated roof is one of the biggest sources of heat loss in your home. Up to 30 percent of your heating energy can escape through it. Adding insulation between the rafters is a classic way to address the problem. It uses the existing space between the roof rafters. Here are the steps to follow.
You can lower your energy bills and make your home more comfortable. Insulating the roof is an important part of an energy-efficient attic renovation. Allow two to three days for an average-sized attic.
What is between-rafter insulation?
You fit insulation material into the spaces between the structural roof timbers, known as rafters. These rafters are usually 14 to 18 centimeters high. The insulation fills the space between them.
This creates a continuous thermal envelope beneath the roof covering. One advantage is that it is straightforward to install. A drawback is thermal bridging through the rafters themselves.
Between-rafter insulation is the most economical solution for existing buildings. With a reasonable amount of effort, you can achieve a good level of insulation.
What materials do I need to insulate a roof?
Choose your insulation material carefully. Mineral wool is a popular option. It is noncombustible, vapor-permeable and easy to work with. Wood fiber boards are a more eco-friendly choice.
You will need insulation batts that match the rafter depth. Calculate how much you need, then add ten percent to allow for waste.
Important note
Always wear protective clothing when working with mineral wool. This includes gloves, an FFP2 dust mask and safety goggles. Fine dust can irritate your skin and airways.
Along with the insulation, buy a vapor barrier membrane in rolls. You will also need compatible tape to seal the overlaps. Keep a sharp utility knife, tape measure and sturdy scissors handy.
Drywall or OSB boards work well for the interior finish. Remember to buy the appropriate screws. In Trade Supplies, you will find suitable tools and supplies.
How do I prepare the attic?
Clear out the attic completely. Remove any old, loose insulation, such as fiberglass or polystyrene. Check the roof rafters for signs of moisture or mold.
Clean the spaces thoroughly. Dust and cobwebs can prevent the vapor barrier from adhering properly. Check the electrical cables. They must be positioned in front of the vapor barrier once it is installed.
Keep all materials and tools within easy reach. Working in an attic can be strenuous, so good preparation saves time and effort.
How do I install insulation batts correctly?
Start at the highest point, the ridge. Measure the width of the first rafter bay. Cut the first insulation batt to size with the utility knife.
The batt should be about one centimeter wider than the bay. Wedge it between the rafters. The slight pressure holds it in place without leaving gaps.
Work your way from bay to bay toward the eaves. Butt the batts tightly together along their long edges. Avoid cross joints. Stagger the joints as you would when laying bricks.
Pro tip
Use a long, straight board as a guide when cutting the batts. This gives you clean edges. A specialist insulation knife with a serrated blade cuts through the material more easily.
Take extra care with irregular bays. Angled cuts around dormers or roof posts require precision. It is better to trim these areas twice.
Precise edges are essential for an attic renovation. They provide a sound base for the vapor barrier. Gaps allow air to circulate and reduce the insulation's effectiveness.
How do I install a vapor barrier?
Install the vapor barrier on the warm, interior side of the insulation. Unroll the membrane from top to bottom and staple it to the rafters.
Leave about ten centimeters of excess material at the edges. Each new sheet should overlap the previous one by at least ten centimeters. Seal the overlap with the special tape.
Seal all openings, including those around electrical cables, pipes and vents. Use sleeves or butyl rubber tape for this. The vapor barrier must be airtight.
Airtightness is just as important as the insulation itself. A small gap can cut the effectiveness of the entire project in half. Take your time sealing the joints.
At the exterior walls and ridge, extend the vapor barrier a few centimeters farther. You can then seal it to the adjoining building components to create a continuous barrier.
How do I finish the project?
Install the interior finish after the vapor barrier. Drywall is lightweight and fire-resistant. Screw it to the rafters at 15-centimeter intervals.
Be careful not to damage the vapor barrier. Center the drywall joints on the rafters. Fill the joints and cover the screw heads with joint compound.
For a wood finish, use OSB boards or wood paneling. Think about how you plan to use the room. In the Garden + Outdoor section, you will find ideas for furnishing it.
Additional advice
Ventilate the room well during and after the work. Moisture from construction needs to escape. A dehumidifier can speed up the process during the first few days after completion.
What mistakes should I avoid?
The most common mistake is leaving gaps in the insulation. Fill every small opening with offcuts. Make sure there are no gaps along the sides of the rafters either.
Avoid compressing the insulation. Do not squeeze the batts together. This reduces the air pockets and lowers the insulation's performance. The batt should sit loosely.
Do not use standard multipurpose tape. Use the tape designed for your system. Cheap masking tape will not hold up to moisture.
Do not forget the garden tools for future outdoor projects. A well-maintained roof drainage system protects your new insulation from moisture outside.
How much does between-rafter insulation cost?
Material costs range from 25 to 40 euros per square meter. Mineral wool is less expensive, while wood fiber insulation costs somewhat more. Allow 15 to 20 euros for the vapor barrier and accessories.
You can save on labor costs by doing the work yourself. A professional contractor charges 80 to 120 euros per square meter, including materials. Depending on your heating system, the investment can pay for itself within five to ten years.
Remember to check which funding programs are available. KfW offers grants for energy-efficient renovations. Find out more before starting work. An energy consultant can help you with the application.
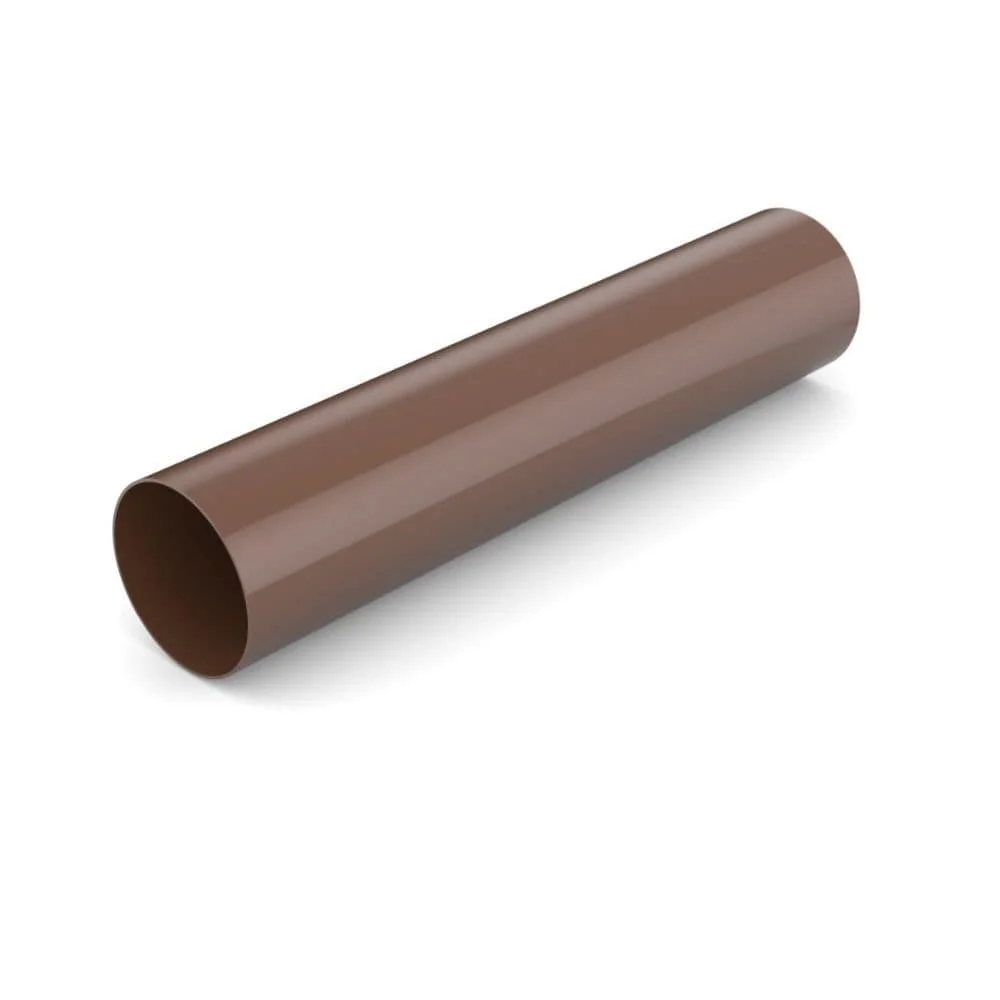
For exterior roof work, you can find suitable products such as the
or the for effective drainage. to help install heating cables that prevent icicles.
What are the alternatives to between-rafter insulation?
Over-rafter insulation is installed above the rafters and eliminates thermal bridges. The work is more extensive because the roof covering must be removed.
Under-rafter insulation is installed beneath the rafters. It reduces ceiling height but is easy to add later. It is often combined with insulation between the rafters.
Blown-in insulation fills cavities with loose-fill material. It is suitable for hard-to-reach areas, and a professional contractor installs it using specialist equipment.
All options have one thing in common: thermal insulation is an investment in the future. It increases your property's value and creates a more comfortable indoor climate. In the Plumbing + Irrigation section, you will find more ideas for an energy-efficient home.
Start planning today. Measure your attic and order the materials. A warm winter starts with a cool attic in summer.
Frequently Asked Questions
- How thick should insulation between rafters be?
- The insulation should match the rafter depth to fill the cavity completely. A thickness of 16 to 24 centimeters is common. New builds must meet minimum legal requirements. In older buildings, the maximum thickness depends on the existing construction.
- Can I use any type of insulation between rafters?
- No. Use only approved, noncombustible materials such as mineral wool (glass or rock wool) or wood fiber boards. They must hold their shape and stay in place without sagging. Expanding materials such as PU foam are unsuitable for this purpose.
- Do I need a vapor barrier beneath the insulation?
- Yes, a vapor barrier on the room side is essential. It prevents warm, humid indoor air from entering the insulation and condensing there. Without this layer, you risk mold growth and structural damage.
- How do I insulate around skylights and connections?
- Cut the insulation batts to fit precisely and install them without gaps. Seal especially critical areas, such as roller shutter boxes, with specialist adhesive tape or butyl rubber tape. Allow extra time for detailed work in these areas.
- Is insulation between rafters enough on its own?
- Often, it is not. Because the rafters themselves remain thermal bridges, adding over-rafter insulation is ideal. If that is not possible, cover the rafters with thin insulation strips to reduce heat loss.
You may also be interested in
- Insulate your attic yourself: costs and the best methods
- Home insulation: insulate your walls properly and save energy
- Roof insulation: save on heating costs and improve home comfort
- Insulation materials explained: efficient building and renovation
- Convert your attic with drywall to create more living space
- Lower heating costs: insulate pipes yourself for better efficiency