
In brief: To adjust windows properly, first check the sealing pressure with a sheet of paper. If the window rubs against the frame, correct the height at the corner hinge and the side position at the stay hinge using an Allen key. To stop drafts, turn the locking cams on the window sash to increase pressure on the seal and save energy effectively.
Feeling a cold draft from your window even though it is closed? Rising energy bills with no obvious reason? The cause is often simpler than you might think: your windows are not adjusted correctly. Over time, fittings can become loose and frames can warp. The result is a draft that is not only uncomfortable but also drives up your energy bills. The good news: you can often solve this problem yourself with just a few simple adjustments.
This guide shows you how to adjust your windows correctly, check the seals and create a warm home while lowering your costs. You do not need expensive specialist tools or any prior knowledge. Just a little time and the right adjustments.
Why is adjusting windows so important?
Well-adjusted windows are more than just a matter of comfort. They are an essential part of an energy-efficient and healthy indoor climate. A perfectly adjusted window closes tightly and protects your home from the elements.
The most obvious benefit is energy savings. Gaps around windows let cold air in during winter and warm air escape. Your heating system has to constantly compensate for this heat loss, leading to unnecessarily high costs. In summer, the effect is reversed: air conditioners have to work harder to offset the heat entering your home.
Another important factor is protecting the building structure. Constant drafts can carry moisture into the window reveal. There, it condenses and creates an ideal breeding ground for mold. Adjusting your windows in good time prevents this kind of damage and the costly repairs associated with it. It also protects the window hardware when the sash does not rub or jam against the frame, extending the service life of the entire window.
Up to 15 percent of heating energy can be lost through leaky windows and doors. Correct adjustment is one of the quickest and most affordable ways to close this gap.
How do I know that my window needs adjusting?
Before reaching for your tools, you need to identify the problem. Several simple tests can show you whether and where your window is leaking or sticking.
The paper test
This is the classic test for checking sealing pressure. Open the window and place a regular sheet of paper between the window sash and frame. Now close the window completely. Try to pull out the paper. If it comes out easily or even without resistance, the sealing pressure is too low and drafts can get through. Repeat this test at several points around the window.
The candle test
For this test, you need a candle or lighter. Slowly move the burning flame along the closed window frame, keeping it at a safe distance. If the flame flickers at one point, this indicates an air leak. Be especially careful during this test, particularly near curtains.
Visual and functional inspection
Open and close the window several times. Listen for noises. Popping, squeaking or rubbing indicates that the window sash is not sitting correctly in the frame. Also check the rubber seals for cracks, brittleness or deformation. A damaged seal cannot properly seal even the best-adjusted window.
Additional advice
A thorough cleaning is the first step in any maintenance routine. Remove dirt from the frame, seals and hardware. This helps you spot damage and ensures that the mechanism works smoothly. A clean work area also makes adjustment easier. A simple glass cleaner such as the
or, for larger areas, the powerful is ideal.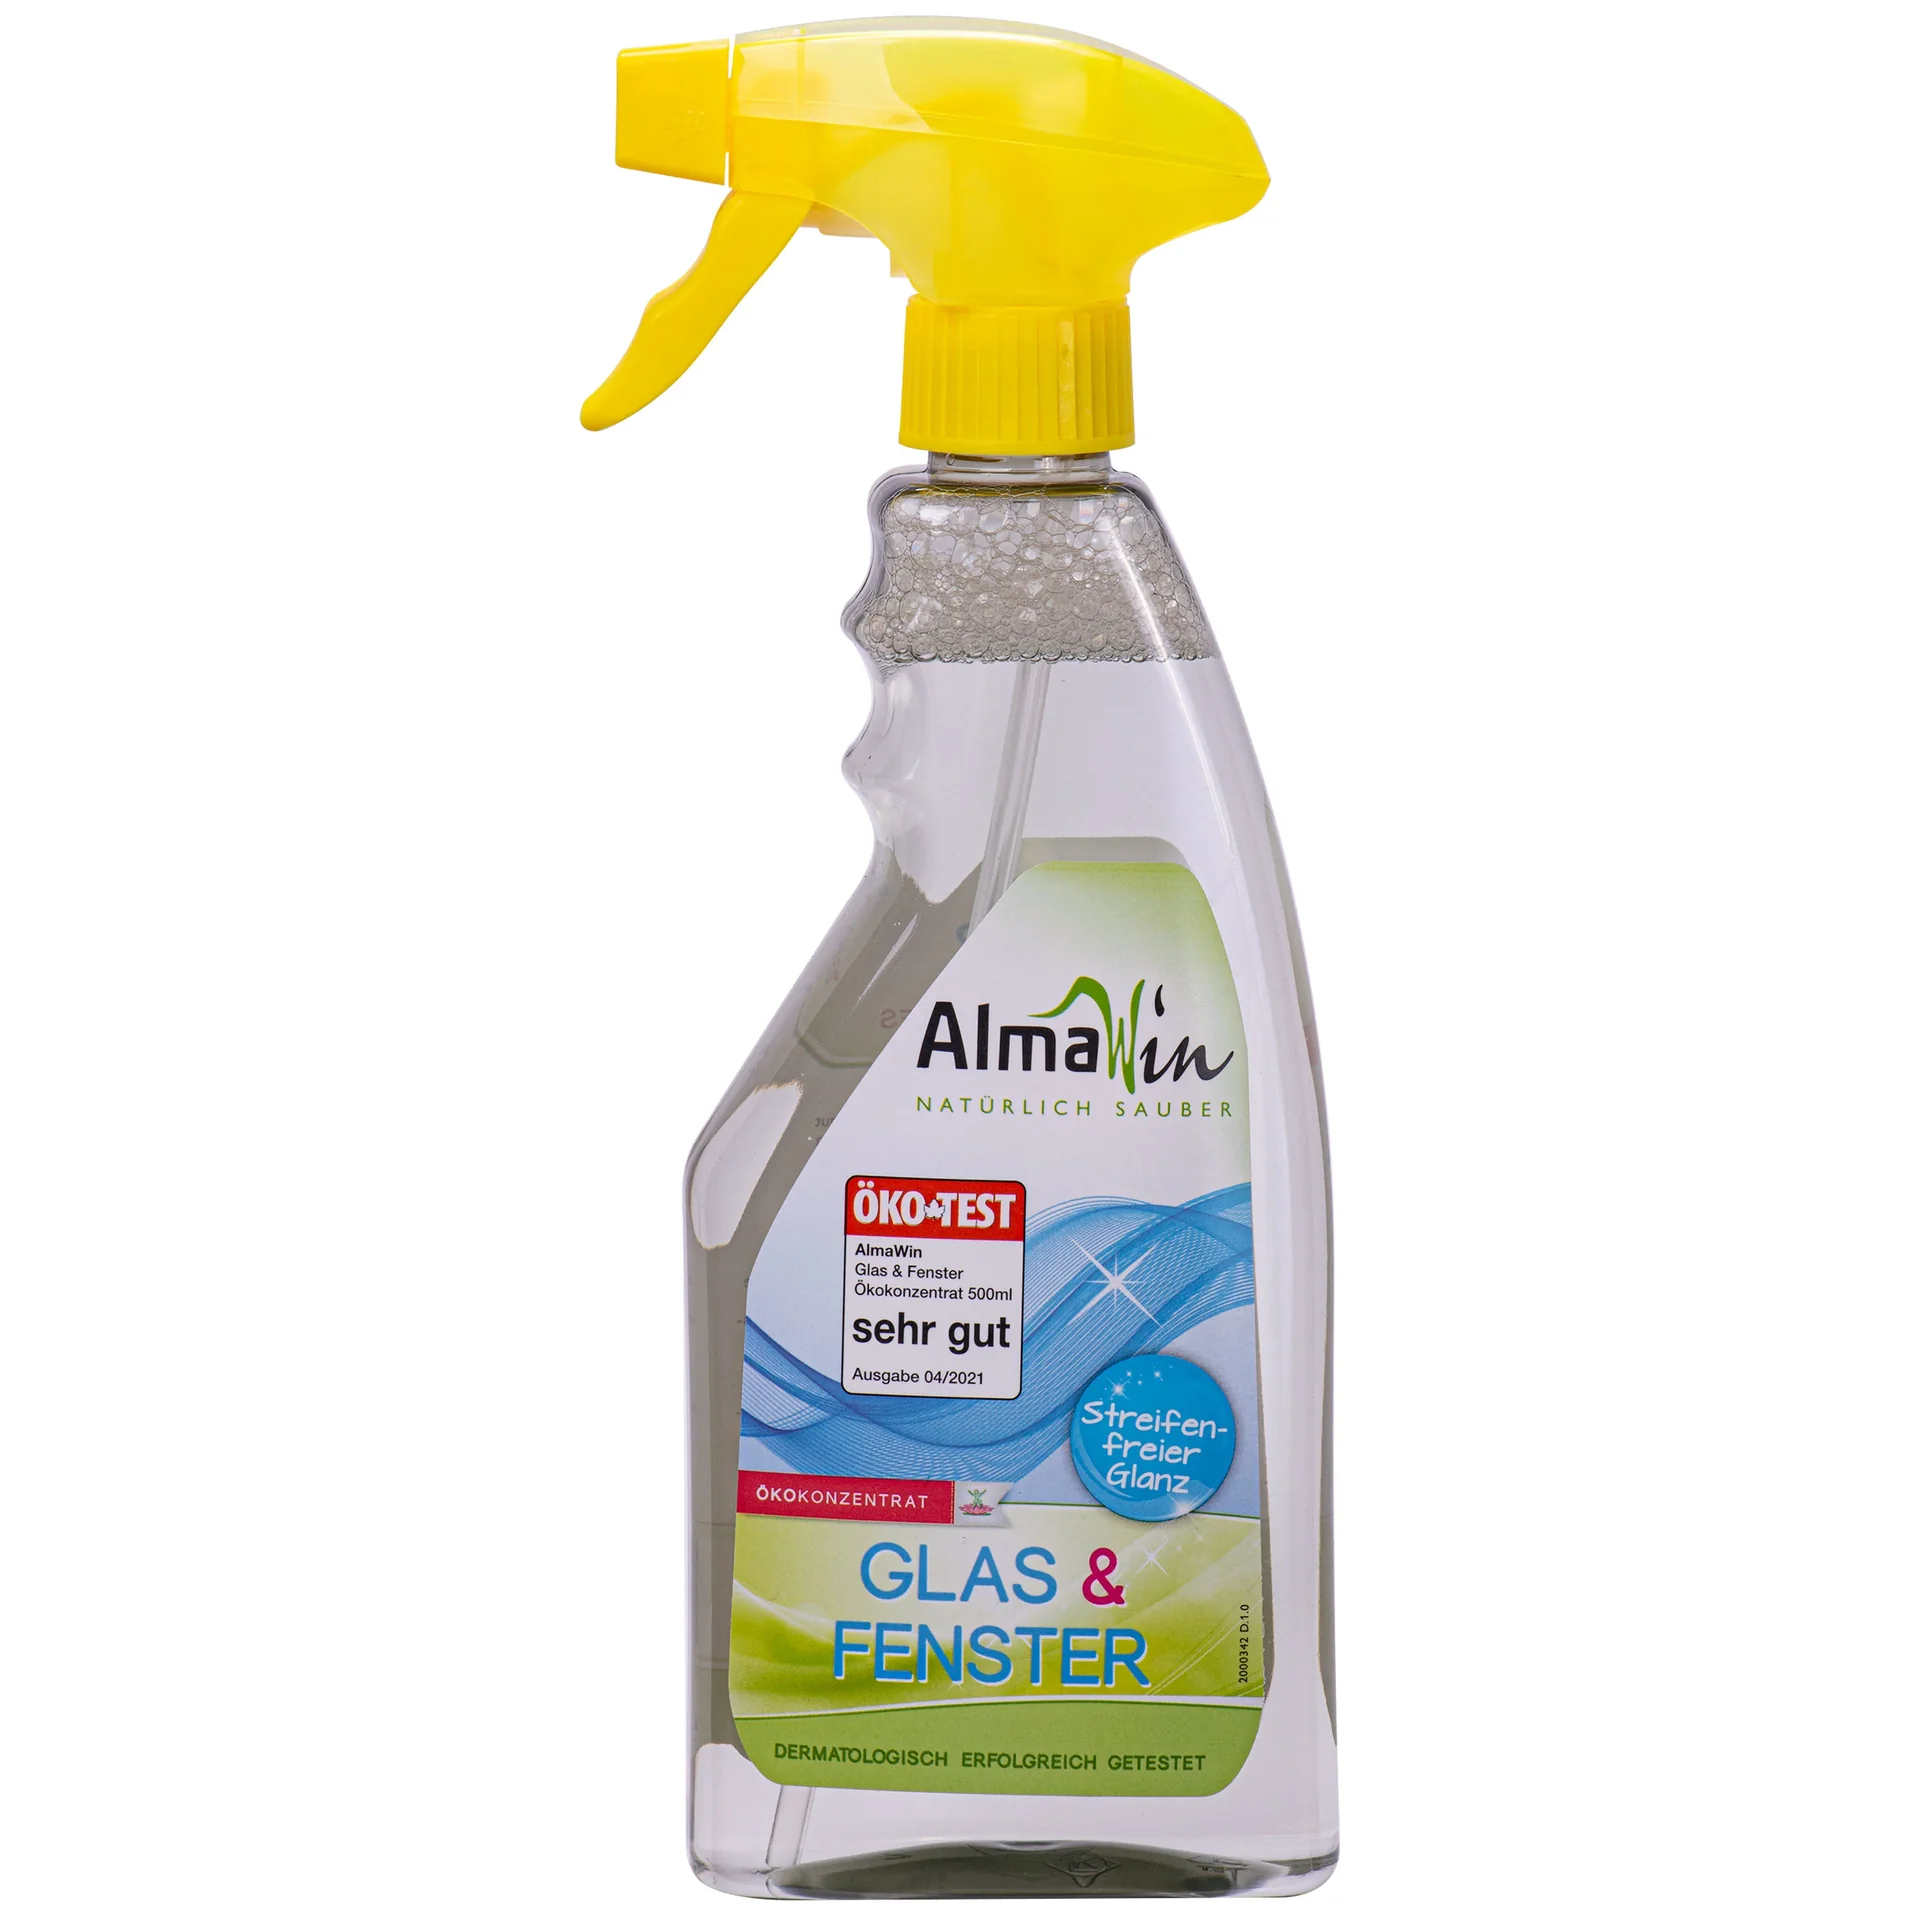

What tools do I need to adjust a window?
For most modern windows, you do not need complicated equipment. You probably already have the most common tools at home.
- Allen key (usually size 4 mm): This is the most important tool. Almost all adjustment screws on modern windows are designed for Allen keys.
- Flat-head and Phillips screwdrivers: Some cover caps or older fittings are secured with screws.
- Flat-nose or combination pliers: Rarely needed, but they can be useful for turning stiff locking cams.
- Maintenance oil or silicone spray: Use these to lubricate the moving parts of the hardware after adjustment.
Lay out your tools before you begin. This saves unnecessary interruptions. Remember that seasonal home maintenance is just as important as maintaining your windows. Just as you might put on a patio furniture cover in the fall, you should also prepare your windows for the cold season.
Step-by-step guide: How to adjust your windows yourself
Modern tilt-and-turn windows generally have three adjustment options: height, side-to-side position, and compression. Work systematically and change only one setting at a time.
H3: Height adjustment: When the window rubs against the frame
If the window sash rubs against the bottom of the frame when opening or closing, you need to raise it.
- Open the window sash.
- Locate the corner hinge. This is the hinge at the lower corner on the side opposite the handle.
- Remove the plastic cover cap, if present. You will find an adjustment screw underneath.
- Turn the screw clockwise with an Allen wrench to raise the sash. Turning it counterclockwise lowers it.
- Close the window regularly to check the result. Gradually work your way toward the perfect height.
Pro tip
Before each turn, make a small pencil mark on the screw and the frame. This lets you return to the original position if you adjust it too far.
H3: Side-to-side adjustment: Correcting the side clearance
If the sash rubs against the frame at the side, either on the handle side or the hinge side, adjust its side-to-side position.
Make the adjustment at two points:
- At the lower corner hinge: There is another screw here that moves the bottom of the sash to the left or right.
- At the upper scissor hinge: This is the hinge at the top on the hinge side. Open the window to access the adjustment screw. This moves the upper part of the sash to the left or right.
Here too, turn the screw in small increments and check the result regularly. The aim is to achieve an even gap between the sash and frame on all sides.
H3: Adjusting the compression: The battle against drafts
This is the most important adjustment for eliminating drafts. Compression is regulated using the locking cams (also known as mushroom-head cams or eccentric locking cams). These are located on the side of the window sash.
- Open the window and locate the round or mushroom-shaped cams. There may be several, depending on the window size.
- These cams have a mark (a dot or notch) or an eccentric shape.
- Turn the cams with an Allen wrench or pliers. The rule is simple: Turn the cam toward the weatherstripping to increase compression (winter setting). Turn it away from the weatherstripping to reduce the pressure (summer setting).
- Make sure that all locking cams on the window have the same setting.
Excessive compression makes the window difficult to close and causes the weatherstripping to wear out more quickly. Find the point at which the window is airtight but can still be operated easily.
Important note
Never force the adjustment screws all the way to the stop. Excessive tension can damage the hardware. Small, gradual adjustments produce the best results and protect the material.
When is professional window repair necessary?
Adjusting your windows is an effective first-aid measure. However, there are limits. If you continue to have problems despite making all the adjustments, there may be a more serious defect. Professional window repair or even replacement may then be unavoidable.
Signs of serious problems:
- Severely damaged or worn weatherstripping: If the rubber weatherstripping is cracked or hard, even the highest compression will no longer help. Weatherstripping wears out and needs to be replaced after a few years.
- Warped frame: If the window frame itself has warped, the sash can no longer be fitted correctly. This is often the case with old wooden windows.
- Faulty mechanism: If the handle can no longer be turned properly or parts of the hardware are broken, the window needs to be repaired by a professional.
- Failed double-pane window: If condensation continually forms between the panes of glass, the insulated glass unit is no longer airtight and has lost its insulating performance.
When quick fixes such as a
are no longer enough to stop drafts, it is time for a closer look. Comprehensive home maintenance, including checking not only windows but also other sensitive areas such as connections in Plumbing + Irrigation, can save you a lot of money in the long term. You will find all the tools and materials you need in our Shop.
Modern window weatherstripping is high-performance, but it also wears out. When it becomes brittle or cracked, the entire window loses its airtight seal. Replacing it in time is often the most cost-effective solution.
Regularly maintaining and adjusting your windows is a small investment that quickly pays off. You save on heating costs, increase your comfort at home, and protect your home from moisture damage. Take the time for a quick check and enjoy a warm, draft-free home.
Frequently asked questions
- How often should I adjust my windows?
- Ideally, check your windows twice a year, in spring and fall. Adjust them only if you feel a draft, a window sticks or it’s difficult to close. This ensures the window presses firmly against the seal in each season and the hardware continues to operate smoothly.
- What is the difference between summer and winter settings on a window?
- The winter setting increases the pressure, so the window presses more firmly against the seal and keeps cold air out. The summer setting reduces the pressure, which protects the seals and allows slight air circulation. This significantly extends the seals’ service life.
- How much does it cost to have windows professionally adjusted?
- Having a window professionally adjusted by a contractor usually costs between €20 and €50 per window. The price varies depending on the work required, the region and travel costs. Many businesses offer lower package prices for several windows.
- Can I adjust every modern window myself?
- Yes, you can adjust almost all modern vinyl, wood and aluminum windows with tilt-and-turn hardware yourself. You usually only need an Allen wrench and a screwdriver. Very old windows or models with special hardware may be exceptions and may require a professional.
- My windows are still letting in drafts despite being adjusted correctly. What can I do?
- If the draft remains after adjustment, the seals are probably porous or damaged. Check the rubber seals for cracks and brittleness. Replacing the seals is often the next sensible, cost-effective step before you consider replacing the windows entirely.
You may also be interested in
- Replace your windows and save on heating costs: a path to energy efficiency
- Lower your heating bills: tips for saving energy at home
- Lower your heating bills: bleed your radiators and heat your home efficiently
- Replace your windows: find grants and lower energy costs
- Get your windows ready for winter: prevent and repair freeze damage
- Lower your heating bills: use blinds and curtains effectively