
In brief: You can successfully grow white cabbage by choosing nutrient-rich, deep soil and providing the plants with sufficient water and fertiliser. Sow the seeds indoors from March or directly in the bed from May. Leave a generous spacing of 50x50 cm to give the heads enough room to develop. Depending on the variety, harvest takes place from September to November.
Growing White Cabbage: From Seed to an Abundant Garden Harvest
White cabbage is a classic, robust cabbage crop for growing at home. Its crisp heads provide vitamins for fresh salads or can be turned into sauerkraut for storage. With the right planning and care, even beginners can successfully grow cabbage.
This guide takes you through the season step by step: from choosing seeds and caring for the plants to finding the perfect harvest time for white cabbage. This way, you can get the most from your vegetable garden.
Why is it worth growing white cabbage in your own garden?
White cabbage offers more than just a plentiful harvest. You get a full flavour that shop-bought produce often lacks. You control how it is grown and can avoid unwanted pesticides.
This cabbage crop is relatively undemanding and resistant to cool temperatures. It is suitable for the late season and extends the harvest period in the garden into late autumn.
White cabbage is also extremely versatile in the kitchen. From eating it raw in salads and steaming it as a side dish to fermenting it into sauerkraut, you have plenty of options.
How do I start sowing white cabbage?
Success begins with the right preparation. First decide whether you want to sow directly or grow young plants indoors. Raising the plants indoors gives them a head start.
“Cabbage seeds need consistent moisture and temperatures of around 15 to 20 degrees Celsius to germinate. A bright windowsill or a small greenhouse is ideal.”
Fill seed trays with low-nutrient seed compost. Place the seeds about one centimetre deep and cover them lightly. Keep the growing medium moist with a spray bottle.
After about two weeks, the first cotyledons will appear. Once the seedlings have developed two to three true leaves, prick them out into larger pots. A practical propagation tray such as the
makes this task easier.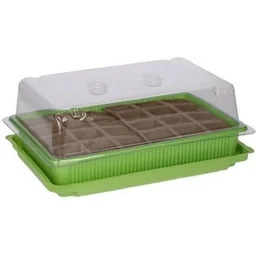
Expert tip
Mix a handful of algae lime into the growing medium for the young plants. This strengthens the cell structure of young cabbage plants and makes them more resistant to damping-off.
Direct sowing in the bed
From mid-May, once there is no longer a risk of late frosts, you can also sow white cabbage directly in the bed. Loosen the soil deeply and work in mature compost.
Make a shallow seed drill and place the seeds 3 to 5 centimetres apart. Once they have emerged, thin the seedlings to their final spacing.
Which location and soil are perfect for cabbage crops?
White cabbage is a heavy feeder. It removes many nutrients from the soil. Choose a sunny bed where low-feeding crops such as beans or peas were grown the previous year.
The ideal soil is deep, rich in humus and well drained, while also retaining moisture. A pH value in the neutral to slightly alkaline range (6,5 to 7,5) is optimal.
Important note
Be sure to avoid growing brassicas in the same area for several years in a row. A break of at least three, or preferably four, years helps prevent clubroot, a serious fungal disease that is difficult to control.
Prepare the bed in autumn or early spring. Work in plenty of compost or well-rotted farmyard manure. Shortly before planting, you can also apply a base dressing of organic all-purpose fertiliser.
How do I plant out young white cabbage plants correctly?
Plant your home-grown or purchased young plants outdoors only after the Ice Saints in mid-May. Look for strong, healthy plants with dark green leaves.
Plant spacing is crucial for head formation. Allow 50 by 50 cm per plant. This applies both within and between rows. Dig a planting hole that is slightly larger than the root ball.
Place the plant so that the root collar is just above the soil. Firm the soil well and water the seedlings thoroughly with a gentle stream from a watering can or garden hose.
Protection immediately after planting
During the first few weeks, young cabbage plants are popular with pests such as cabbage root flies. Fine-mesh garden fleece or a special cabbage collar placed around the root collar provides effective protection.
What does proper care involve during growth?
Care focuses on three key areas: regular watering, sufficient fertilising and consistent weeding. White cabbage needs plenty of water, especially while the heads are forming.
“Water in the morning directly around the roots, not over the leaves. This allows the foliage to dry faster and makes it less susceptible to fungal diseases such as downy mildew.”
Keep the soil evenly moist at all times, but not wet. A mulch layer made from grass clippings or straw helps retain moisture and suppresses weed growth.
Additional advice
About four weeks after planting, lightly mound the soil around the stem. This encourages additional fine roots, stabilises the plant and improves nutrient uptake.
The right fertiliser for strong heads
About six weeks after planting, when the heads begin to form, it is time for another application of fertiliser. Use an organic vegetable fertiliser rich in nitrogen or nettle tea.
Carefully work the fertiliser into the soil and water afterwards. Avoid over-fertilising, as this can lead to soft growth with poor storage quality.
How do I protect my harvest from pests and diseases?
Unfortunately, white cabbage attracts a few unwanted visitors. The most common are cabbage white butterflies, cabbage root flies and mildew. Prevention is the best protection.
Plant strongly scented herbs such as dill, celery or thyme among the cabbages. These deter many insect pests. Crop protection nets reliably keep flying pests away.
Regularly check the undersides of the leaves for the yellow eggs of cabbage white butterflies and remove them. If caterpillars appear, collect them or use biological products based on Bacillus thuringiensis.
Preventing diseases
Keeping the plants loose and not too close together allows good air circulation. This helps the leaves dry faster after rain and reduces the risk of fungal diseases. Remove yellow or rotting leaves at the base.
When is the perfect time to harvest white cabbage?
The white cabbage harvest season runs from September into November, depending on the variety. Early varieties are ready by late summer, while late storage varieties need the first light frost to develop their full flavour.
Harvest on a dry day. Check for ripeness by gently holding the head with both hands. A ripe head feels firm and plump and does not give under light pressure.
Cut the cabbage head directly at the stalk with a sharp knife. Remove the loose outer leaves. For storage, leave some outer leaves around the head for protection.
A practical helper for harvesting is the
. This lets you transport your harvested heads gently and without bruising.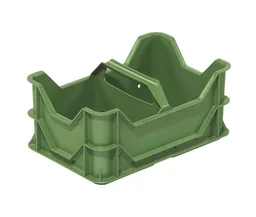
Storage after harvesting
Late varieties are ideal for winter storage. Store the heads in a cool (0-4°C), frost-free place with high humidity. A dark cellar or a storage pit are suitable. Place the heads individually on a wooden shelf or wrap them in newspaper.
Which varieties are suitable for growing in the garden?
Your choice of variety determines the flavour, harvest time and storage life. Here is an overview of tried-and-tested types:
- Early varieties (harvest from August): ‘Dithmarscher Früher’, ‘Gloria F1’. They produce medium-sized, tender heads for immediate consumption.
- Mid-early to late varieties (harvest in September/October): ‘Bison F1’, ‘Hurricane F1’. Hardy, high-yielding and suitable for storage.
- Late storage and sauerkraut varieties (harvest in October/November): ‘Langedijker Dauer’, ‘Winterweiß’. Very firm, large heads, ideal for storage and processing.
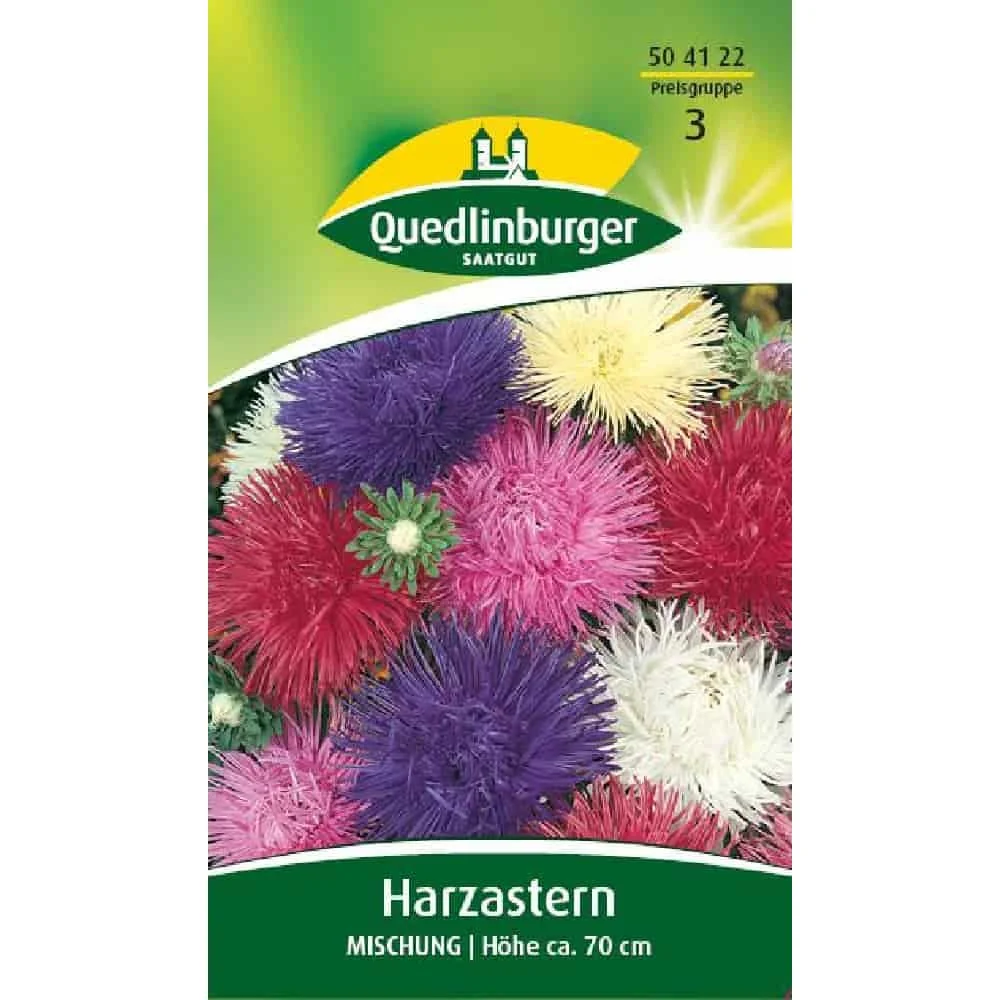
Experiment with different varieties to find your favourite. Also remember to rotate your crops and plant colourful flower seeds such as
or in the old cabbage bed next year. This will brighten up both your garden and the soil.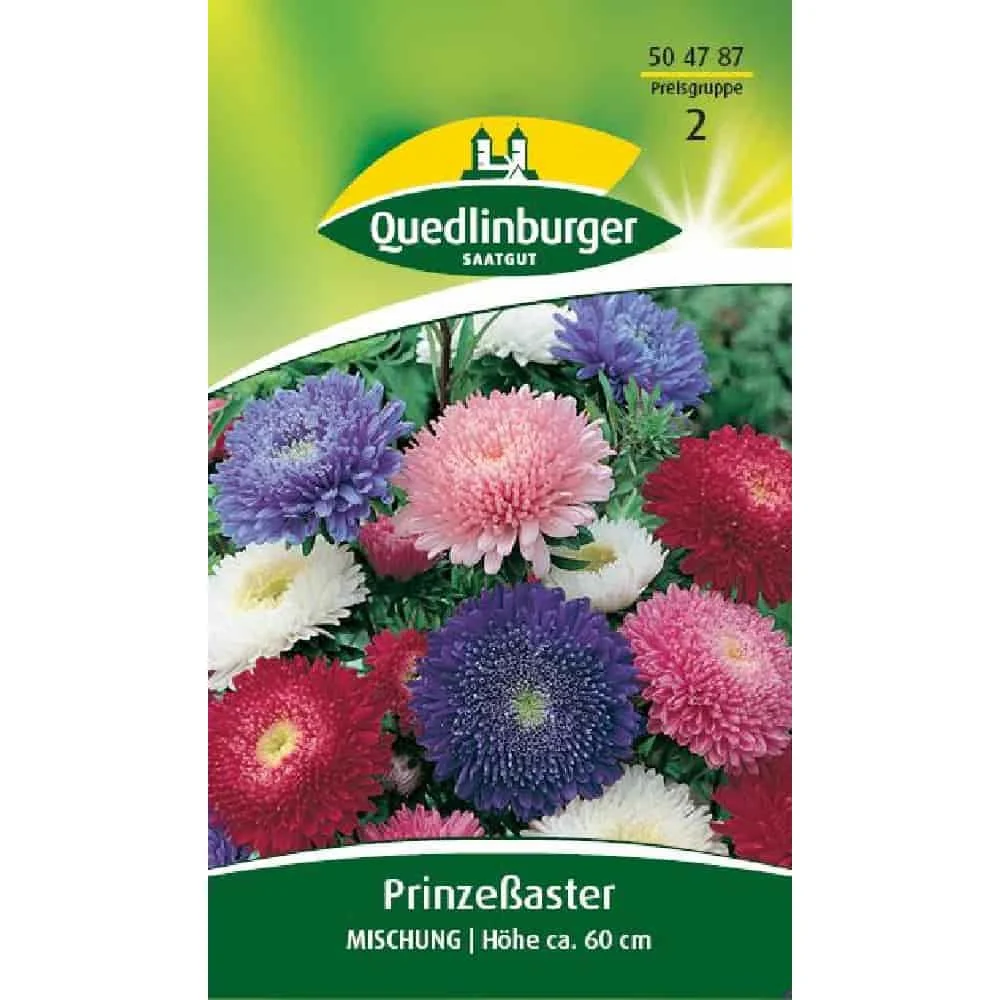
What can I plant after harvesting cabbage?
After a heavy feeder such as white cabbage, the bed should have a recovery period the following year. Sow a green manure crop such as lupins or phacelia. These plants loosen the soil and enrich it with nitrogen.
Alternatively, switch to light feeders. Lettuce, radishes and dwarf beans are ideal follow-on crops. They use the remaining nutrients without putting heavy demands on the soil again.
Plan your beds for the long term. Good crop rotation is the best way to protect the health of your garden and sustainably ensure high yields from your cabbage and all other crops.
With this guide, nothing stands in the way of a plentiful harvest of crisp, home-grown white cabbage. From seed to a full harvest basket, growing it is worthwhile for every home gardener.
Frequently asked questions
- When is the best time to plant white cabbage?
- Plant young plants grown under cover outdoors from mid-May, after the last frosts. For an earlier harvest, start growing them indoors from March. You can still plant late varieties for winter storage until early July. The soil should already have warmed up.
- What location and soil are suitable for white cabbage?
- White cabbage needs a sunny to partially shaded location. The soil must be deep, rich in humus and well supplied with nutrients. A neutral to slightly alkaline pH is ideal. Improve heavy clay soils with sand and sandy soils with compost.
- How much space do white cabbage plants need?
- Keep a planting distance of 50 centimetres within the row and 50 to 60 centimetres between rows. This generous spacing is essential to allow the heads to develop fully and receive enough light and air. It also helps prevent disease.
- How often do I need to water and fertilise white cabbage?
- Water regularly and thoroughly so that the soil remains evenly moist. Avoid waterlogging. Before planting, add compost or horn shavings. About four to six weeks after planting, apply another dose of nitrogen-rich vegetable fertiliser.
- How do I know when my white cabbage is ready to harvest?
- The cabbage head is ready to harvest when it is firm and closed and can no longer be pressed in easily. For early varieties, this is usually from September, while late storage varieties are often not ready until October or November. Harvest before the first severe frost.
You may also be interested in
- Growing cauliflower: How to grow it successfully in your own garden
- Planning a vegetable garden: Cabbage and leeks for a plentiful harvest
- Growing vegetables: The complete beginner’s guide
- Growing potatoes: How to achieve a plentiful harvest
- Growing beans: How to harvest more
- Growing tomatoes: The ultimate guide to a plentiful harvest