
In brief: To replace your sweeper brushes, switch off the machine safely and disconnect the power source. Loosen the fasteners holding the old brushes, remove them and clean the area. Replace the sealing lip as well. Install the new brushes in reverse order and carry out a test run.
Your sweeper works hard. It clears leaves, dirt and dust from pavements, driveways and workshop floors. Over time, however, its performance declines. Streaks remain behind and fine dust is merely stirred up. The cause is usually worn brushes and a porous sealing lip. Replacing them restores full sweeping performance and protects your machine from consequential damage.
Replacing them is easier than you might think. With the right tools and suitable spare parts, you can carry out this important maintenance task yourself. A complete solution is offered by the sweeper spare parts set. It contains two new disc brushes and the matching sealing lip, so your machine will soon be ready for use again.
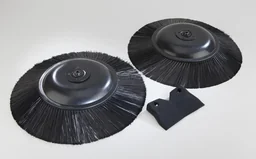
How can you tell when sweeper brushes are worn?
Worn brushes reveal themselves through several clear signs. A quick look at the bristles and the cleaning results is often enough to identify the need for action. Watch for these signs so you do not miss the ideal time for replacement.
Visible wear
The clearest signs can be found directly on the brushes. New bristles are long, straight and flexible. Over time, they wear down. Look for the following characteristics:
- Shortened bristles: Constant friction against the floor makes the bristles shorter. Compare their length with a new part. If they are noticeably shorter, they have less contact area and sweeping power.
- Frayed or bent bristles: The tips of the bristles fray or become permanently bent in one direction. Bristles in this condition can no longer pick up fine dirt effectively.
- Gaps in the bristle field: Entire tufts of bristles may be missing in some places. These gaps directly cause unsightly streaks in the cleaning results.
- Uneven wear: If one side of a brush is more worn than the other, this indicates an incorrect setting or an imbalance. Correct this when replacing the brushes.
Declining sweeping performance
You can also notice wear from the way your machine works, even without inspecting the brushes directly. Cleaning quality noticeably decreases. Typical problems include:
- Streaks: The sweeper leaves dirty tracks behind, especially when turning.
- Poor dirt pickup: Larger debris such as small stones or leaves is pushed along in front of the machine instead of being swept into the collection container.
- Dust being stirred up: Instead of trapping and collecting dust, the machine spreads it through the air. This is often also caused by a faulty sealing lip.
Regularly checking the brushes is the key to consistently good results. Do not wait until sweeping performance visibly declines. Preventive maintenance saves time in the long term and helps protect the machine.
Why is it so important to replace the brushes and sealing lip regularly?
Replacing wear parts is more than just a cosmetic measure. It maintains functionality, protects your investment and ensures efficient work. A sweeper is only as good as its brushes.
New, sharp brushes grip dirt effectively and reliably move it into the collection container. The result is a visibly clean surface after just one pass. Worn brushes, on the other hand, often just push the dirt back and forth. You have to go over the same area several times, which costs time and energy, whether you use a manual sweeper, a cordless sweeper or a powerful petrol sweeper.
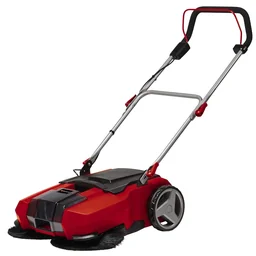
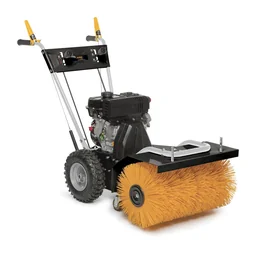
Severely worn brushes force the drive motor or mechanical drive to work harder. Resistance increases, which can lead to overheating and premature wear of bearings and belts. Replacing the inexpensive brushes in good time helps prevent costly repairs to the drive unit. In addition, exposed metal or plastic parts of the brush discs can scratch sensitive surfaces such as sealed concrete floors or wooden terraces.
Important note
Disconnect the power supply before carrying out any maintenance work. For cordless machines, remove the battery; for petrol models, pull off the spark plug connector. Secure the machine against rolling away, especially when lifting or tilting it.
How to Replace Sweeper Brushes: A Step-by-Step Guide
Replacing the brushes and sealing lip is quick with a little preparation. Follow these steps for a smooth process.
1. Preparation and Safety
Place the sweeper on a level, firm surface. Gather all the tools you need. These will generally include a screwdriver set, a suitable spanner or socket wrench and sturdy work gloves. Give the machine a basic clean, especially around the brush mount. This makes the job much easier.
2. Removing the Old Brushes
To access the brushes, you will usually need to tilt the machine. Secure it carefully in this position. The disc brushes are often attached with a central screw or nut. Loosen it by turning it anticlockwise. Sometimes they are also secured with a cotter pin or clip, which you can remove with pliers. Pull the old brush off the drive shaft.
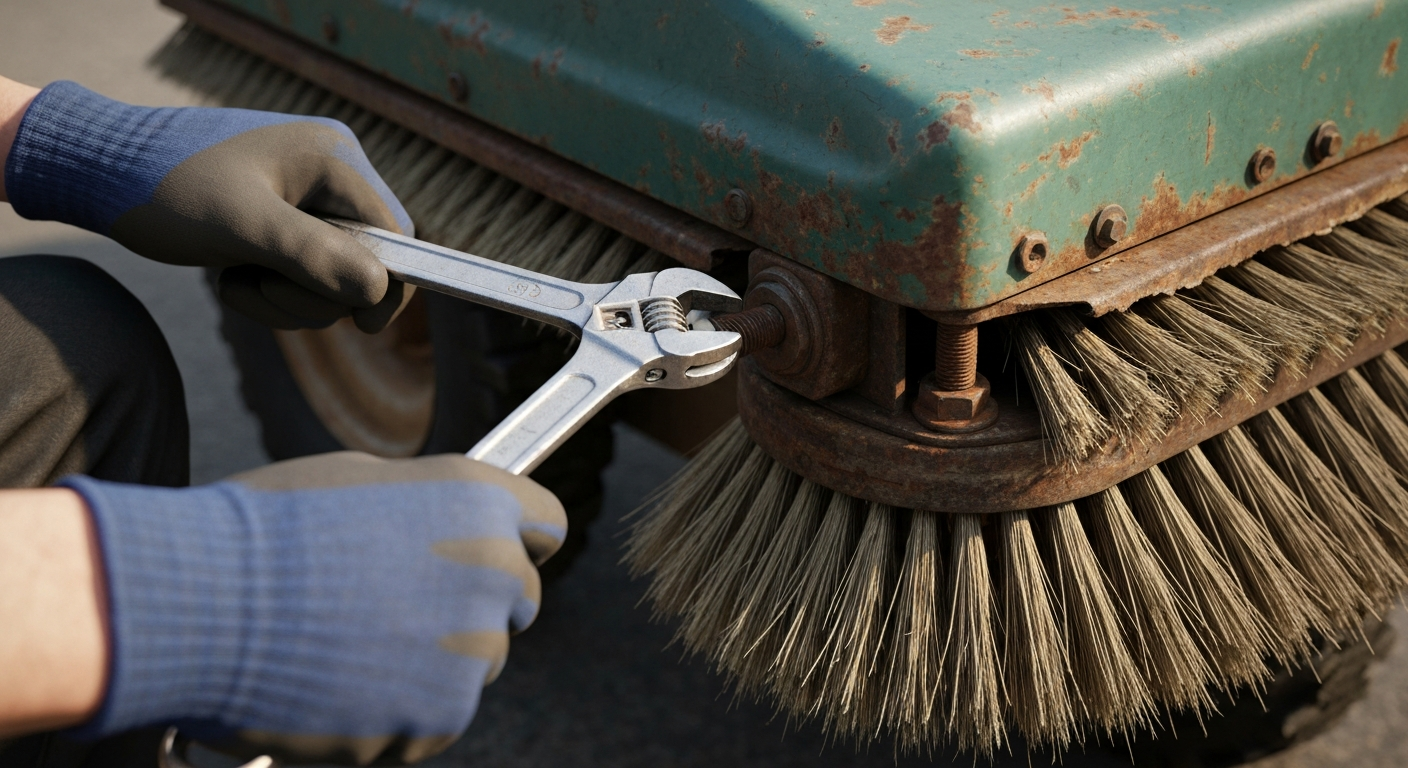
3. Replacing the Sealing Lip
The sealing lip is usually located between the main sweeping rollers or behind the disc brushes. It is often screwed to a metal rail. Loosen these screws and pull out the old, porous rubber lip. Clean any dirt from the mounting before fitting the new sealing lip. Make sure it sits straight and without creases before screwing the rail back in place.
Additional Advice
While the brushes are removed, take the opportunity to clean the entire brush housing thoroughly. Remove caked-on dirt, leaves and cords that have become wrapped around the drive shafts. This improves performance and extends the service life of the bearings.
4. Fitting the New Brushes
Check whether there is a left and a right brush. The bristles should be aligned so that they sweep dirt towards the centre of the machine. Place the new brush on the drive shaft. It often clicks into a specific position. Then secure it with the screw, nut or cotter pin. Tighten everything by hand. A screw that is tightened too much can damage the plastic thread.
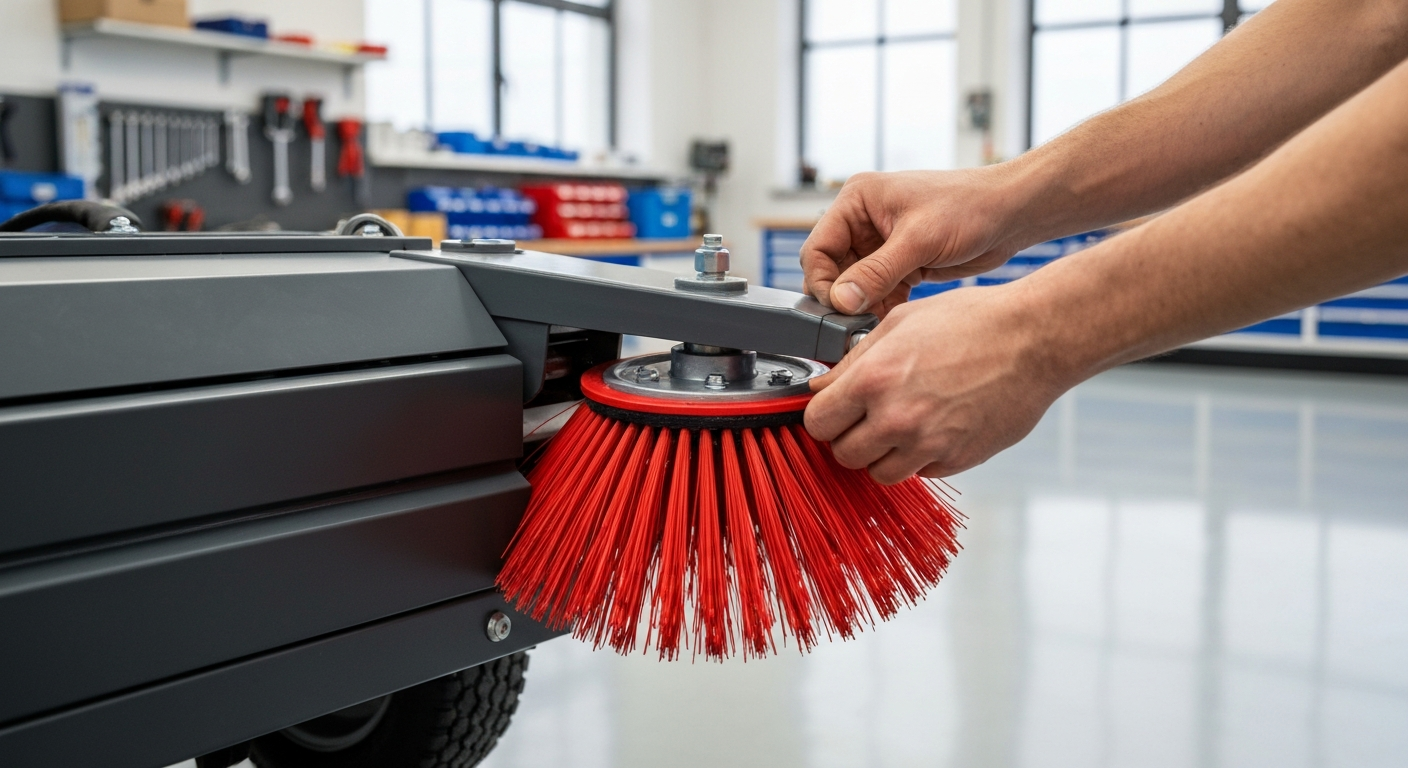
5. Function Test and Initial Use
Return the machine to its normal position. Insert the battery or reconnect the spark plug connector. Carry out a short test run on a clean surface. Listen for unusual noises and watch for vibrations. Check that both brushes are turning correctly. If everything is in order, your sweeper is ready for use again.
The difference is like night and day. With new brushes, the machine glides almost by itself and leaves a flawless surface behind. It saves effort and delivers a professional result you can be proud of.
How to Care for Your Sweeper Brushes for a Long Service Life
With the right care, you can significantly extend the service life of your new brushes. It only takes a few simple steps to make a big difference. Incorporate these easy routines into your work.
After every use, remove coarse dirt from the brushes. Long blades of grass, cords and wires can easily wrap around the axles and slow down rotation. Carefully remove these foreign objects. An old screwdriver or a pair of pliers is ideal for this job. Store the sweeper so that the brushes are not permanently resting on the ground and being flattened by the weight of the machine. Ideally, lift the machine slightly or hang it up so that the brushes remain suspended.
Professional Tip
Adjust the brush contact pressure correctly. Too much pressure causes rapid wear and can put strain on the drive. Too little pressure reduces sweeping performance. The bristles should only lightly touch the ground so that they can collect dirt effectively. You can find the adjustment options in your machine's instruction manual.
Which Spare Parts Do You Need for Your Sweeper?
Using precisely fitting spare parts is essential for optimum performance and a long service life. Universal parts often do not fit perfectly, which can lead to poorer performance or even damage to the machine. Sets such as are ideal because they combine the most important wear parts, brushes and sealing lip, in one package.
Depending on the model and level of use, other parts may also wear out. These include drive belts, wheels and filters in the collection container. Regular inspections help you identify wear at an early stage. In the operating supplies category, you will find a wide range of accessories and spare parts to keep your equipment in top condition, from a simple replacement disc brush to more complex components.

Replacing wear parts in good time not only keeps your Garden + Outdoor area clean, but is also an economical decision. You preserve the value of your sweeper and avoid expensive consequential repairs. A well-maintained machine is a reliable partner for many years.
Frequently asked questions
- How often should I replace my sweeper brushes?
- That depends on how often you use them and the surface you sweep. Daily use on rough concrete wears them out faster than weekly use on smooth tiles. Check the brushes monthly and replace them immediately if you notice visible wear or reduced sweeping performance.
- Can I use brushes from another manufacturer?
- We advise against it. Only original or precisely fitting replacement parts guarantee optimum performance and prevent damage to your machine. The mounting points and dimensions are often specific to each manufacturer. Always check compatibility to avoid costly incorrect purchases and machine damage.
- What is the function of the sealing lip on a sweeper?
- The sealing lip closes the gap between the brush roller and the housing. It prevents fine dust from being stirred up and ensures that dirt is directed into the collection container. An intact sealing lip is essential for a low-dust, thorough sweeping result.
- My sweeper is leaving streaks. Could the brushes be the cause?
- Yes, this is a typical sign of worn or incorrectly adjusted brushes. Worn bristles can no longer pick up all the dirt. Also check the brush height setting. If the brushes are set too high, they will not make sufficient contact with the ground.
- What tools do I need to replace the brushes?
- In most cases, you only need basic hand tools. A set of screwdrivers (flat-head and Phillips), a spanner or socket set, and pliers are usually sufficient. For safety, always wear work gloves to protect yourself from dirt and sharp edges.